Introduction
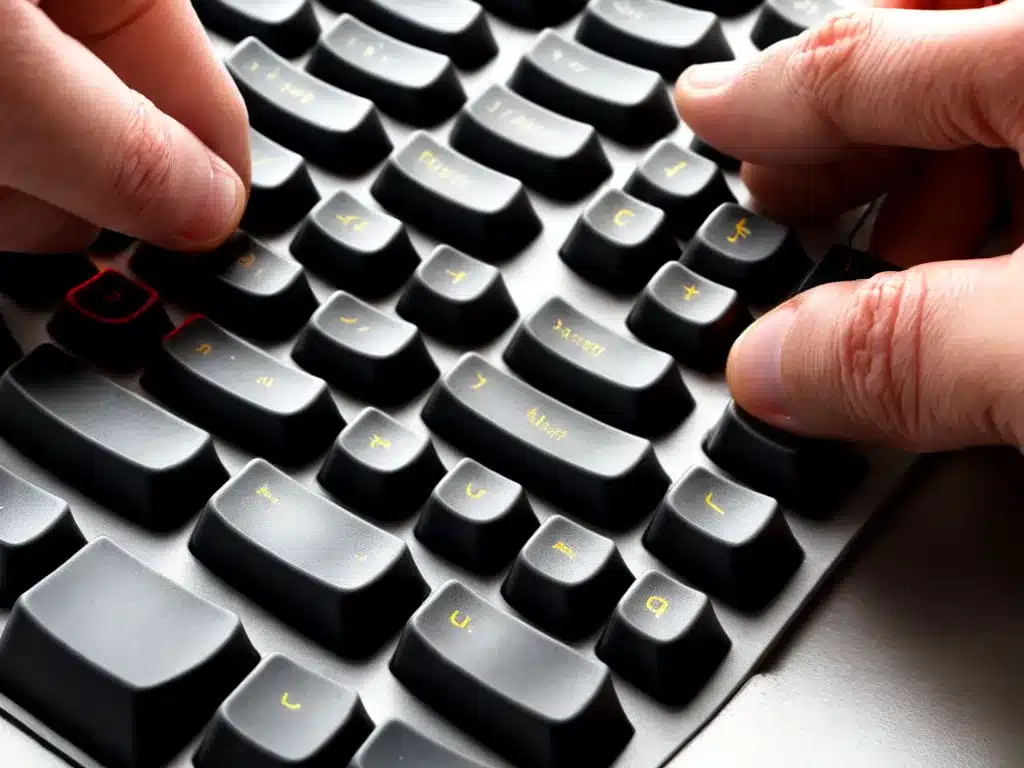
I have been an avid user of mechanical keyboards for many years. Over time, the keycaps on my keyboards have become worn down or damaged. Replacing an entire keyboard can be expensive, so I looked into ways to repair the keycaps instead of buying a whole new keyboard. In this article, I will share what I have learned about repairing keycaps on mechanical keyboards.
Reasons Keycaps Become Damaged
There are a few main reasons that keycaps on mechanical keyboards get damaged over time:
-
Normal wear and tear – With heavy daily use, the material of the keycaps slowly breaks down. The constant impact of fingers striking the keys can cause the keycap material to deteriorate.
-
Accidental damage – Keycaps can become cracked or broken if something is dropped on the keyboard or excessive force is applied to a key.
-
Removal damage – Some keyboard enthusiasts remove keycaps to clean or modify their keyboards. Improper keycap removal can crack or break the keycaps.
-
Material quality – Some keyboard manufacturers use thinner, lower-quality keycap material that is more prone to damage over time. Higher quality keycaps are more durable.
Methods of Repairing Keycaps
There are a few main methods I have used to repair damaged keycaps on my mechanical keyboards:
Cleaning
- For keycaps that are just dirty or have surface damage, cleaning is often sufficient. Warm soapy water or plastic cleaning sprays can be used to clean keycaps. This removes dirt and debris that may have built up on the keycaps.
Polishing/Buffing
- For keycaps with superficial scratches or worn legends, polishing with an abrasive compound can help improve their appearance. Keycap pullers are used to remove the keycaps and polishing is done carefully by hand.
Painting
- For badly damaged or faded keycaps, painting can restore their look and function. The keycap surface needs to be sanded and primed first before applying thin coats of paint in the original color. Letting the paint cure fully produces the best results.
Resin Casting
- For severely damaged keycaps that are cracked or broken, resin casting allows fabrication of an entire new keycap. The original keycap is used to make a mold and then liquid resin is poured in to produce the replacement keycap after hardening.
Keycap Replacements
- If damage is beyond repair, purchasing individual replacement keycaps that match the original ones is an option. Choosing the same profile and material will provide the closest match when replacing only a few keycaps.
Tools and Materials Needed
To repair keycaps, you will likely need:
- Keycap puller
- Screwdrivers
- Cotton swabs
- Isopropyl alcohol
- Sandpaper (fine grit)
- Plastic polishing compound
- Primer spray
- Paint (in original keycap color)
- Clear coat spray
- Resin casting supplies
- Replacement keycaps
Having proper tools and materials is essential for high quality, long lasting keycap repairs.
Step-by-Step Keycap Repair Process
Here is an overview of the typical process I follow when repairing a damaged keycap:
-
Remove the damaged keycap from the keyboard using a keycap puller tool.
-
Clean the keycap thoroughly with isopropyl alcohol and cotton swabs if just cleaning.
-
If sanding and painting, use fine grit sandpaper to roughen up the surface and prime with spray primer.
-
Apply 2-3 thin coats of paint matched to the original keycap color. Allow proper curing time between coats.
-
Add a clear coat spray for protection and sheen if painting.
-
For polishing, use plastic polishing compound and polish by hand in a circular motion.
-
If resin casting, make a mold of the original keycap and pour in liquid resin to harden.
-
Once repair is complete, replace the repaired keycap on the keyboard.
-
Test it out to make sure the repaired keycap functions properly before using the keyboard again.
Taking the proper steps in this keycap repair process helps restore damaged keys to like-new condition.
Troubleshooting Common Keycap Repair Issues
Paint Not Matching Original Color
- Use higher quality paint that allows for color matching
- Apply white primer first to improve color accuracy
- Mix small amounts of different paints to match the original color
Polished Keycap Too Smooth/Slippery
- Use less polishing compound or polish by hand for shorter time
- Follow polishing with a matte finish clear coat for grip
Resin Keycap Not Fitting Correctly
- Ensure mold of original keycap was accurate before casting
- Carefully sand or trim down resin keycap to fit cleanly on the switch
Replacement Keycap Height Incorrect
- Buy replacement keycaps with identical profile/row as the original
- Switch to a uniform profile keycap set for consistency
Paint Chipping Off Keycap
- Allow more cure time between paint coats
- Use a paint designed for plastic application
- Apply a protective clear coat over the paint
Conclusion
Repairing damaged keycaps is a great way to save money compared to buying an entirely new mechanical keyboard. With proper tools, materials, and techniques, I have been able to restore the look and function of my keycaps through cleaning, polishing, painting, resin casting, and replacement. Paying attention to details like original color matching and proper curing of paint produces professional, long-lasting results. Though it requires some patience and practice, learning to repair keycaps has allowed me to keep my favorite keyboards in use for many years.


