The Curse of the Crackling Headphones
Have you ever been in the middle of an intense gaming session, jamming out to your favorite playlist, or recording a podcast, only to be rudely interrupted by the dreaded crackle and static of a faulty headphone jack? It’s enough to make any tech-savvy individual want to throw their beloved device out the window in frustration. But fear not, my friends, for I have been down this road before, and I’m here to share my hard-earned wisdom on how to tackle this pesky problem.
As an audio enthusiast and self-proclaimed tinkerer, I’ve had my fair share of dealings with faulty headphone jacks. From the time I accidentally spilled my morning coffee all over my studio equipment to the day my toddler decided to use my expensive microphone as a chew toy, I’ve encountered my fair share of audiovisual catastrophes. But through it all, I’ve learned that with a little bit of patience, a steady hand, and the right tools, you can breathe new life into even the most temperamental of headphone jacks.
Diagnosing the Issue
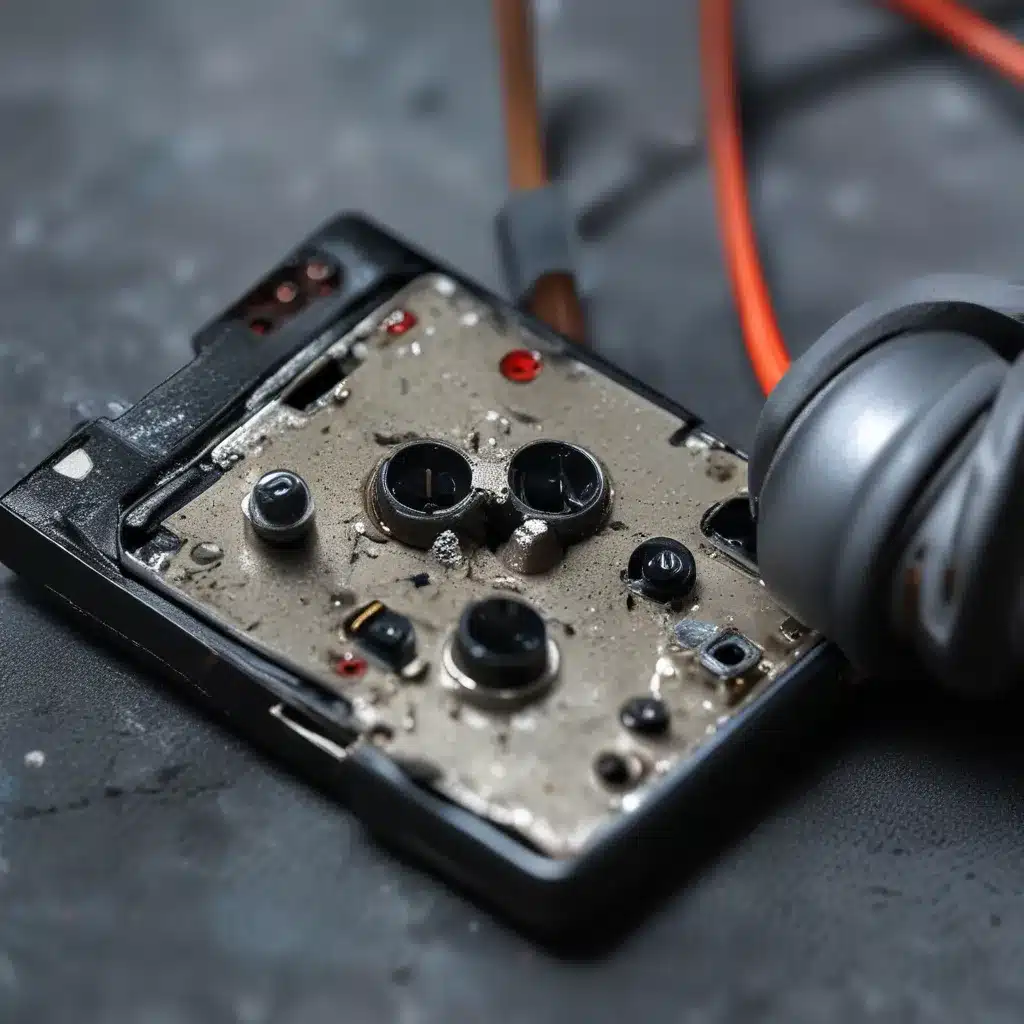
Before we dive into the repair process, it’s important to first identify the root cause of the problem. Is the jack physically damaged, with bent or broken pins? Is the connection between the jack and the circuit board loose or corroded? Or is the issue more of an electronic nature, with a faulty solder joint or a problem with the internal wiring?
A quick YouTube tutorial can often provide valuable insights, as you can see the inner workings of your specific device and get a better understanding of the potential problem areas. Additionally, forums like Sound Design Stack Exchange can be a treasure trove of user-generated knowledge, with people sharing their own experiences and troubleshooting tips.
Once you’ve identified the issue, it’s time to roll up your sleeves and get to work.
Preparing for Surgery
Before you even think about breaking out the soldering iron, it’s crucial to have the right tools on hand. Depending on the complexity of your device, you may need a Phillips head screwdriver, a pair of tweezers, a demagnetized tool (to avoid static discharge), and, of course, a high-quality soldering iron with a fine-tipped nozzle.
If you’re not confident in your soldering skills, or you simply don’t have the necessary equipment, don’t worry – there are plenty of options available. Many local electronics repair shops or audio gear rental places would be more than happy to lend a hand, often for a reasonable fee. Heck, I’ve even had success with reaching out to the manufacturer directly and asking for guidance or a replacement part.
Disassembling the Device
Now that you’ve got your tools ready, it’s time to get your hands dirty. Carefully follow the instructions in the disassembly video or any other reliable sources you’ve found, taking note of the various screws, clips, and connectors that need to be removed. Remember to work slowly and methodically, as you don’t want to accidentally damage any other components in the process.
Once you’ve gained access to the circuit board, you’ll be able to get a good look at the headphone jack itself. Depending on the design of your device, the jack may be soldered directly onto the board or connected via a ribbon cable. Either way, make sure to take plenty of photos or even create a simple diagram to keep track of where everything goes – trust me, it’ll make the reassembly process a whole lot smoother.
Removing the Old Jack
Ah, the moment of truth – it’s time to say goodbye to the old, cranky headphone jack. If the jack is soldered directly to the circuit board, you’ll need to use a soldering iron and some desoldering braid or a vacuum desoldering tool to carefully remove the old connections.
Be very gentle and patient during this step, as you don’t want to accidentally damage the surrounding components or the board itself. If you’re feeling a bit unsure, a quick tutorial from iFixit can provide some additional guidance.
Once the old jack is out, take a moment to inspect the holes in the circuit board, making sure they’re clean and free of any lingering solder. This will ensure a smooth installation for the new part.
Reinstalling the New Jack
With the old headphone jack safely removed, it’s time to welcome the new one with open arms (or, rather, solder points). Carefully align the new jack with the holes in the circuit board, making sure all the pins are properly positioned.
Now, it’s time to break out the soldering iron again. Slowly and methodically, solder each of the connection points, being careful not to create any bridges or solder blobs that could cause a short circuit. If you’re unsure of your soldering skills, or if the jack has a large number of pins, consider enlisting the help of a professional or reaching out to the manufacturer for guidance.
Testing and Reassembly
After the new headphone jack is firmly in place, it’s time to put your device back together and give it a test run. Carefully reattach any cables, screws, or other components you removed during the disassembly process, taking care to follow the order you noted earlier.
Once everything is back in place, plug in your headphones and give them a try. If all goes well, you should be greeted with the sweet, crackle-free sound of audio bliss. If not, double-check your work for any loose connections or solder issues, and don’t be afraid to reach out to the experts for help.
Conclusion: Embrace the Joys of DIY
Repairing a faulty headphone jack may seem daunting at first, but with the right tools, a bit of patience, and a healthy dose of curiosity, you can breathe new life into your beloved audio equipment. Plus, think of the sense of accomplishment you’ll feel when you’re done – not to mention the money you’ll save by tackling the repair yourself.
So, the next time your headphones start acting up, don’t reach for the trash can just yet. Grab your tools, do a little research, and get ready to become a DIY audio repair hero. Who knows, you might even discover a new passion for tinkering in the process. And if all else fails, the team at ITFix is always here to lend a helping hand.

