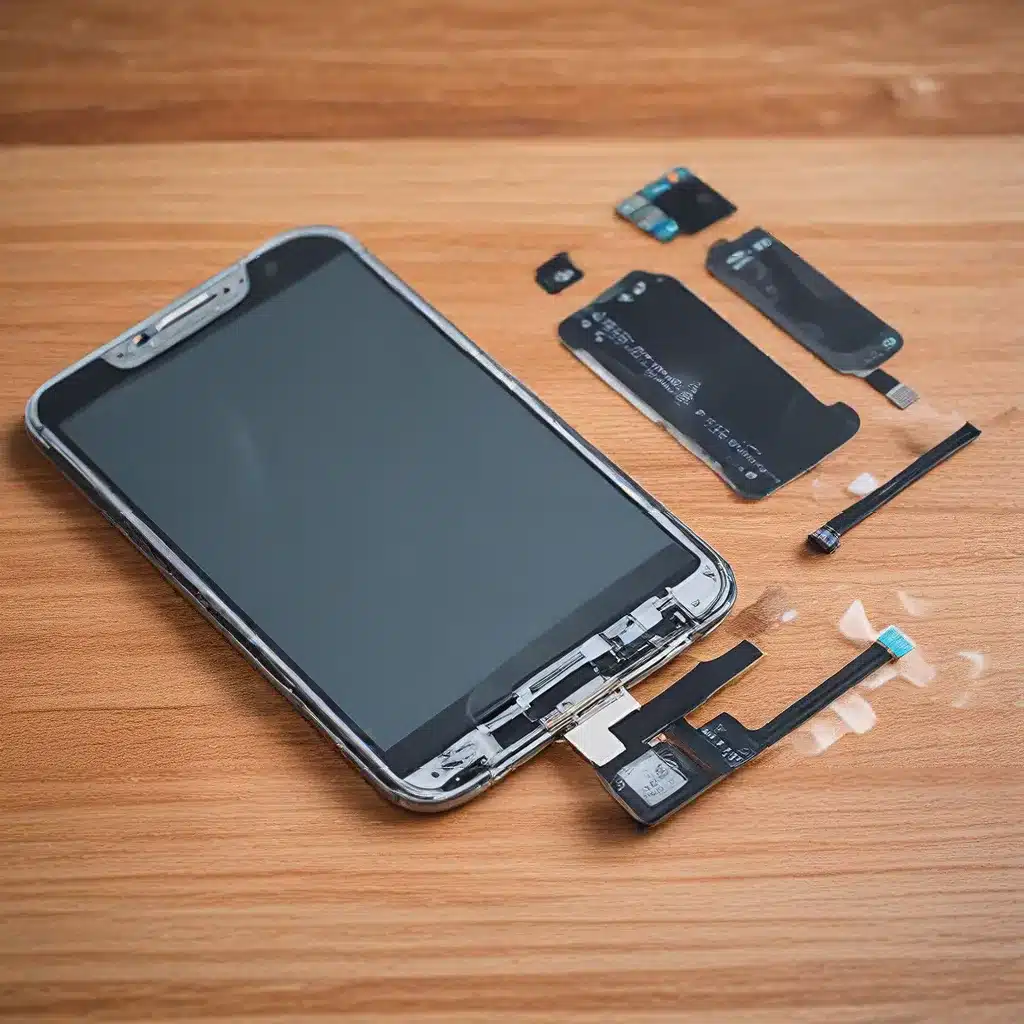
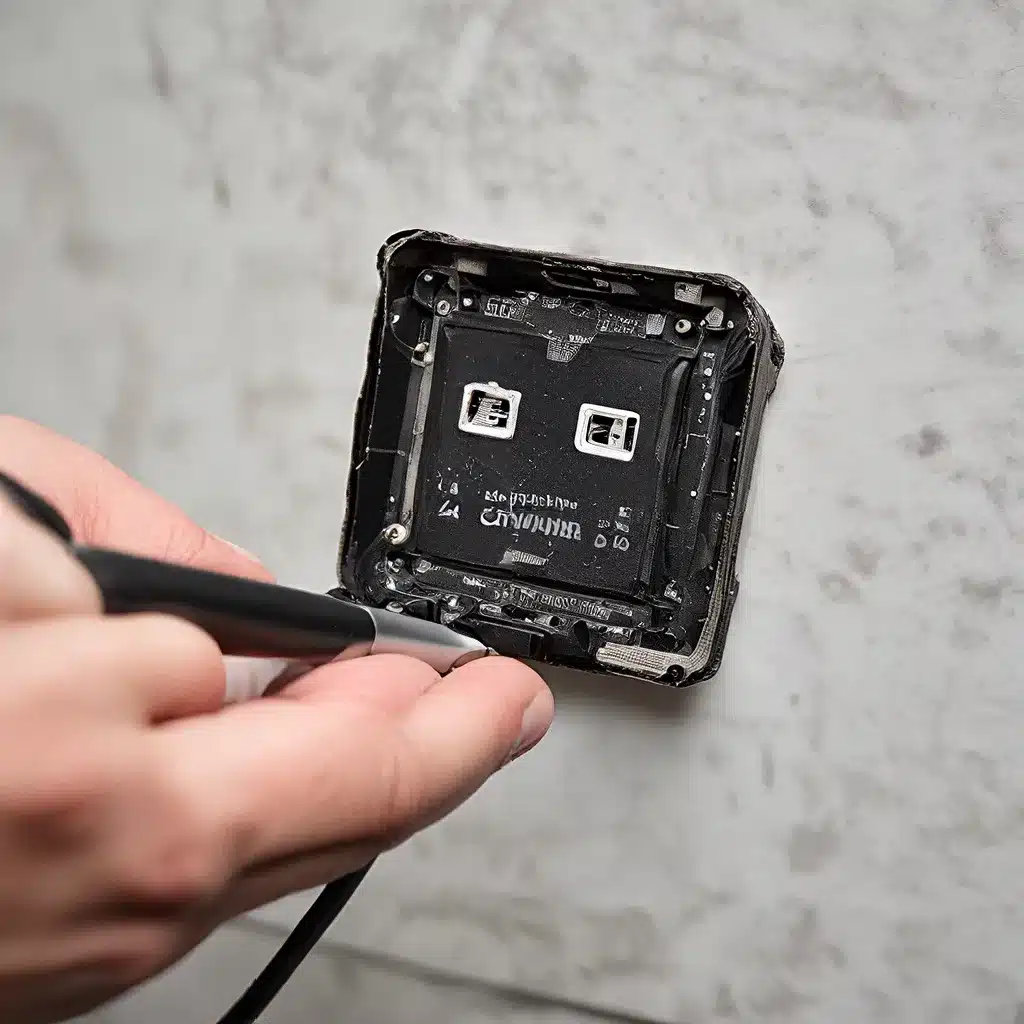
In today’s digital age, smartphones have become an integral part of our daily lives. We rely on these devices for communication, work, entertainment, and so much more. However, accidents happen, and one of the most common issues smartphone users face is a cracked or damaged screen. While professional repair services are always an option, many tech-savvy individuals are turning to DIY screen replacement as a cost-effective alternative. This comprehensive guide will walk you through the process of replacing a damaged smartphone screen, providing you with the knowledge and confidence to tackle this repair on your own.
Understanding the Importance of Screen Integrity
Before we delve into the nitty-gritty of screen replacement, it’s crucial to understand why maintaining the integrity of your smartphone’s screen is so important. The screen is not just a visual interface; it’s a complex component that integrates touch sensitivity, display technology, and often biometric security features like facial recognition or fingerprint sensors.
A damaged screen can significantly impact your smartphone’s functionality. Cracks or scratches can make it difficult to read text, view images, or interact with apps. In some cases, a damaged screen can even compromise the water resistance of your device, potentially leading to more severe internal damage. Moreover, continuing to use a phone with a cracked screen can pose safety risks, as sharp edges could cause injury to your fingers.
For businesses and professionals who rely on their smartphones for work, a damaged screen can lead to decreased productivity and missed opportunities. In an era where mobile devices are often used for presentations, video conferences, and accessing critical business applications, a fully functional screen is not just a luxury—it’s a necessity.
Assessing the Damage and Deciding to DIY
Before embarking on a DIY screen replacement journey, it’s essential to assess the extent of the damage and determine whether a self-repair is the best course of action. Here are some factors to consider:
-
Type of Damage: Is it just the outer glass that’s cracked, or is the underlying LCD/OLED display affected? If only the glass is damaged, a DIY repair might be more feasible. However, if the display itself is malfunctioning, the repair becomes more complex and might require professional intervention.
-
Device Model: Some smartphone models are more repair-friendly than others. Research your specific model to understand the level of difficulty involved in screen replacement. Newer models, especially high-end devices, often have screens that are fused with other components, making the repair more challenging.
-
Warranty Status: Check if your device is still under warranty. Attempting a DIY repair will likely void any existing warranty, so weigh this against the potential cost savings.
-
Cost Comparison: Compare the cost of DIY repair (including tools and replacement parts) with professional repair services. Sometimes, the difference may not be significant enough to justify the risk of a self-repair.
-
Personal Skill Level: Be honest about your technical skills and experience with electronic repairs. If you’re not confident in your abilities, it might be safer to seek professional help.
If you’ve assessed these factors and decided to proceed with a DIY screen replacement, the next step is to gather the necessary tools and materials.
Essential Tools and Materials for Screen Replacement
Having the right tools and high-quality replacement parts is crucial for a successful screen replacement. Here’s a list of items you’ll typically need:
-
Replacement Screen: Ensure you purchase a screen compatible with your specific smartphone model. Look for reputable suppliers who offer original equipment manufacturer (OEM) parts or high-quality aftermarket alternatives.
-
Screwdriver Set: A precision screwdriver set with various bits to match the different screw types in your device.
-
Pry Tools: Plastic pry tools or a spudger to safely separate components without causing damage.
-
Suction Cup: Used to lift the screen from the frame.
-
Adhesive: Double-sided adhesive strips or liquid adhesive to secure the new screen in place.
-
Tweezers: For handling small components and connectors.
-
Heat Gun or Hair Dryer: To soften the adhesive holding the old screen in place.
-
Anti-Static Wrist Strap: To prevent electrostatic discharge that could damage sensitive components.
-
Cleaning Supplies: Microfiber cloths and isopropyl alcohol to clean the device before reassembly.
-
Work Mat: A soft, clean surface to work on, preferably with compartments to organize screws and small parts.
It’s worth noting that many online retailers offer screen replacement kits that include most of these tools along with the replacement screen. This can be a convenient option, especially for first-time repairers.
Online communities dedicated to mobile repair can be excellent resources for finding recommended tools and suppliers. These forums often provide valuable insights from experienced technicians and hobbyists alike.
Preparing for the Repair
Before you start the actual repair process, there are several important preparatory steps to take:
-
Backup Your Data: Always back up your device’s data before any repair. While screen replacement shouldn’t affect your data, it’s better to be safe than sorry.
-
Power Down the Device: Turn off your smartphone completely. If possible, remove the battery to minimize the risk of electrical shorts during the repair.
-
Research Your Model: Look up detailed repair guides or video tutorials specific to your smartphone model. Each device has its quirks, and model-specific guidance can be invaluable.
-
Organize Your Workspace: Set up a clean, well-lit area with plenty of space. Use a magnetic mat or small containers to keep track of screws and small components.
-
Charge Your Tools: If you’re using electric tools like a heat gun, make sure they’re charged or plugged in.
-
Wear Protective Gear: Consider wearing safety glasses to protect your eyes from small flying debris, especially when removing the old screen.
-
Take Photos: As you disassemble your device, take photos at each step. This visual record can be extremely helpful when it’s time to reassemble.
By thoroughly preparing, you set yourself up for a smoother repair process and reduce the risk of complications.
Step-by-Step Screen Replacement Guide
Now that you’re prepared, let’s walk through the general process of replacing a smartphone screen. Keep in mind that the exact steps may vary depending on your specific device model.
Step 1: Remove the Phone’s Back Cover or Battery
For many smartphones, the first step is to remove the back cover and, if possible, the battery. This provides access to internal screws and connectors.
- Look for any external screws holding the back cover in place and remove them.
- Use a pry tool to gently separate the back cover from the phone’s frame.
- If accessible, carefully disconnect and remove the battery.
Step 2: Disconnect Internal Components
Before you can remove the screen, you’ll need to disconnect various internal components:
- Remove any screws holding the internal components in place.
- Carefully disconnect ribbon cables and connectors attached to the motherboard.
- Take note of the order and placement of each component you remove.
Step 3: Separate the Screen from the Frame
This step often requires heat to soften the adhesive holding the screen in place:
- Use a heat gun or hair dryer to warm the edges of the screen. Be careful not to overheat and damage the device.
- Once the adhesive is softened, use a suction cup to lift the screen slightly.
- Insert a pry tool into the gap and carefully work your way around the edges to separate the screen from the frame.
Step 4: Remove the Old Screen
With the screen separated from the frame:
- Carefully lift the screen, being mindful of any remaining connections.
- Disconnect any ribbon cables connecting the screen to the device’s internals.
- Set aside the old screen for proper disposal or recycling.
Step 5: Install the New Screen
Now it’s time to install the replacement screen:
- Clean the frame thoroughly with isopropyl alcohol to remove any old adhesive.
- If your new screen came with pre-applied adhesive, remove the protective backing.
- Carefully connect any ribbon cables to the new screen.
- Align the new screen with the frame and gently press it into place, ensuring a proper seal around the edges.
Step 6: Reassemble the Device
With the new screen in place, it’s time to put everything back together:
- Reconnect all internal components in the reverse order you removed them.
- Replace any screws you removed during disassembly.
- If applicable, reinsert the battery and replace the back cover.
Step 7: Test the New Screen
Before considering the job complete:
- Power on the device and verify that the new screen functions correctly.
- Test touch sensitivity, display quality, and any integrated features like facial recognition.
- Check for any gaps or misalignment in the screen installation.
Common Challenges and Troubleshooting
Even with careful preparation and execution, you may encounter some challenges during the screen replacement process. Here are some common issues and how to address them:
1. Unresponsive Touch Screen
If the new screen is installed but not responding to touch:
- Double-check all ribbon cable connections. Even a slightly loose connection can cause touch functionality issues.
- Ensure that you’ve removed any protective film from the new screen.
- Try a soft reset of the device by powering it off and on again.
2. Display Issues (Lines, Dead Pixels, or Discoloration)
If you notice display abnormalities:
- Verify that you’ve installed a compatible screen for your device model.
- Check for any damage to the ribbon cables during installation.
- Ensure that the screen is properly seated and all connectors are secure.
3. Facial Recognition or Fingerprint Sensor Not Working
For devices with integrated biometric sensors:
- Carefully inspect the sensor connections and ensure they’re properly seated.
- Check if any cables or components related to these features were inadvertently damaged during the repair.
- Some devices may require recalibration of biometric features after screen replacement.
4. Gaps or Uneven Edges
If the screen doesn’t sit flush with the frame:
- Gently apply pressure around the edges to ensure the adhesive makes full contact.
- Check for any debris or old adhesive that might be preventing a proper fit.
- If using liquid adhesive, allow sufficient time for it to cure before handling the device.
5. Device Not Powering On
If your smartphone won’t turn on after the repair:
- Verify that the battery is properly connected and charged.
- Check all internal connections, especially power-related ones.
- Look for any signs of accidental damage to the motherboard during the repair process.
Remember, if you encounter persistent issues that you can’t resolve, it may be time to consult a professional. IT support services can provide expert assistance and may be able to diagnose and fix issues that aren’t immediately apparent.
Best Practices for DIY Smartphone Repair
To increase your chances of a successful repair and maintain the longevity of your device, consider these best practices:
-
Take Your Time: Rush jobs often lead to mistakes. Set aside ample time for the repair and work methodically.
-
Stay Organized: Keep track of all screws and components. A magnetic screw mat can be invaluable for this purpose.
-
Handle with Care: Smartphone components are delicate. Use gentle pressure and avoid forcing anything into place.
-
Mind Static Electricity: Always use an anti-static wrist strap to prevent damage from electrostatic discharge.
-
Quality Matters: Invest in high-quality replacement parts and tools. Cheap components can lead to poor performance or even damage your device.
-
Document Everything: Take photos or videos of each step. This can be incredibly helpful if you need to backtrack or for future repairs.
-
Clean as You Go: Keep your workspace and components clean. Even small dust particles can interfere with delicate electronics.
-
Know When to Stop: If you encounter a step you’re not comfortable with, it’s okay to stop and seek professional help.
-
Practice on Old Devices: If possible, practice your repair skills on non-functioning or older devices before tackling your primary smartphone.
-
Stay Updated: Keep abreast of the latest repair techniques and tool recommendations. The mobile repair community is constantly evolving.
The Environmental Impact of DIY Repairs
It’s worth considering the positive environmental impact of repairing your smartphone rather than replacing it. Electronic waste, or e-waste, is a growing global concern. By extending the life of your device through repairs, you’re contributing to a reduction in e-waste and the demand for new device production.
Benefits of Repairing vs. Replacing:
-
Resource Conservation: Repairing your phone reduces the need for raw materials used in manufacturing new devices.
-
Energy Savings: The energy required to produce a new smartphone is significantly more than what’s needed for a repair.
-
Waste Reduction: Keeping your device functional longer means one less phone in a landfill.
-
Eco-Friendly Mindset: Engaging in repairs promotes a culture of sustainability and conscious consumption.
When disposing of old components, such as the damaged screen, look for local electronics recycling programs. Many components contain valuable materials that can be recovered and reused, further reducing environmental impact.
The Future of Smartphone Repairability
As technology advances, the landscape of smartphone repairability is evolving. There’s a growing movement advocating for the “right to repair,” which aims to make it easier for consumers and independent repair shops to fix electronic devices.
Emerging Trends in Smartphone Design and Repair:
-
Modular Designs: Some manufacturers are exploring modular smartphone designs, allowing for easier component replacement.
-
Improved Adhesives: New adhesive technologies are being developed that maintain device integrity while allowing for easier disassembly.
-
Standardization: There’s a push for more standardized components across models and brands, which could simplify the repair process.
-
AI-Assisted Repairs: Artificial intelligence is being integrated into diagnostic tools, potentially making it easier to identify and resolve smartphone issues.
-
3D-Printed Parts: As 3D printing technology advances, it may become possible to print certain replacement parts at home or in local repair shops.
These developments could make DIY repairs more accessible and less daunting for the average user in the future.
Legal and Warranty Considerations
Before undertaking any DIY repair, it’s crucial to understand the legal and warranty implications:
-
Warranty Voiding: In most cases, opening your device and performing repairs will void any existing manufacturer warranty.
-
Quality of Parts: Using non-OEM parts may affect the performance of your device and could potentially cause issues with future software updates.
-
Data Protection: If your device contains sensitive personal or business data, be aware of the risks involved in handling the device yourself.
-
Right to Repair Laws: Stay informed about the right to repair movement and any relevant legislation in your area, as this could affect your repair options and rights as a consumer.
-
Insurance Implications: If your device is insured, check whether DIY repairs could affect your coverage.
It’s always a good idea to weigh these considerations against the potential benefits of a DIY repair.
When to Seek Professional Help
While DIY screen replacement can be a rewarding and cost-effective solution, there are situations where professional assistance is advisable:
-
Complex Repairs: If the damage extends beyond the screen or involves multiple components, a professional repair service may be more appropriate.
-
High-Value Devices: For expensive, high-end smartphones, the risk of DIY repair might outweigh the potential savings.
-
Lack of Confidence: If you’re unsure about your ability to complete the repair safely, it’s better to consult a professional.
-
Time Constraints: Professional repair services can often complete the job quickly, which may be crucial if you rely heavily on your device.
-
Warranty Preservation: If your device is still under warranty, professional repair through authorized channels may be the best option.
Remember, there’s no shame in seeking expert help. Professional IT support and repair services have the experience, tools, and knowledge to handle complex issues efficiently and safely.
Conclusion: Empowering Users Through DIY Repairs
DIY smartphone screen replacement represents more than just a cost-saving measure; it’s an empowering skill that puts control back into the hands of users. By learning to repair your own device, you gain a deeper understanding of the technology you use daily and contribute to a more sustainable approach to consumer electronics.
However, it’s essential to approach DIY repairs with a balanced perspective. While many screen replacements can be successfully completed at home, some situations call for professional expertise. Always assess the risks and benefits before deciding to tackle a repair yourself.
Whether you choose to DIY or seek professional help, the key is to make informed decisions that balance cost, convenience, and the longevity of your device. By staying informed about repair options and best practices, you can ensure that your smartphone remains a reliable tool in your personal and professional life.
Remember, the world of mobile device repair is constantly evolving. Stay curious, keep learning, and don’t hesitate to reach out to the vibrant community of tech enthusiasts and professionals who share their knowledge and experiences online. With the right approach, you can extend the life of your smartphone and contribute to a more sustainable tech ecosystem.

