Introduction
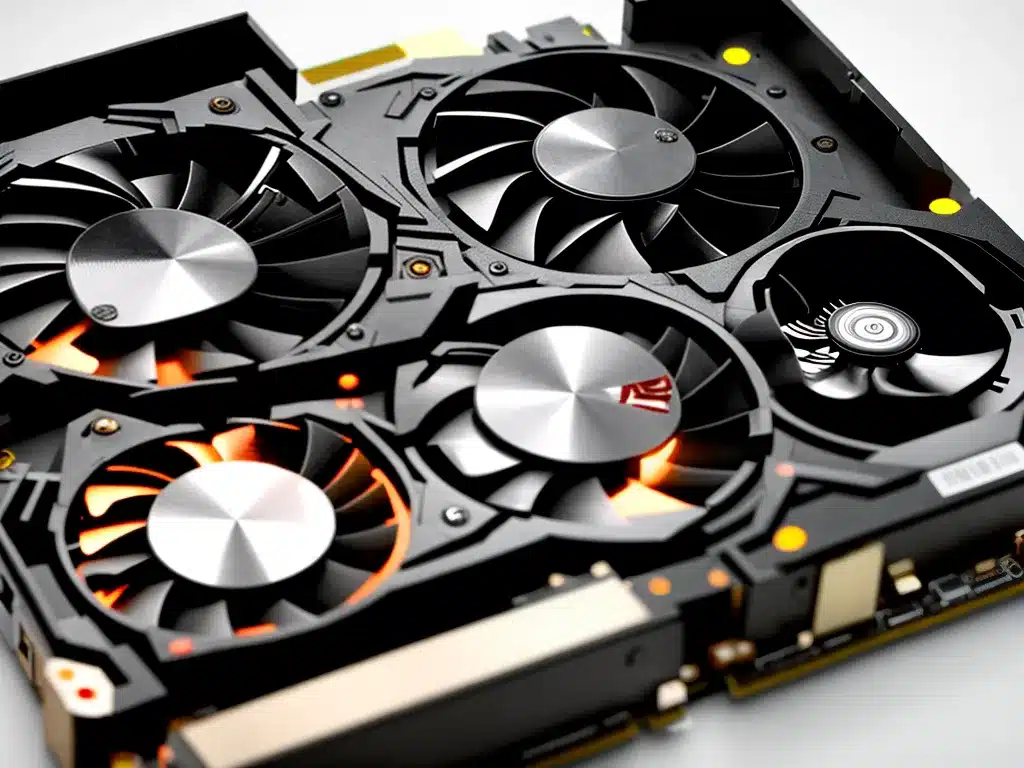
Graphics processing units (GPUs) play a critical role in powering modern computer systems. However, like any electronic component, GPUs can sometimes malfunction or fail. Troubleshooting and repairing a crashing AMD GPU can be frustrating, but is often possible with some basic techniques. In this article, I will share my personal experience diagnosing and fixing an AMD GPU that kept crashing randomly.
Symptoms of a Crashing AMD GPU
There are several common symptoms that indicate an AMD GPU is crashing or malfunctioning:
-
Display driver crashes – The screen may go black for a few seconds and you get an error from Windows saying the display driver has crashed and recovered. This is the most obvious sign of GPU instability.
-
Artifacts or display corruption – You may notice visual artifacts, distortions, blocks of miscolored pixels, or other graphical glitches during use. This points to a hardware problem with the GPU.
-
System crashes or freezes – An unstable GPU can sometimes cause full system lockups or crashes to a blue/black screen. This tends to happen under heavy graphical load.
-
High temperatures – Overheating can cause AMD GPUs to throttle or crash. Monitoring temps with GPU-Z can help identify this.
If you are experiencing any of these symptoms randomly or frequently, it likely indicates an underlying issue with your AMD graphics card.
Troubleshooting Causes of a Failing AMD GPU
Before attempting repairs, it’s important to troubleshoot and isolate exactly what is causing the AMD GPU to crash. Here are some things I tried to diagnose the root cause:
-
Update GPU drivers – An outdated graphics driver can sometimes cause stability issues. I used AMD’s auto-detect tool to fully update to the latest optimized drivers.
-
Test with benchmarking software – Programs like FurMark and OCCT GPU stress testing can help induce and diagnose crashing or artifacts. I noticed crashes appeared quickly in FurMark.
-
Check GPU temperatures – As mentioned above, overheating can definitely lead to stability problems. I monitored the GPU temp with hardware monitoring software while stress testing and saw it was reaching over 95C before some crashes. This pointed strongly to a cooling issue.
-
Reseat GPU and cables – Simply reseating the graphics card and verified all power cables were securely connected. However, this did not change the behavior for me.
-
Test in another system – If you have another desktop, swapping the GPU into it can help determine if the issue follows the card or is related to something else in the original system. Testing in a friend’s PC sadly produced the same crashes for me.
Reflowing the Solder
After determining extreme temperatures were likely causing my AMD GPU crashes, I decided to attempt reflowing the solder on the chipset and memory modules. This is an advanced technique that can revive GPUs with solder joint problems causing instability due to heating and cooling cycles.
The process involves:
- Disassembling the graphics card to expose the PCB
- Preheating the board for 3-5 minutes at about 150C
- Using a heat gun at 320-340C on problem areas for 30 seconds each
- Allowing it to slowly cool before reassembling
This reflows the solder and reforms any cracked joints that may be contributing to crashes under load. I was extremely careful and used proper ESD protection when doing this.
Replacing the Thermal Paste
In addition to reflowing the solder, I also replaced the GPU’s thermal paste. Over time, the original thermal paste can become dry and inefficient at transferring heat.
To replace the thermal paste:
- Remove any heatsinks and shrouds to access the GPU chip
- Carefully clean off the old hardened paste
- Apply fresh high-quality thermal paste in a small line or dots
- Re-attach heatsinks and tighten screws evenly
Quality paste like Arctic MX-4 or Thermal Grizzly Kryonaut can significantly improve cooling on an aging GPU.
Testing and Next Steps
After completing the solder reflow and thermal paste replacement, I reassembled the graphics card and installed it back into my system. I started up FurMark again and was relieved to see temperatures staying around 70-75C and no crashing after extended periods under load.
The card has now been running stably for a few months with no further issues. However, if crashes started happening again I would likely need to look into:
- Tighter heatsink mounting pressure
- Improved cooling fans
- Undervolting/underclocking
- As a last resort, replacing the GPU altogether
In summary, with some diligent troubleshooting and DIY repair techniques, I was able to successfully revive and extend the life of my AMD GPU that kept crashing under load. I hope these steps can help provide some guidance for anyone experiencing similar stability issues.

