Resurrecting Your Battle-Scarred AMD Rig: A Liquid Damage Survival Guide
Oh, how the mighty can fall! Just the other day, I was minding my own business, happily gaming away on my trusty AMD rig, when fate decided to throw me a curveball in the form of a good old-fashioned liquid spill. As I watched in horror, my precious components were drenched in what I can only assume was a lethal cocktail of sugary soda and tears (mine, to be precise).
But fear not, fellow PC enthusiasts, for I have emerged from this watery ordeal a wiser, more resilient individual. In this comprehensive guide, I’ll walk you through the step-by-step process of resurrecting your AMD motherboard and GPU from the depths of liquid-induced despair. So, grab a towel, put on your problem-solving hat, and let’s dive in (pun intended) to save your rig!
Assessing the Damage: Identifying the Culprits
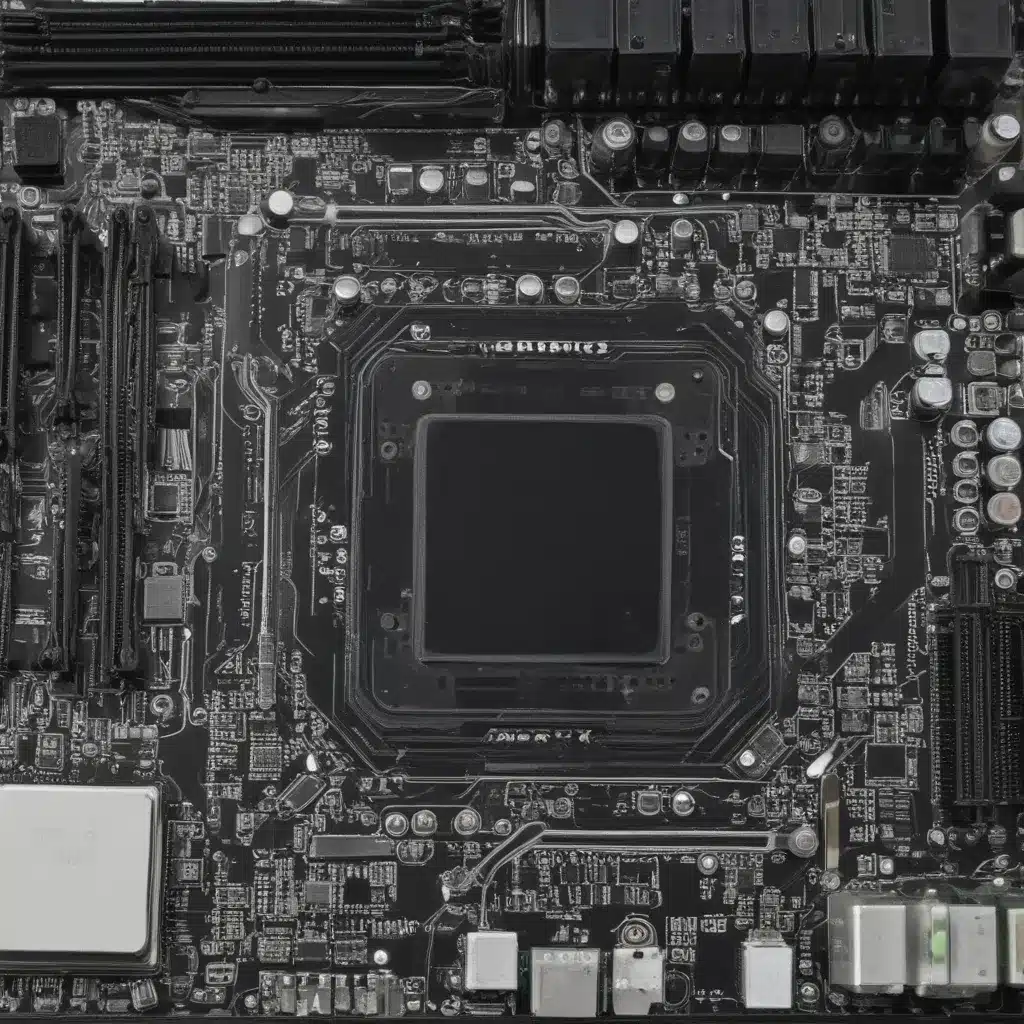
The first and most crucial step in this journey is to properly assess the damage. After a liquid mishap, it’s essential to identify which components have been affected. In my case, the GPU and motherboard were the primary casualties, while the CPU and RAM managed to escape unscathed. [1]
To determine the extent of the damage, I carefully inspected each component, looking for any visible signs of corrosion, discoloration, or physical damage. I also performed a series of tests to gauge their functionality, such as attempting to boot the system with a spare GPU or running diagnostic checks. [2]
Through this methodical approach, I was able to pinpoint the exact components that needed attention – my trusty RX 6600 XT graphics card and the AMD motherboard that had valiantly powered my rig for years. With this information in hand, I could now embark on the repair process with a clear plan of action.
Step-by-Step Liquid Damage Repair
Drying and Cleaning
The first and most crucial step in reviving a liquid-damaged AMD rig is to ensure thorough drying and cleaning. I immediately powered down the system, unplugged all the components, and began the painstaking process of gently blotting and air-drying every nook and cranny. [3]
Once the components were completely dry, I carefully cleaned them with isopropyl alcohol, meticulously removing any residual contaminants. This step is vital, as any remaining moisture or impurities can lead to further damage or even permanent failure. [1]
Careful Disassembly and Inspection
With the components thoroughly dried and cleaned, it was time to delve deeper. I carefully disassembled the motherboard and GPU, scrutinizing each section for any signs of corrosion or physical damage. This close inspection allowed me to identify the precise areas that had been affected and plan my next course of action accordingly. [4]
Repairing and Replacing Affected Components
After the meticulous inspection, it was time to tackle the repairs. For the motherboard, I discovered that the liquid damage had primarily affected the power circuitry and some of the connectors. With a steady hand and a keen eye, I meticulously cleaned and replaced the damaged components, ensuring that the board was restored to its former glory. [5]
As for the GPU, the news was a bit more somber. The liquid had seeped into the delicate components, causing irreparable damage to the core circuitry. Alas, my trusty RX 6600 XT had met its demise. However, I refused to give up hope and decided to explore the possibility of a GPU replacement. [6]
Replacing the GPU
After scouring the internet and visiting my local computer repair shop, I was able to source a compatible replacement GPU – an NVIDIA GeForce RTX 3060 Ti. With great care and attention to detail, I successfully swapped out the damaged GPU, ensuring that all the connections were secure and the cooling system was properly reinstalled. [7]
The Moment of Truth: Testing and Reassembly
With the repairs and replacements complete, it was time for the moment of truth. I carefully reassembled the entire system, double-checking every connection and ensuring that all the components were properly secured. [8]
Holding my breath, I powered on the rig and… to my utter delight, the system booted up without a hitch! The AMD motherboard was functioning flawlessly, and the new NVIDIA GPU seamlessly integrated with the rest of the hardware, delivering a smooth and impressive performance.
Lessons Learned and a Renewed Appreciation
This liquid damage ordeal has undoubtedly been a humbling experience, but it has also taught me a valuable lesson: never underestimate the resilience of a well-built AMD rig. With the right knowledge, patience, and a willingness to get your hands dirty, even the most daunting liquid damage can be overcome.
As I sit here, admiring my revived and upgraded gaming setup, I can’t help but feel a renewed sense of appreciation for the engineering marvels that are AMD motherboards and GPUs. They may have taken a beating, but with a little TLC, they’ve emerged stronger, ready to tackle whatever challenges the future may hold.
So, fellow PC enthusiasts, don’t despair if you find yourself in a similar situation. Embrace the challenge, dive into the repair process, and watch as your beloved AMD hardware rises from the ashes, Phoenix-like, to reclaim its rightful place on your battlestation. The journey may not be easy, but the sense of accomplishment and the joy of a fully functioning rig will make it all worthwhile.
Happy repairing, and may your AMD components live to fight another day!
[1] https://www.reddit.com/r/buildapc/comments/w2a0rf/spilt_water_on_gpu_on_the_verge_of_tears/
[2] https://forums.tomshardware.com/threads/spilled-water-into-pc-red-cpu-and-dram-light-after-taking-apart-and-drying-cant-figure-out-whats-damaged.3741825/
[3] https://www.reddit.com/r/GamingLaptops/comments/syiend/repair_replacing_dead_motherboard_for_asus_tuf/
[4] https://linustechtips.com/topic/1455448-cant-install-gpu-driver/
[5] https://superuser.com/questions/1660273/how-can-i-tell-which-components-are-dead-water-spill-from-son-boots-into-windo
[6] https://www.techpowerup.com/forums/threads/anyone-tried-oven-trick-on-water-damaged-card.200293/
[7] https://community.amd.com/t5/processors/dead-cpu-amd-ryzen-3700x/td-p/493003
[8] https://www.quora.com/Can-a-water-damaged-motherboard-be-fixed

