Introduction
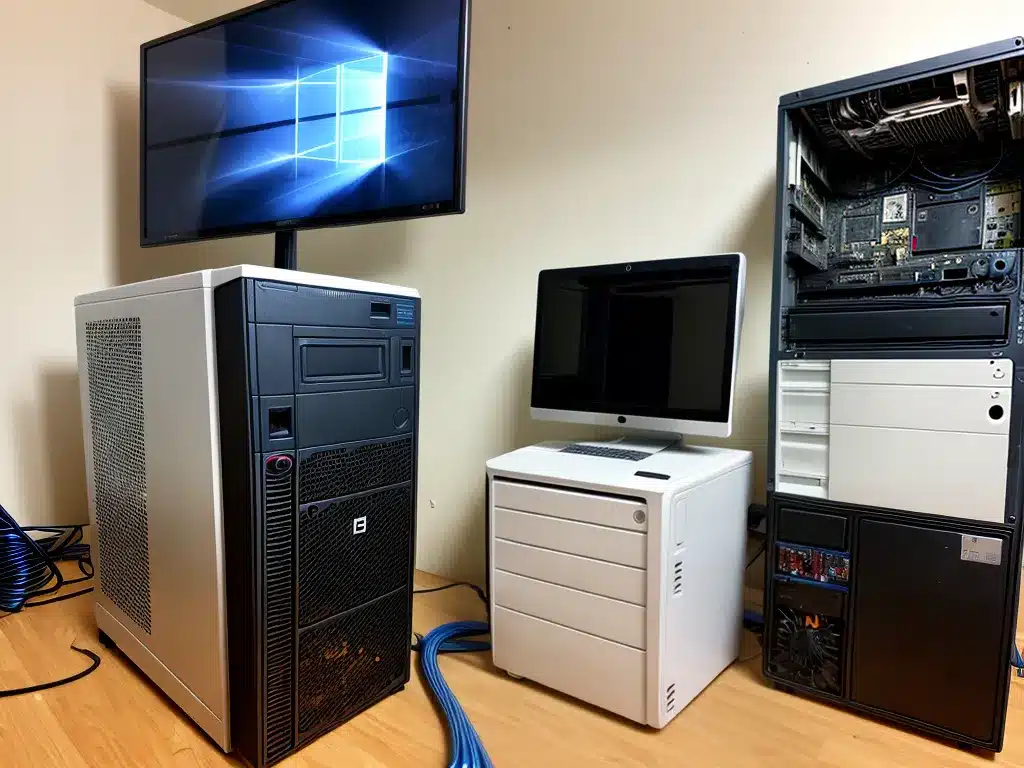
As an avid PC enthusiast, I often find myself acquiring old and used computers that need some refurbishment before they can be put to use again. Cleaning and refurbishing an old PC can breathe new life into aging hardware, save electronic waste from landfills, and provide you with an inexpensive computer for basic tasks or tinkering. In this article, I will share my tips for fully revitalizing an old PC through a deep clean and refresh.
Gather Your Supplies
Before diving into an old PC, it’s important to gather the proper cleaning supplies and tools. Here’s what I recommend having on hand:
- Canned air – To clear out dust and debris
- Small paintbrushes – For dusting hard-to-reach areas
- Isopropyl alcohol – For cleaning and disinfecting
- Microfiber cloths – For wiping down components
- Thermal paste – For reapplying to CPUs
- Philips screwdriver – For accessing the PC’s interior
- Zip ties and velcro straps – For wrangling cables
Make sure you have a well-ventilated workspace and antistatic mat for opening up the PC. An organized approach will make the process easier.
Open Up the Case
The first step is to open up the computer case and gain access to the components. Be sure the PC is unplugged before proceeding. Refer to your model’s manual if needed to find out how to remove the side panels. Many cases require removing thumbscrews or pressing release tabs.
With the panels removed, you’ll have a clear view of the interior. Take a few minutes to familiarize yourself with the layout and identify any obvious problems like heavy dust buildup or unseated components.
Remove Components
Systematically removing components like the motherboard, drives, cards, RAM, and power supply will allow you to thoroughly clean each part. Refer to your manual for instructions on safely removing these components.
As you detach each part, place it on your antistatic mat, keeping screws with their corresponding parts. Be gentle and don’t force anything. Damaged connections can cause bigger headaches down the road.
Deep Cleaning
Here comes the fun part: meticulously cleaning each component. This process removes years of grime and dust buildup.
Fans and Heatsinks
Use compressed air to dislodge debris from CPU and case fans. Be careful not to spin them too quickly. Remove any caked-on dust with a small brush. Reapply fresh thermal paste to the CPU for optimal heat transfer after cleaning the old paste off.
Motherboard
Wipe down the motherboard with a microfiber cloth lightly dampened with isopropyl alcohol. Be very gentle around delicate components like the CPU socket. Let it fully dry before reinstallation.
Drives
Carefully dust HDDs, SSDs, and optical drives with a brush and compressed air. Wipe contacts with an alcohol-dampened cloth.
Graphics Card
Use compressed air to clean dust from the heatsink, fans, and vents of any installed GPU. Remove any debris trapped between the heatsink and card body.
Power Supply
- Avoid opening the power supply – just blow compressed air into the fan to clear it out.
- Wipe the exterior with a microfiber cloth.
Cables, Frame, and More
- Use zip ties and velcro straps to wrangle and organize cables for improved airflow.
- Carefully dust the case frame and wipe with a cloth. Clean the front panel buttons and ports.
- Gently brush debris from RAM sticks. Reseat them firmly in their slots.
Reassembly and Testing
Once everything is sufficiently clean, it’s time to reassemble the PC. Refer to your manual and follow these best practices:
- Double check connections to avoid any loose cords or unseated components
- Ensure nothing obstructs the fans or heatsinks
- Reapply thermal paste to the CPU before attaching the cooler
- Route and secure cables for optimal airflow
- Refer to manuals for proper RAM configuration
With everything reassembled, reconnect the power cable and peripherals. Power it on and enter BIOS to verify component detection. From there, reinstall the operating system for a fully renewed computer!
Conclusion
Refurbishing an old computer is very rewarding. A thorough deep clean removes years of accumulated dust and grime. New thermal paste also improves cooling performance. With some elbow grease, you can extend the life of aging hardware and save money over buying new equipment. Just be sure to work slowly and gently – don’t force anything! What old PCs have you refreshed? Let me know your best tips in the comments.

