Protecting Your Phone from Water Damage: DIY Repair Guide
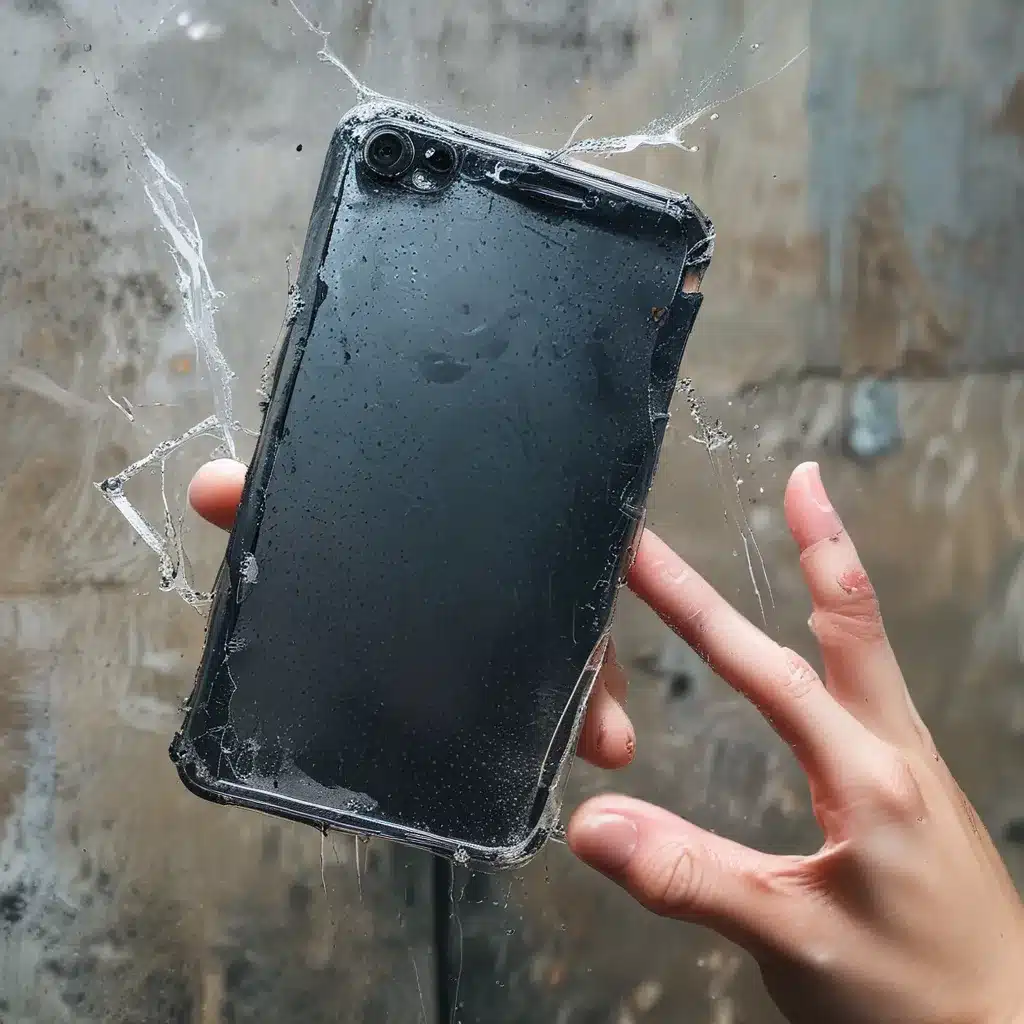
I’ll never forget the day my phone took an unexpected dip in the pool. One minute I was lounging by the water, the next I was frantically fishing my device out, praying it would still work. Turns out, it was a costly lesson in the perils of water and electronics.
But you know what they say – fool me once, shame on you; fool me twice, shame on me. I’m determined not to let that happen again. That’s why I’ve put together this comprehensive DIY guide to protecting your phone from water damage.
Whether you’re heading to the beach, boating on the lake, or just dealing with a spill at home, these tips will help you keep your precious smartphone high and dry. Let’s dive right in (pun intended).
Invest in a Waterproof Phone Case
The first line of defense against water damage is a good phone case. Not just any case will do, though – you’ll want one that’s specifically designed to be waterproof or water-resistant.
CaliCase and JOTO are two of the top brands in this category. Their cases are made from durable materials like PVC and TPU that create a reliable seal around your device. This prevents water from seeping in, even if your phone takes a dip.
Now, I know what you’re thinking – “But my phone is already water-resistant, isn’t that enough?” Not necessarily. While many newer models boast some level of water protection, they’re only designed to withstand brief, shallow submersion. A waterproof case gives you an extra layer of defense for those more extreme situations.
Act Quickly if Disaster Strikes
Despite your best efforts, there’s always a chance your phone could still end up taking an unexpected swim. If that happens, don’t panic – there are steps you can take to minimize the damage.
The first thing you’ll want to do is power off your device immediately. Electricity and water are a dangerous combination, so cutting the power is crucial. Once it’s off, gently dry the outside of the phone with a clean, soft cloth.
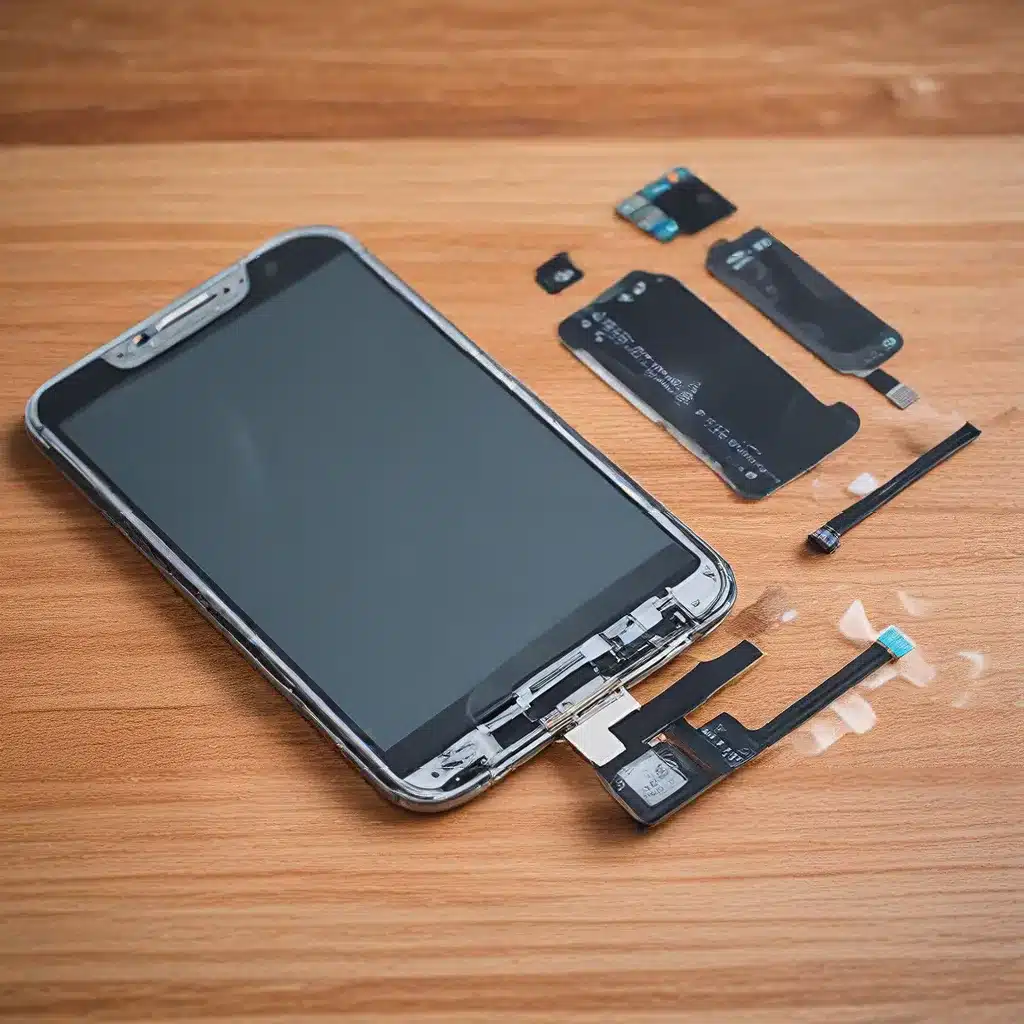
Next, remove the SIM card and any other removable components. This will help speed up the drying process and prevent further water intrusion. Avoid the temptation to blow-dry your phone, though – the heat can actually cause more harm than good.
Instead, place your device in a sealable plastic bag or airtight container filled with a desiccant like silica gel packets. These absorb moisture to draw the water out of your phone. Leave it in there for at least 24-48 hours, checking regularly to see if the packets have become saturated.
If your phone starts working again after this treatment, great! But be cautious – there may still be residual moisture that could cause problems down the line. Keep an eye out for any unusual behavior or malfunctions in the days and weeks ahead.
Dealing with Water in the Charging Port
One of the trickiest areas to dry out is the charging port. Water can easily get trapped in there, leading to all sorts of issues like intermittent charging, connectivity problems, and even corrosion.
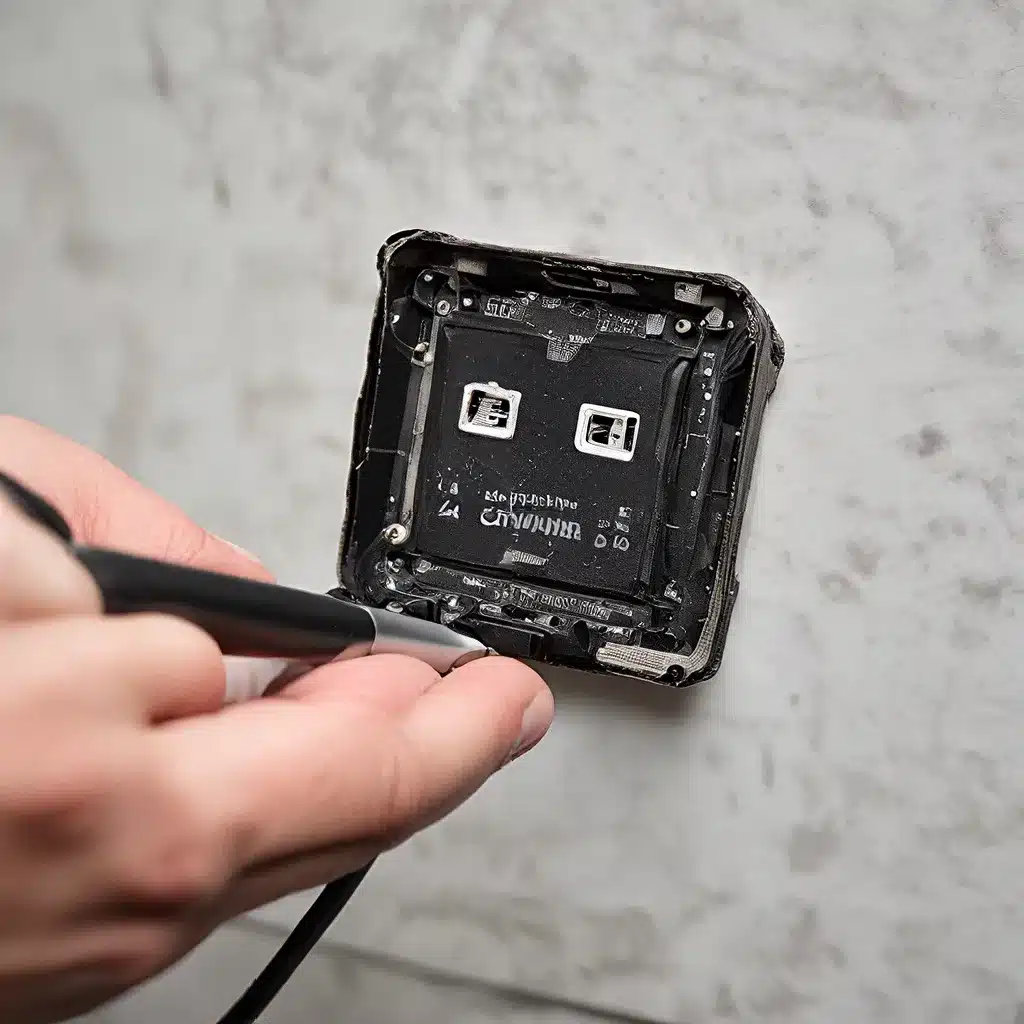
The key is to act fast and use the right tools. First, use a small, dry toothbrush or cotton swab to gently clean out any visible debris or moisture. Be very careful not to push the water further into the port.
Next, try using a can of compressed air to blow out any remaining water. Aim the nozzle directly into the port, keeping it at a slight angle to create a strong airflow. You may need to do this a few times to fully clear it out.
If you’re still having trouble, you can also try using a wooden toothpick or non-metallic tool to carefully dislodge any stubborn water droplets. Just be extremely gentle to avoid damaging the delicate port components.
And of course, patience is key. It may take several hours or even days for the port to fully dry out. In the meantime, avoid charging your phone to prevent any short-circuiting.
Dealing with Water in the Speakers
Your phone’s speakers are another vulnerable area when it comes to water damage. If water gets in there, it can cause muffled or distorted audio, or even prevent the speakers from working altogether.
The good news is, you can usually fix this with a few simple steps. Start by gently tapping or shaking your phone to try and dislodge any water that’s pooled in the speaker grilles. You can also try using a soft-bristled toothbrush to carefully brush away any visible moisture.
If that doesn’t do the trick, reach for the compressed air again. Aim the nozzle directly at the speaker openings and give them a good blast of air. This should help push out any remaining water droplets.
Just be sure to hold your phone at an angle so the water can drain out, rather than getting pushed deeper into the speaker cavities. And as with the charging port, avoid using heat or anything sharp that could damage the delicate speaker components.
With a little elbow grease and patience, you should be able to get those speakers working like new in no time.
Don’t Forget About Your Warranty
When it comes to water damage, your phone’s manufacturer warranty can be a lifesaver. Many modern devices now come with some level of water resistance built-in, which means the warranty may still cover certain types of liquid-related issues.
Of course, the details can vary quite a bit between brands and models. Some may only protect against light splashes, while others offer more comprehensive coverage for full submersion. And in some cases, the warranty may be voided entirely if water damage is detected.
The best thing to do is check with your phone’s manufacturer or your wireless provider to understand the exact terms and conditions. If your device is still under warranty and you’ve followed the proper steps to dry it out, you may be able to get a free repair or even a replacement.
Even if your warranty has expired, you may still be able to take advantage of third-party protection plans like those offered by ITFix. These can provide coverage for water damage and other issues, often at a lower cost than dealing with the manufacturer directly.
Protect Your Phone, Protect Your Wallet
At the end of the day, water and electronics just don’t mix. But with the right precautions and a bit of quick thinking, you can significantly reduce the risk of an expensive repair – or even a full-on device replacement.
From waterproof cases to desiccant packs, the tools and techniques in this guide will help you keep your beloved smartphone high and dry, no matter where your adventures take you. And if disaster does strike, don’t panic – there are still steps you can take to minimize the damage and get your device back in working order.
So the next time you’re heading out on the water, make sure to pack your phone’s protective gear right alongside your swimsuit and sunscreen. A little preparation now can save you a whole lot of heartache (and cash) down the road.
Happy swimming – er, I mean, happy trails!

