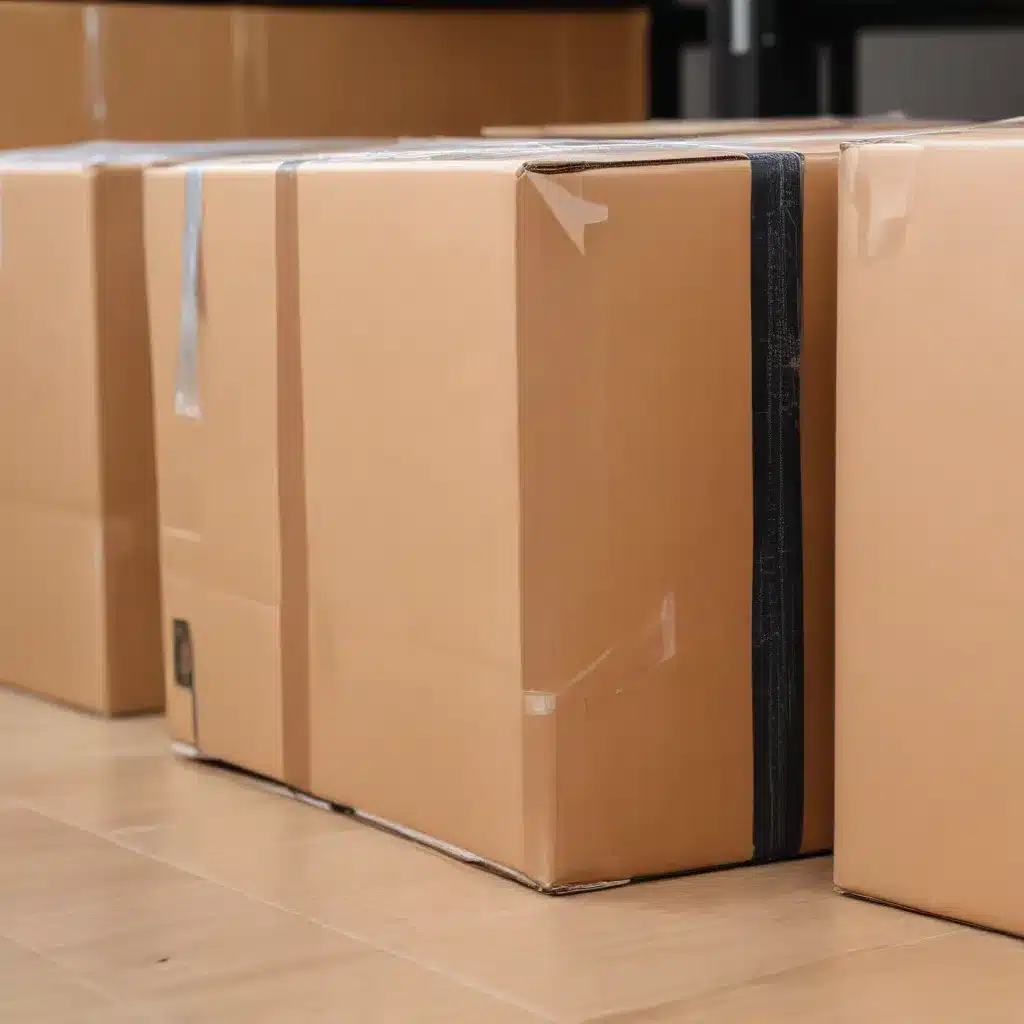
As an experienced IT professional, I’ve seen firsthand the importance of proper packing when it comes to transporting a desktop computer. Whether you’re moving to a new home, taking your gaming rig to a LAN party, or sending your PC in for repairs, the way you pack it can make all the difference in ensuring it arrives at its destination unscathed.
Assess Your PC’s Components
Before you even begin packing, it’s crucial to take a close look at your PC’s internal components. Identify any particularly heavy or delicate parts that may require extra attention during the packing process. Large air coolers, like the Dark Rock Pro 4, can be a concern, as their weight could potentially cause damage to the motherboard if not secured properly.
If you have a high-end graphics card or a liquid cooling system, these will also need to be addressed with care. The general consensus is that it’s best to remove the GPU and CPU cooler, whether it’s an air cooler or an AIO liquid unit, to prevent any potential damage during transport.
Prepare Your PC for Packing
Once you’ve identified the critical components, it’s time to get your PC ready for packing. Begin by backing up all your important data to an external drive or cloud storage. This will ensure that you can restore your files if anything were to happen to the computer during the move.
Next, power down your PC and unplug all the cables. Be sure to label each cable as you disconnect it, making the reassembly process much easier at the other end. Remove any discs or other media from the optical drive, as leaving them in place can lead to damage during transit.
Gather the Right Packing Supplies
With your PC prepared, it’s time to gather the necessary packing supplies. You’ll want to have the following items on hand:
- Original PC packaging (if available): This is often the best option, as the manufacturer has designed the packaging to protect the computer during shipping.
- Bubble wrap or packing paper: Use these materials to create a cushioned layer at the bottom of the box and to wrap around the PC tower.
- Foam inserts or packing peanuts: These can be used to fill any empty spaces in the box, preventing the PC from shifting during transport.
- Anti-static bags: These are essential for protecting sensitive components like the motherboard, CPU, and graphics card.
- Sturdy moving box: Choose a box that is slightly larger than the PC tower to allow for proper padding.
- Packing tape and markers: Use these to securely seal the box and clearly label it as “Fragile” with arrows indicating the correct orientation.
Packing Your PC
Now it’s time to start packing your PC. Begin by lining the bottom of the moving box with a layer of bubble wrap or packing paper. This will create a cushioned base for your computer.
Next, carefully place the PC tower in the box, making sure it’s oriented correctly. Wrap the tower in additional bubble wrap or packing paper, ensuring there are no gaps. If you’ve removed the CPU cooler or graphics card, place them in their original packaging or anti-static bags and position them securely within the box.
For the monitor, cover the screen with a soft cloth or foam sheets to prevent scratches, and then wrap the entire unit in bubble wrap or packing paper. Place the monitor in the box, filling any remaining gaps with packing peanuts or crumpled paper.
Finally, pack the keyboard, mouse, and any other accessories in their own bubble-wrapped or paper-wrapped packages, and arrange them around the PC tower in the box. Fill any remaining spaces with packing material to prevent the components from shifting during transport.
Additional Tips for Safer Transport
Here are a few extra tips to ensure your PC arrives at its destination safely:
- Avoid static-generating materials: Steer clear of wool or carpeted surfaces when packing, as they can create static electricity that can damage sensitive components.
- Consider shipping separately: If you’re moving a long distance, you may want to consider shipping your PC separately, either with a professional moving company or through a shipping service. This can provide an extra layer of protection and insurance.
- Power up regularly: If you’re storing your PC for an extended period, be sure to power it on every few weeks to prevent any electrical damage from power surges or fluctuations.
By following these packing guidelines and taking the necessary precautions, you can rest assured that your precious PC will arrive at its destination in pristine condition, ready for you to set up and enjoy. For more IT solutions and computer repair tips, be sure to check out the IT Fix website.
Practical Packing Steps Summarized
- Assess your PC’s components and identify any heavy or delicate parts that may require extra care.
- Back up your data and unplug all cables, labeling them for easy reassembly.
- Gather the necessary packing supplies, including the original PC packaging (if available), bubble wrap, packing paper, anti-static bags, and a sturdy moving box.
- Line the bottom of the box with a cushioned layer, then carefully place the PC tower inside, wrapping it in protective materials.
- Pack the monitor, keyboard, mouse, and other accessories separately, filling any remaining gaps with packing material.
- Avoid static-generating materials, consider shipping the PC separately if moving long distances, and power up the PC regularly if storing it for an extended period.
By following these steps, you can ensure your desktop computer arrives at its destination safe and sound, ready for you to set up and enjoy.


