A Roller Coaster Ride for Your Computer
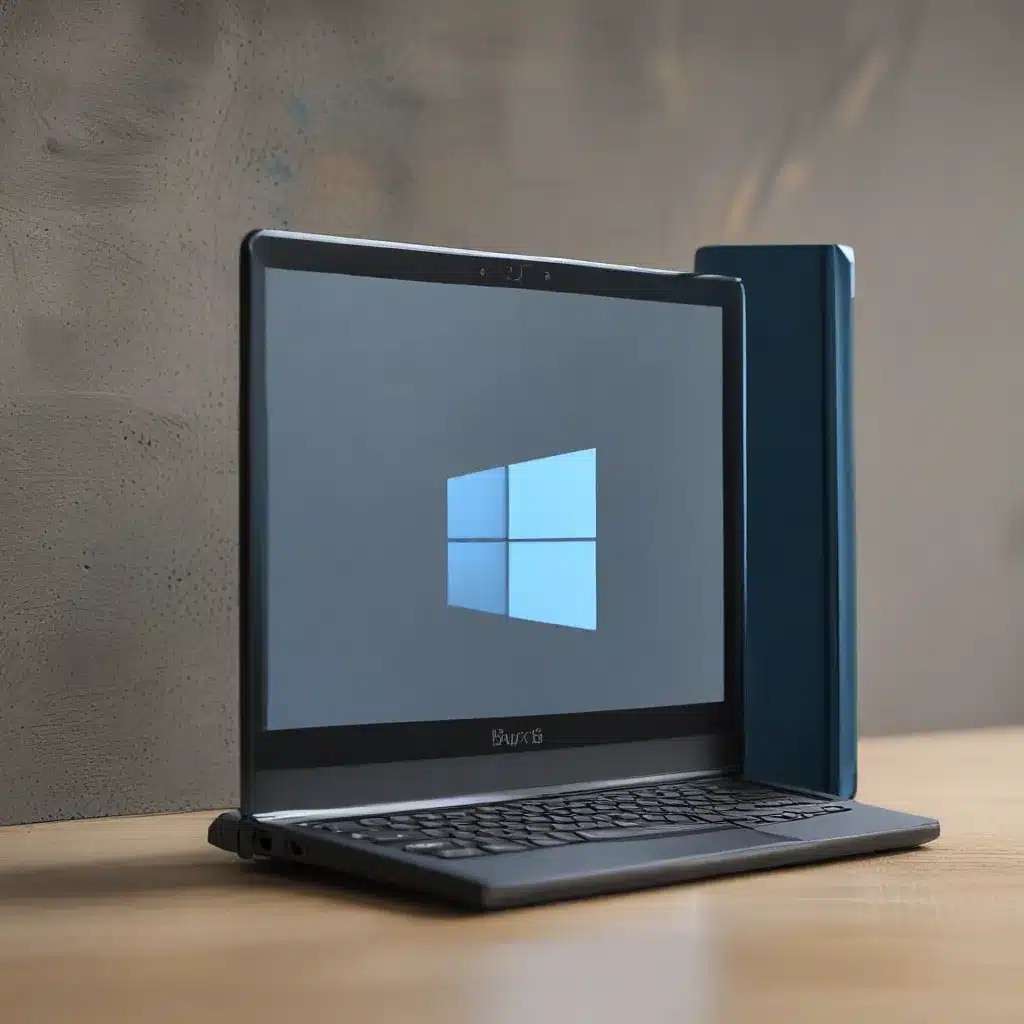
Oh, the joys of upgrading your operating system! It’s like strapping yourself into a rickety old roller coaster, never quite sure if you’re going to end up soaring to new heights or plummeting into a pit of technical despair. And when it comes to the Windows 11 upgrade, well, let’s just say the ride can be a little more thrilling than most.
As an IT enthusiast and self-proclaimed tech wizard (at least in my own mind), I’ve been through my fair share of operating system upgrades. From the smooth and seamless transitions to the gut-wrenching, hair-pulling moments, I’ve seen it all. But when Microsoft announced the arrival of Windows 11, I knew I had to be one of the first to take the plunge.
Navigating the Windows 11 Upgrade: Buckle Up and Brace Yourself
The journey to Windows 11 started with a familiar scenario – that dreaded “Preparing Windows” message that pops up every time you reboot your computer. As I discovered on the Microsoft Answers forum, this message often appears when your system is undergoing various processes, like installing updates or preparing for an upgrade. It’s a bit like your computer going into a trance, trying to figure out the best way to make the necessary changes without sending you into a full-blown panic attack.
But this time, the stakes were higher. The Windows 11 upgrade was staring me right in the face, and I couldn’t help but feel a mix of excitement and trepidation. Would my trusty old machine be up to the task? Would all my beloved programs and files survive the transition? And what about those pesky system requirements – would my computer even be eligible for the upgrade?
Checking Your PC’s Readiness: A Crucial First Step
Before you even think about clicking that “Upgrade to Windows 11” button, it’s crucial to check if your PC is up to the task. As Microsoft’s tech community points out, there are several factors to consider, from your computer’s hardware specifications to the security features it supports.
First and foremost, you’ll need to make sure your processor is up to snuff. Windows 11 has some rather stringent CPU requirements, and if your machine is a bit long in the tooth, it might not make the cut. No one wants to invest time and effort into an upgrade only to be met with a disappointing “This PC can’t run Windows 11” message.
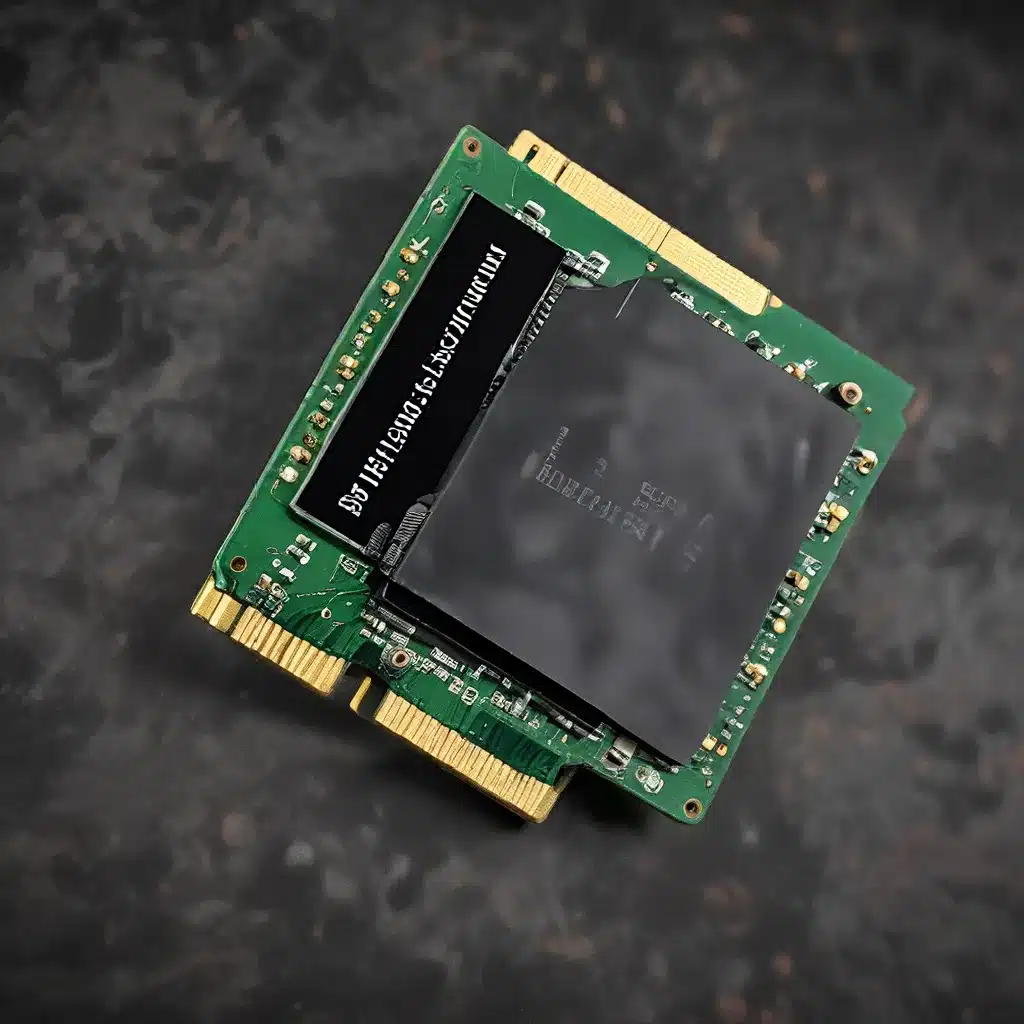
But it’s not just the processor that matters – your RAM, storage, and even your display can all play a role in determining your PC’s Windows 11 readiness. It’s like trying to fit a square peg into a round hole; if your computer doesn’t have the right specifications, the upgrade just ain’t gonna happen.
Evaluating Your PC’s Capabilities: A Detailed Checklist
To get a clear picture of your computer’s capabilities, I’d recommend running the Windows 11 PC Health Check app. This nifty little tool will analyze your system and let you know if it meets the minimum requirements for the upgrade. It’s like having a personal tech concierge, guiding you through the process and saving you from the potential heartbreak of a failed upgrade.
Here’s a quick rundown of the key system requirements for Windows 11:
| Requirement | Minimum Specification |
|---|---|
| Processor | 1 GHz or faster with 2 or more cores on a compatible 64-bit processor or System on a Chip (SoC) |
| RAM | 4 GB |
| Storage | 64 GB or larger storage device |
| System firmware | UEFI, Secure Boot capable |
| TPM | Trusted Platform Module (TPM) version 2.0 |
| Graphics card | Compatible with DirectX 12 or later with WDDM 2.0 driver |
| Display | High definition (720p) display, 9-inch or larger monitor, 8 bits per color channel |
If your computer ticks all these boxes, then you’re well on your way to a seamless Windows 11 upgrade. But if you’re missing a few of these crucial elements, don’t worry – there are still ways to make it work. You might just need to do a bit of digging and potentially even some hardware upgrades.
Preparing Your PC for the Big Leap: A Checklist for Success
Okay, so you’ve run the Windows 11 PC Health Check, and your computer is good to go. Now it’s time to start getting things in order for the big upgrade. Think of it like preparing for a long road trip – you wouldn’t just jump in the car and start driving, would you? No, you’d make sure your vehicle is in tip-top shape, your snacks are packed, and your playlist is ready to go.
Here’s a step-by-step checklist to help you prepare your PC for the Windows 11 upgrade:
-
Backup, backup, backup: The first and most important step is to ensure you have a reliable backup of your important files, documents, and data. Trust me, you don’t want to be caught in a situation where you’ve lost everything because of a botched upgrade.
-
Clean up your hard drive: Take some time to go through your files and get rid of anything you don’t need. This will not only free up valuable storage space but also make the upgrade process smoother and faster.
-
Update your drivers: Make sure all your device drivers are up-to-date. Outdated drivers can cause all sorts of problems during the upgrade, so it’s best to get them squared away before you start.
-
Disable antivirus temporarily: Some antivirus programs can interfere with the upgrade process, so it’s a good idea to disable them (temporarily, of course) while you’re going through the upgrade.
-
Clear your cache and temp files: Over time, your computer can accumulate a ton of temporary files and cached data, which can slow down the upgrade process. Take a few minutes to clear these out and give your system a fresh start.
-
Create a system restore point: Just in case things go sideways during the upgrade, it’s always a good idea to create a system restore point. That way, if you need to roll back to your previous configuration, you’ll have that safety net in place.
-
Schedule some uninterrupted time: The Windows 11 upgrade can take a while, depending on the speed of your computer and your internet connection. Make sure you set aside a decent chunk of time to let the process run its course without any interruptions.
By following this checklist, you’ll be well on your way to a smooth and successful Windows 11 upgrade. And who knows, maybe you’ll even have a few laughs along the way – after all, what’s a tech adventure without a few unexpected twists and turns?
Taking the Plunge: The Big Windows 11 Upgrade
Alright, the moment of truth has arrived. You’ve checked your system requirements, backed up your data, and cleared the way for a seamless upgrade. Now it’s time to take the plunge and let Windows 11 work its magic.
The actual upgrade process can vary a bit, depending on how you’re going about it. If you’re doing a clean install, you’ll need to have a Windows 11 installation media (like a USB drive or a DVD) ready to go. But if you’re upgrading from an eligible Windows 10 system, the process should be a bit more straightforward.
Just head to the Microsoft website and follow the on-screen instructions. You might need to enter your product key or sign in with your Microsoft account, but the process is generally pretty user-friendly.
As the upgrade progresses, you might encounter a few familiar sights – that “Preparing Windows” message, for instance, or the occasional progress bar that seems to crawl along at a snail’s pace. But try to stay calm and resist the urge to click the “Cancel” button. This is all part of the journey, and the end result will be well worth it.
Embracing the New: Exploring the Windows 11 Interface
And just like that, the upgrade is complete! Your computer has been reborn, and you’re now the proud owner of a shiny new Windows 11 system. But before you start diving into all the new features and capabilities, take a moment to familiarize yourself with the updated interface.
Gone are the days of the familiar Windows Start menu – in its place, you’ll find a more streamlined and minimalist design, complete with a centered taskbar and a revamped app launcher. It might take a bit of getting used to, but trust me, once you get the hang of it, you’ll be navigating around like a pro.
One of the standout features of Windows 11 is the improved multitasking capabilities. With the new Snap Layouts and Snap Groups, you can effortlessly arrange your open windows and keep your workflow organized and efficient. And let’s not forget about the enhanced virtual desktop support, which makes it a breeze to switch between different workspaces.
But the real fun starts when you dive into all the new productivity and customization tools. From the revamped Microsoft Store to the improved performance and battery life, there’s a lot to explore and discover. And who knows, maybe you’ll even find a few hidden gems that’ll make your tech-loving heart skip a beat.
Embracing the Change: Adapting to the Windows 11 Upgrade
Change can be tough, especially when it comes to something as integral to our daily lives as our computers. But as I’ve learned through my own Windows 11 upgrade adventure, embracing the new can be an incredibly rewarding experience.
Sure, there were a few bumps in the road – the occasional hiccup, the moments of confusion, and the urge to just revert back to the familiar. But in the end, I discovered that Windows 11 is a vast improvement over its predecessor, with a sleek design, enhanced productivity features, and a host of under-the-hood improvements that make for a smoother and more efficient computing experience.
So, if you’re reading this and wondering whether to take the plunge, I say go for it! With a little preparation, a dash of patience, and a willingness to step outside your comfort zone, you’ll be navigating the Windows 11 landscape like a pro in no time. And who knows, you might even discover a few hidden gems that’ll make your tech-loving heart skip a beat.

