As a dedicated computer repair enthusiast, I’ve seen my fair share of MacBook battery woes. From laptops struggling to hold a charge to those unceremoniously shutting down mid-Netflix binge, the dreaded battery replacement is a common conundrum faced by many MacBook owners. But fear not, my fellow Apple aficionados – I’m here to guide you through the process of reviving your trusty MacBook with a brand new battery.
Assessing Your Battery’s Health
Before we dive in, let’s take a quick look at the state of your current battery. As a general rule, most MacBook and MacBook Pro batteries are designed to last between 300 to 1,000 recharge cycles [1]. But don’t worry if your battery has exceeded that limit – with a little know-how, you can easily breathe new life into your beloved laptop.
To check the health of your battery, you have a couple options. The first is to simply pay attention to your MacBook’s performance. Is it struggling to hold a charge? Does it shut down unexpectedly, even with a seemingly full battery? These are telltale signs that it’s time for a replacement.
Alternatively, you can use the built-in battery health monitoring tool. Just head to the “System Information” app, select “Power,” and take a look at the “Cycle Count” readout. If you see a number that’s significantly higher than the recommended limit, it’s a good indicator that your battery is on its last legs [2].
Gather Your Toolkit
Now that we’ve diagnosed the problem, it’s time to assemble our tools for the big battery swap. I’m a firm believer in using high-quality parts and equipment, so I recommend the iFixit battery replacement “Fix Kit” [2]. At $89.99, it’s a bit more expensive than some of the generic options on Amazon, but you’re guaranteed top-notch components and support if anything goes wrong.
The kit comes with everything you need, including:
– Replacement battery
– Precision screwdrivers
– Spudger (that’s a fancy name for a plastic prying tool)
– Adhesive strips
– And a handy instruction manual
If you’re feeling a bit more frugal, you can certainly opt for a cheaper Amazon battery, but just be sure to double-check that it’s compatible with your specific MacBook model. The last thing you want is to end up with the wrong part and a whole lot of extra work.
Performing the Swap
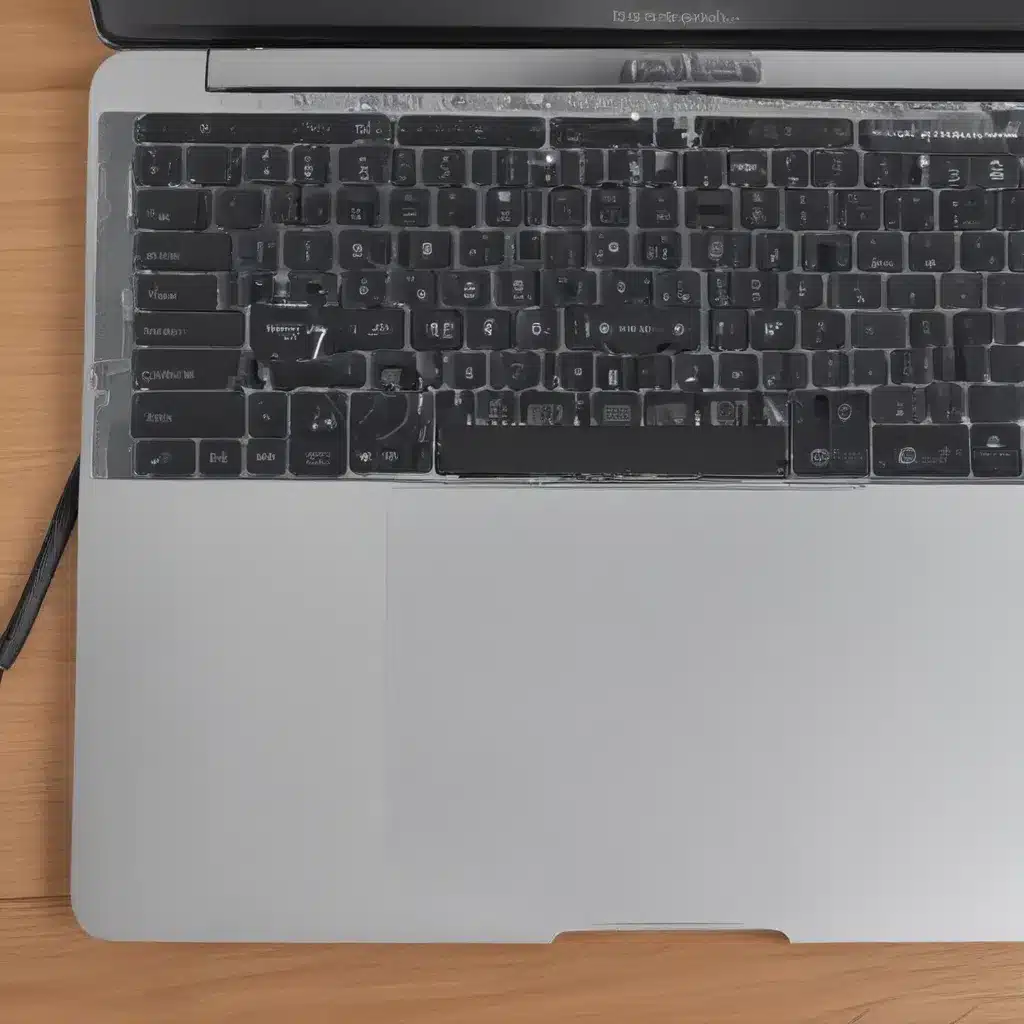
Alright, time to get our hands dirty! I’ll admit, the prospect of cracking open your beloved MacBook can be a bit nerve-wracking, but with a little care and patience, you’ll have that battery swapped out in no time.
First things first, make sure you have a clean, well-lit work surface and that you’re wearing an anti-static wrist strap (or at least touching a grounded metal surface periodically) to avoid any pesky static discharge [2]. Then, following the detailed instructions in your iFixit kit, gently remove the bottom case of your MacBook, being careful not to damage any delicate components.
Next, locate the battery and carefully disconnect the power cable. This is where that trusty spudger tool comes in handy – use it to gently pry the battery free from its adhesive strips. Once it’s loose, simply remove the old battery and set it aside.
Now for the fun part – installing the new battery! Carefully align the replacement and press it firmly into place, being sure to reconnect the power cable. Then, use the included adhesive strips to secure the battery, and voila! You’re almost done.
Finally, replace the bottom case, making sure all the screws are tightened down, and power on your MacBook. After a few minutes of charging, you should see your battery percentage start to climb, signaling a successful swap.
Charge Cycle Strategies
With your fresh new battery installed, it’s time to start thinking about maintenance. You see, these little power packs are a bit like delicate flowers – they need the right care and attention to truly thrive.
One of the most important things to keep in mind is the concept of “charge cycles.” As I mentioned earlier, most MacBook batteries are rated for 300 to 1,000 cycles [1]. But what exactly does that mean?
Well, a “charge cycle” is defined as using up 100% of your battery’s capacity, whether that’s in one go or spread out over several days. So, if you drain your battery from 100% to 50%, then charge it back up to 100%, that counts as one cycle.
The key to extending your battery’s lifespan is to try and keep those charge cycles as low as possible. Avoid letting your battery fully drain all the way to 0% whenever possible, and try to charge it up when it hits around 20-30% [3]. This gentle treatment will help your new battery last for years to come.
Embracing the Unplugged Life
With your MacBook’s battery renewed and your charging habits optimized, it’s time to embrace the joys of being untethered. No more anxiously eyeing that power percentage as you venture out into the world – you can now confidently take your laptop on the go, secure in the knowledge that it’ll keep chugging along.
And who knows, maybe you’ll even discover a new appreciation for the simple pleasures of working from a park bench or cafe, unencumbered by the need to constantly hunt for an outlet. It’s a whole new world of productivity and adventure, my friends.
So there you have it – my comprehensive guide to reviving your ailing MacBook with a fresh new battery. Whether you’re a seasoned tech tinkerer or a complete novice, I promise this process is well within your grasp. With a little elbow grease and a healthy dose of patience, you’ll have your trusty laptop back in fighting shape in no time.
Happy computing, and may your battery always be fully charged!
[1] https://www.youtube.com/watch?v=ZJvOoSKlPfM
[2] https://www.zdnet.com/article/heres-how-to-replace-the-battery-in-your-macbook-or-macbook-pro/
[3] https://www.youtube.com/watch?v=tToAwO6f-SY

