Laptop Repair Manchester
Laptop diagnostics, screen and keyboard faults, SSD/RAM upgrades, slow laptops, boot issues and Windows/macOS problems for customers around Manchester and Little Hulton.
- Laptop Repair
Laptop Repair Manchester
ITFix helps with practical laptop problems in Manchester: slow performance, failed updates, blue screens, overheating, boot failures, malware, damaged keyboards, charging issues and storage problems. The first step is to understand the fault and decide whether repair, upgrade, recovery or replacement is the sensible option.
Support on OS
Windows
Macbook
Laptop repair across Greater Manchester
Use the area links below if you are searching from a specific town or neighbourhood. The repair approach is the same: describe the model, symptoms and any error messages first so ITFix can suggest the safest next step.
- Laptop repair in Manchester
- Laptop repair in Salford
- Laptop repair in Eccles
- Laptop repair in Swinton
- Laptop repair in Prestwich
- Laptop repair in Whitefield
- Laptop repair in Farnworth
- Laptop repair in Bolton
- Laptop repair in Bury
- Laptop repair in Worsley
- Laptop repair in Walkden
- Laptop repair in Little Hulton
- Laptop repair in Pendlebury
- Laptop repair in Kearsley
- Laptop repair in Leigh
- Laptop repair in Altrincham
- Laptop repair in Cheadle
- Laptop repair in Audenshaw
- Laptop repair in Ashton-under-Lyne
- Laptop repair in Blackrod
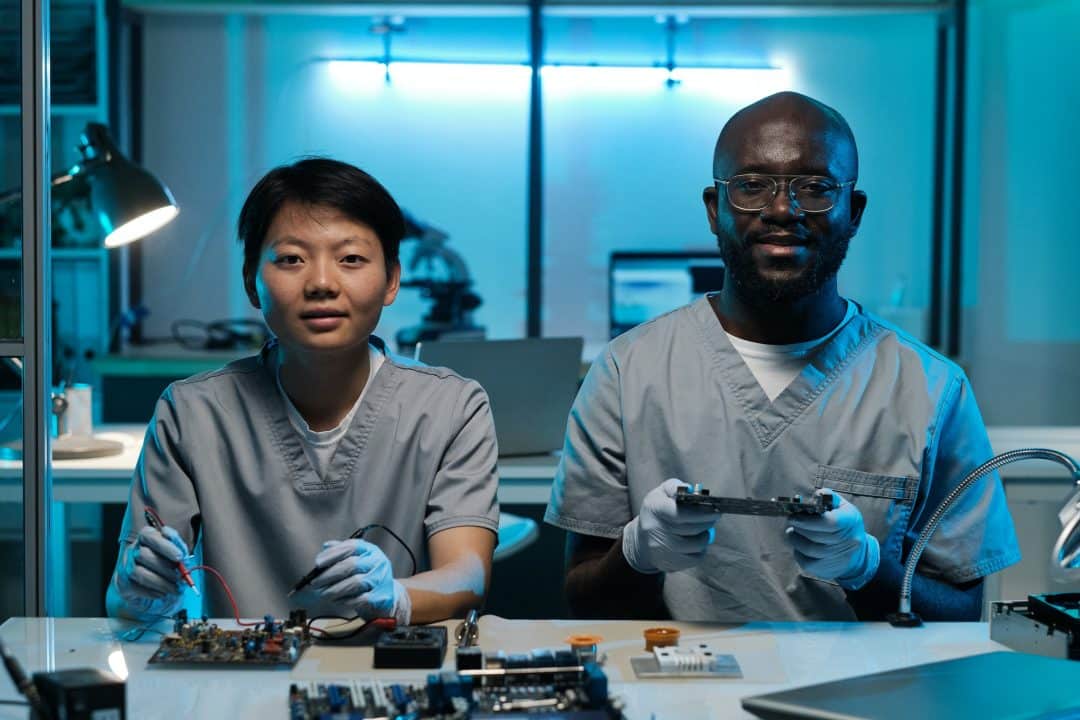
Quick and Reliable Repairs
Our team of certified technicians offers quick and reliable repairs for all types of devices including tablets, laptops, and desktop computers.
Affordable Prices
Don't overpay for repairs. Our team offers affordable prices for all types of device repairs.
Satisfaction Guaranteed
At our repair shop, customer satisfaction is our top priority. That's why we offer a satisfaction guarantee on all of our services.
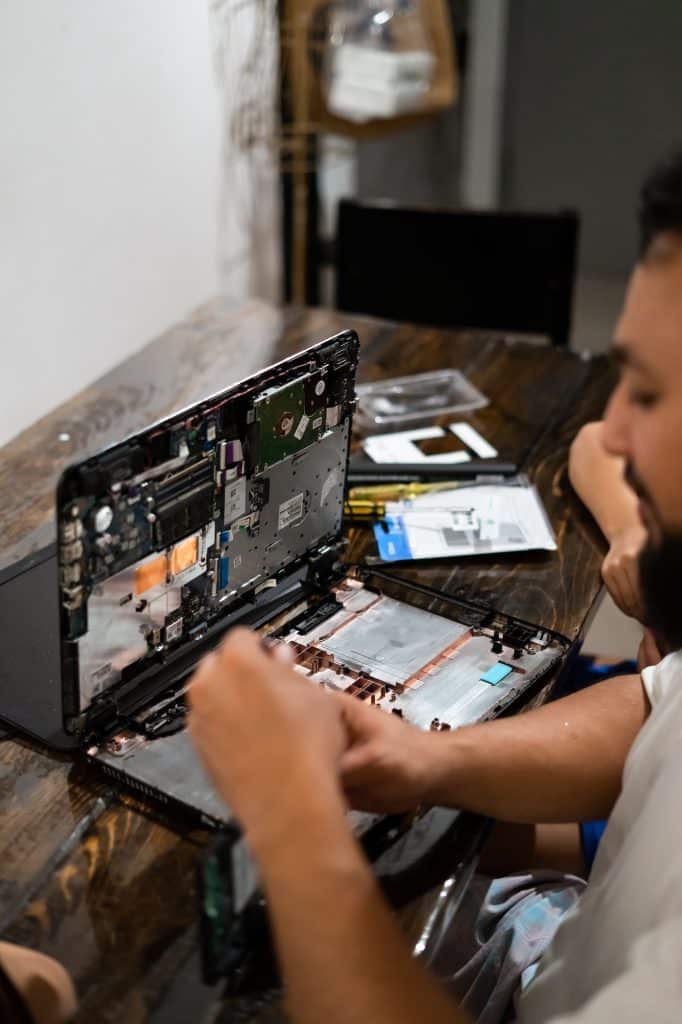
Laptop faults handled properly
Laptop faults are often connected. A slow machine may be a failing drive, not just old software. A laptop that will not boot may need data checked before reinstalling. A charging fault may be the adapter, port, battery or board. ITFix focuses on diagnosis first so you do not waste money on the wrong part.
Where the repair is straightforward, the aim is to keep it simple: explain the likely cause, outline parts/labour if needed, and confirm whether the device is still worth saving. If the machine contains important files, data safety comes before wiping or reinstalling the operating system.
Common laptop repairs
Common work includes SSD and RAM upgrades, Windows/macOS troubleshooting, malware cleanup, backup checks, screen/keyboard/battery advice, overheating checks, charger and port faults, and help with laptops used for home-office or small-business work.
- System optimization and speed improvement
- Operating system installation or reinstallation
- System updates and patches
- Data recovery
- Virus and malware removal
- Data backup
- Drivers set up
- Troubleshooting internet connectivity issues
- Laptop screen repair
- Motherboard repair
- Hard drive replacement
- Memory (RAM) upgrade
- Keyboard repair or replacement
- Touchpad repair or replacement
- Water damage repair
- Physical damage repair (e.g. broken casing)
Advice before buying parts
If you are unsure whether a laptop is worth repairing, send the model, age, symptoms and any photos or error messages. You will get a more useful answer than a generic quote, especially for older machines, failing drives, liquid damage or intermittent faults.
Get in Touch with Our Nerd Herd
Consultations
We offer free consultation services to help you understand the options available for repairing your computer and to provide a personalized recommendation based on your specific needs. To do so, please use a live chat provided on our website.
Ticket Support
We offer ticket support to help you track the progress of your repair and to provide updates along the way. To access our ticket support system, simply send us an email with your repair request and any relevant details
Customer Support
If you need to speak with someone directly, you can call our customer support line at 07590927287 and one of our team members will be happy to assist you. Contact us today to get the support you need and to get your computer running smoothly again
Why choose us
Comprehensive Services
At our computer repair business, we offer a wide range of services to meet the diverse needs of our customers. Whether you need diagnostic and repair services, virus and malware removal, data recovery, hardware repairs, or custom computer builds, we have the expertise and resources to help. We also offer training and support, networking support, and remote support services to ensure that our customers are able to use their computers effectively and efficiently.
In addition, we are able to work on both laptops and desktop computers, and can handle a variety of different operating systems and software programs. No matter what your computer needs are, we have the skills and experience to help.
By offering such a comprehensive range of services, we are able to provide a one-stop shop for all of our customers’ computer repair and maintenance needs. We are committed to making it as convenient and hassle-free as possible for our customers to get the help they need, and to ensure that their computers are running smoothly and effectively.
Certified Technicians
We hire only professional and experienced technicians
Original Spare Parts
We only use original spare parts to ensure the highest quality and reliability of our repairs
Free Consultations
We offer free consultations to help our customers make informed decisions about their computer repair and maintenance needs
FAQ
Frequently asked questions.
Copyright © 2023 ItFix, All rights reserved.
Webdesign by Strony Internetowe UK
Webdesign by Strony Internetowe UK