The Subtle Art of Mix Bus Compression
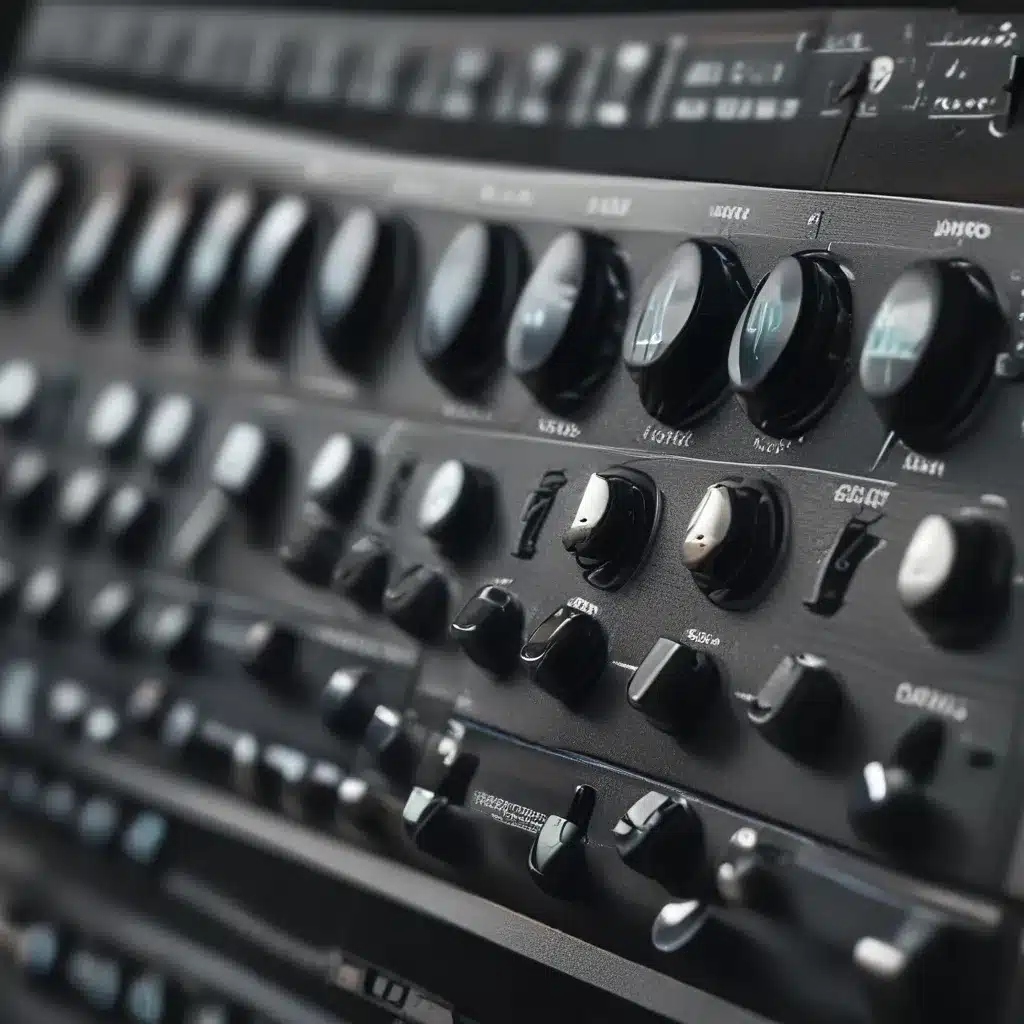
As a budding audio engineer, I’ll admit that mastering the mix bus compressor was one of the trickier skills I had to wrap my head around. It’s a powerful tool, but also a tricky one – get it wrong, and you can ruin an entire mix. But get it right, and you can take your mixes to the next level.
I remember the first time I tried to use a bus compressor on my mixes. I was terrified. What if I messed it up? What if I ruined all the hard work I’d put in? So, like many newbie engineers, I either played it super safe and barely touched the thing, or I went the other way and just hammered it, convinced that’s what the big shot pros were doing.
Neither approach was particularly effective. It wasn’t until I really took the time to understand how a bus compressor works, and what it’s actually meant to do, that I started to get comfortable with it. And let me tell you, once I cracked that code, it was game-changing.
The Purpose of a Mix Bus Compressor
The first thing to understand is that a mix bus compressor isn’t just some arbitrary piece of gear you’re supposed to use. It’s a tool, and like any tool, it has a specific purpose.
In my mind, there are really only two main reasons to use a bus compressor: to add “glue” to your mix, and to maintain control over the dynamics. Glue is that intangible quality that makes all the individual elements in a mix feel like they’re existing in the same sonic space, breathing the same air. And control is about making sure your mix flows smoothly, without any jarring jumps in level or tone.
Now, you can certainly use a bus compressor to add a bit of excitement, shape, or even loudness to your mix. But those should really be secondary considerations. Your main focus should be on getting that glue and control dialed in.
Finding the Right Settings
Once you understand the purpose of a bus compressor, the next step is figuring out how to actually set it up. And let me tell you, this is where a lot of engineers get tripped up.
There’s a lot of advice out there about “ideal” bus compression settings – low ratios, low gain reduction, etc. And that’s not necessarily bad advice. But the truth is, there’s no one-size-fits-all solution. The right settings are going to depend on the specific track you’re working on, the genre, and your own personal taste.
The way I approach it is to start with a conservative setup – maybe a ratio around 1.5:1, an attack time of 50-100ms, and a release time around 0.2-1s. Then I’ll slowly start to tweak and experiment, listening carefully to how the compression is affecting the overall vibe of the mix.
If I want more excitement and aggression, I might push the ratio up to 3:1 or 4:1, and speed up the attack and release. If I’m going for a smoother, more controlled sound, I’ll back off on the ratio and slow down the attack and release.
The key is to not be afraid to really dig in and experiment. Don’t just take someone else’s settings as gospel – use your ears, trust your instincts, and find what works best for the particular track you’re working on.
Mixing Into the Compressor
One thing I’ve learned over the years is that it’s often better to put the bus compressor on at the beginning of your mix session, rather than waiting until the end. When you mix into the compressor, you start to learn how it interacts with the rest of your mix, and you can make adjustments accordingly.
Whereas if you just slap the compressor on at the end, it can feel like you’re just forcing it to fit into a mix that’s already been finalized. And that can lead to some unnatural-sounding results.
So my advice would be to patch in your bus compressor fairly early on in the mixing process, and then mix into it. Pay attention to how it’s responding to the different elements in your mix, and use that information to guide your other mixing decisions.
Listening in the Right Environment
One final tip I’ll offer is to make sure you’re monitoring your mixes in an environment that’s really going to let you hear the subtleties of the bus compression. Too often, engineers try to dial in their compression settings in less-than-ideal listening conditions, and end up making adjustments that don’t translate when the mix gets played back on a proper system.
If you’re in the UK and looking for a professional computer repair service, I’d highly recommend checking out the team at IT Fix. Their mastering suite is top-notch, and they’ll be able to give you an honest, critical listen to your mixes, and help you fine-tune that bus compression to perfection.
Ultimately, the key to mastering bus compression is to approach it with an open mind, a keen ear, and a willingness to experiment. Don’t be afraid to try different settings, to really push the boundaries, and to trust your instincts. Because when you nail that perfect balance of glue and control, the results can be truly transformative.
Compression Ratios and Attack/Release Times
Here’s a quick reference table on the different effects of various compression settings:
| Setting | Effect |
|---|---|
| Low Ratio (1.5:1 – 2:1) | More transparent, preserves dynamics |
| High Ratio (3:1 – 4:1) | More aggressive, increased “squash” |
| Slow Attack (50-100ms) | Preserves transient impact |
| Fast Attack (20-50ms) | Smooths out transients |
| Slow Release (0.5-1s) | Smoother, more controlled sound |
| Fast Release (0.2-0.5s) | More pumping, energetic feel |
Remember, these are just general guidelines – the right settings will depend on the specific track and the vibe you’re going for. The only way to really master bus compression is to dive in, experiment, and trust your ears.
Wrapping Up
At the end of the day, using a mix bus compressor is all about finding that sweet spot between glue and control. It’s a delicate balance, but when you nail it, the results can be nothing short of magical.
So don’t be afraid to roll up your sleeves, dive in, and get your hands dirty. Experiment, listen closely, and trust your instincts. Because when you master the art of bus compression, you’ll unlock a whole new world of sonic possibilities.
Happy mixing!

