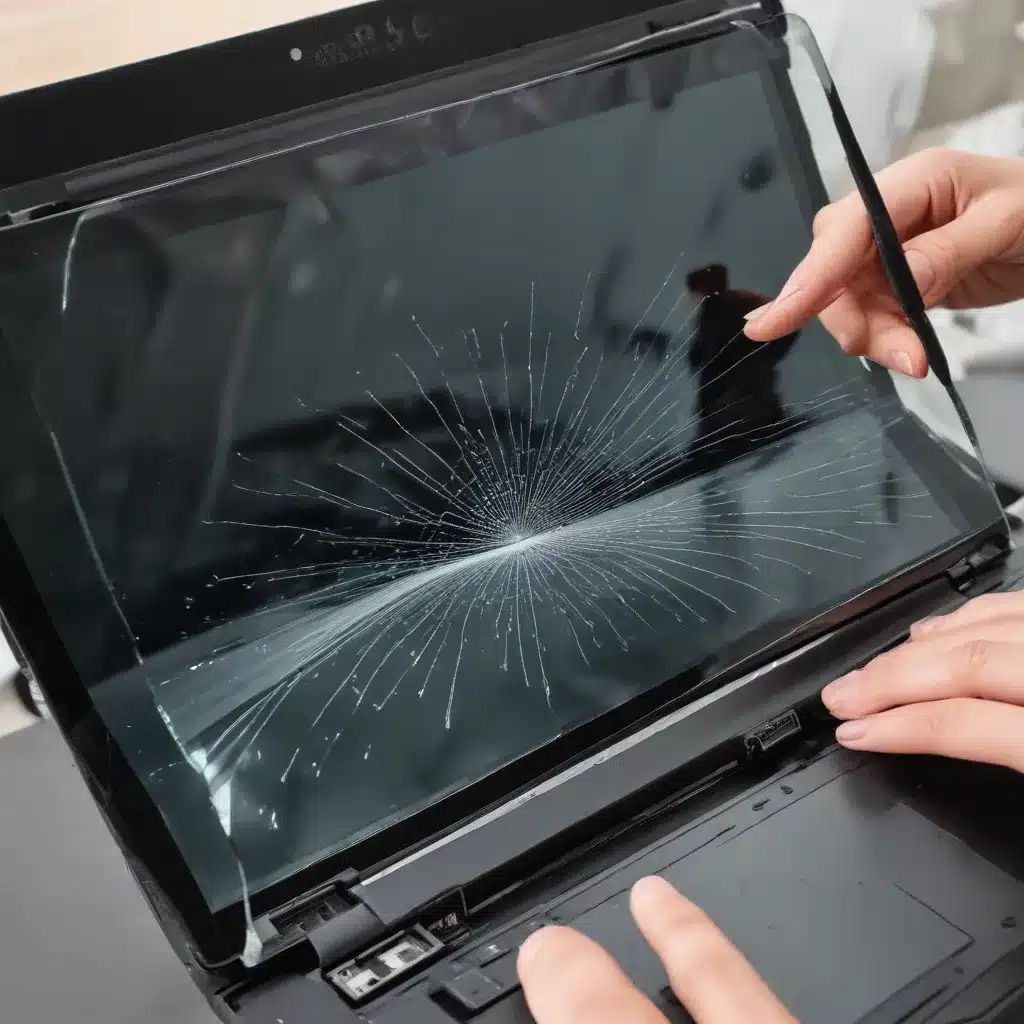
Understanding Touchscreen Display Anatomy
Touchscreen laptops have a unique display structure, consisting of several layers that work together to provide the seamless touch experience. The main components are:
-
LCD (Liquid Crystal Display): This is the primary display layer that generates the visual output. The LCD is responsible for producing the images and colors you see on the screen.
-
Digitizer: The digitizer is a touch-sensitive layer that detects and translates your finger or stylus movements into input for the device. It’s typically a thin, transparent film or panel positioned over the LCD.
-
Touchscreen Glass: The topmost layer is the touchscreen glass, also known as the cover glass or protective glass. This durable glass panel shields the underlying digitizer and LCD from damage.
When the touchscreen glass cracks or becomes damaged, it’s important to understand that the LCD and digitizer may still be functional. In many cases, you can replace just the cracked glass without needing to replace the entire display assembly, which can be a more cost-effective solution.
Identifying Replacement Parts
To successfully replace the touchscreen glass, you’ll need to identify the correct replacement part for your specific laptop model. This can be a challenging task, as laptop manufacturers often use custom display components that can be difficult to source.
Here are some steps to help you find the right replacement touchscreen glass:
-
Obtain the Laptop Model Number: Locate the model number of your laptop, which is typically found on a sticker on the bottom or back of the device. This information will be crucial in finding the compatible replacement part.
-
Search for Replacement Parts: Utilize online marketplaces, such as eBay or specialized electronics suppliers, to search for “touchscreen glass” or “digitizer replacement” parts compatible with your laptop model. Provide the exact model number in your search to get the most accurate results.
-
Verify Compatibility: Before purchasing a replacement part, ensure that it is specifically designed for your laptop model. Check the product descriptions and specifications to confirm it will fit your device properly.
-
Consider Replacement Difficulty: Replacing the touchscreen glass can be a delicate and intricate process, especially for laptops with integrated digitizers. Assess your technical skills and comfort level with electronic repairs before attempting the repair yourself. If you’re not confident, it may be better to seek professional assistance.
Preparing for the Replacement
Before you begin the touchscreen glass replacement process, gather the necessary tools and materials:
- Replacement Touchscreen Glass: Ensure you have the correct part for your laptop model.
- Precision Screwdrivers: You’ll need a set of small, sharp screwdrivers to disassemble the laptop.
- Adhesive Tape or Double-Sided Tape: This will help secure the new touchscreen glass during installation.
- Isopropyl Alcohol and Microfiber Cloth: For cleaning the display area and new glass surface.
- Plastic Pry Tools: These will help you carefully remove the existing touchscreen glass without damaging the underlying components.
Take your time and follow the manufacturer’s instructions or tutorials closely to avoid any further damage to your laptop.
Replacing the Touchscreen Glass
-
Power Off and Disconnect the Laptop: Shut down your laptop and unplug it from the power source. Remove the battery if possible.
-
Disassemble the Laptop: Carefully remove the laptop’s back panel, following the manufacturer’s disassembly guide. This will give you access to the display assembly.
-
Disconnect the Display: Locate the cables or connectors that attach the display assembly to the laptop’s mainboard. Gently disconnect these to separate the display from the rest of the device.
-
Remove the Existing Touchscreen Glass: Carefully pry or lift the cracked touchscreen glass away from the display assembly, taking care not to damage the underlying digitizer or LCD. You may need to remove adhesive or other fasteners to fully detach the glass.
-
Clean the Display Area: Use isopropyl alcohol and a microfiber cloth to thoroughly clean the display area, removing any debris or residue.
-
Install the New Touchscreen Glass: Carefully align the replacement touchscreen glass and press it firmly into place. You may need to apply adhesive tape or double-sided tape to secure the new glass.
-
Reconnect the Display: Reattach the display assembly to the laptop’s mainboard, reconnecting all the cables and connectors.
-
Reassemble the Laptop: Put the laptop back together, following the disassembly steps in reverse order.
-
Test the Repaired Touchscreen: Power on the laptop and test the touchscreen functionality to ensure it’s working properly.
Remember, the specific steps may vary depending on your laptop model, so always refer to the manufacturer’s instructions or seek professional assistance if you’re unsure about any part of the process.
Considerations and Precautions
- Fragility of Components: Touchscreen displays and their components are delicate, so handle them with extreme care during the replacement process.
- Electrostatic Discharge (ESD): Take appropriate ESD precautions, such as using an anti-static mat or wrist strap, to avoid damaging sensitive electronic components.
- Warranty Implications: Attempting a DIY touchscreen glass replacement may void your laptop’s warranty, so be sure to check with the manufacturer before proceeding.
- Professional Repair Service: If you’re not confident in your ability to perform the repair, consider seeking the services of a reputable electronics repair shop or the manufacturer’s authorized service center.
By following these steps and exercising caution, you can successfully replace the touchscreen glass on your laptop and get your device back in working order. Remember, safety and attention to detail are crucial when undertaking any electronic repair.
For more IT Fix articles and expert advice, be sure to visit our website.


