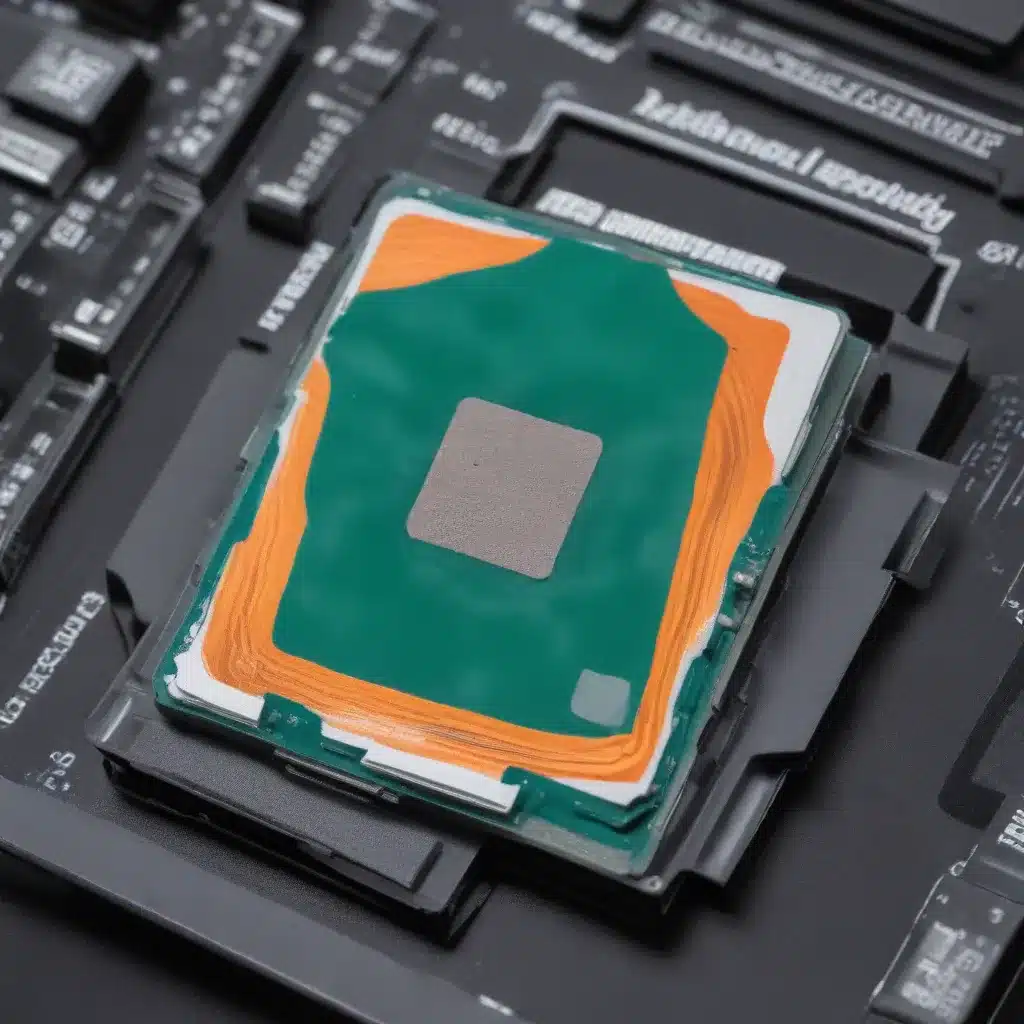
Understanding Thermal Paste and Its Importance
As a seasoned IT professional, I’ve seen firsthand the impact that proper thermal management can have on the performance and longevity of laptop computers. One of the most critical components in this equation is the thermal paste, also known as thermal compound or thermal interface material (TIM). This unassuming yet vital substance plays a crucial role in ensuring efficient heat transfer from the processor (CPU) or graphics card (GPU) to the cooling system.
Thermal paste is designed to fill the microscopic gaps and air pockets between the processor/GPU and the heatsink, creating a seamless thermal pathway. By improving the thermal conductivity in this interface, the cooling system can more effectively dissipate the heat generated by the high-performance components. This, in turn, helps maintain optimal operating temperatures, preventing throttling, system crashes, and even permanent damage to sensitive electronic components.
When to Reapply Thermal Paste
Over time, the thermal paste can degrade, dry out, or become less effective due to various factors, such as temperature fluctuations, physical stress, and the natural aging process. As a result, the thermal conductivity of the interface may diminish, leading to increased temperatures and reduced cooling efficiency.
The general recommendation is to reapply thermal paste every 12-24 months, or whenever you notice a significant increase in your laptop’s operating temperatures or increased fan noise during demanding tasks. However, this timeframe can vary depending on the specific usage patterns, environmental conditions, and the quality of the original thermal paste used.
Preparing for Thermal Paste Reapplication
Before you begin the thermal paste reapplication process, it’s essential to gather the necessary tools and materials:
- Thermal Paste: Choose a high-quality, thermally conductive paste, such as Arctic Silver, Thermal Grizzly, or Noctua. Avoid cheap, low-quality alternatives, as they may not perform as well.
- Isopropyl Alcohol: Use 99% pure isopropyl alcohol to clean the CPU/GPU and heatsink surfaces before applying the new thermal paste.
- Cotton Swabs or Lint-free Cloths: These will be used to clean the surfaces and remove the old thermal paste.
- Thermal Pads (Optional): If your laptop has dedicated thermal pads for other components, such as the memory or voltage regulators, you may need to replace them as well.
- Torx Screwdriver Set: You’ll likely need various Torx screwdrivers to disassemble your laptop and access the CPU/GPU.
Reapplying Thermal Paste
- Safely Disassemble the Laptop: Carefully follow the manufacturer’s instructions or refer to online guides to disassemble your laptop and access the CPU and/or GPU. This typically involves removing the bottom panel, the keyboard, and the heatsink assembly.
- Clean the Surfaces: Use the isopropyl alcohol and cotton swabs/lint-free cloths to thoroughly clean the CPU/GPU and heatsink surfaces, removing any residual thermal paste or dust.
- Apply the New Thermal Paste: Apply a small, pea-sized amount of thermal paste directly in the center of the CPU/GPU. Avoid applying too much, as this can lead to uneven coverage and potential issues.
- Reinstall the Heatsink: Carefully place the heatsink back onto the CPU/GPU, ensuring proper alignment and secure mounting.
- Reassemble the Laptop: Carefully reassemble your laptop, following the disassembly process in reverse, and ensure all components are properly secured.
Verifying Cooling Improvement
After reapplying the thermal paste, it’s essential to monitor your laptop’s temperatures and cooling performance to ensure the improvements you were seeking. Here are a few steps to help you evaluate the effectiveness of the thermal paste reapplication:
- Use Temperature Monitoring Software: Install a reliable temperature monitoring software, such as HWMonitor or AIDA64, to track the CPU and GPU temperatures during various workloads.
- Perform Stress Tests: Run demanding applications or games that will put a heavy load on your laptop’s components. Monitor the temperatures during these stress tests to see if they have improved compared to the pre-reapplication state.
- Check for Reduced Fan Noise: Listen for any changes in your laptop’s fan noise. If the fans are running less aggressively or at lower speeds, it’s a good indication that the cooling efficiency has improved.
- Observe Overall Performance: Pay attention to any changes in your laptop’s overall performance, such as reduced throttling, improved frame rates, or more consistent system responsiveness, as these can also be signs of enhanced cooling efficiency.
Maintaining Optimal Cooling
Proper thermal paste reapplication is just one aspect of maintaining optimal cooling efficiency in your laptop. Here are a few additional tips to help keep your laptop running cool and prevent overheating issues:
- Regular Cleaning: Periodically clean the laptop’s air vents and fans to remove accumulated dust and debris, which can impede airflow and reduce cooling performance.
- Use a Cooling Pad: Investing in a quality laptop cooling pad can provide an additional layer of cooling by increasing airflow and reducing the overall system temperature.
- Optimize Power Settings: Adjust your laptop’s power management settings to balance performance and cooling, such as limiting CPU/GPU clock speeds during less demanding tasks.
- Consider Undervolting: If your laptop supports it, you can experiment with undervolting the CPU and/or GPU, which can reduce power consumption and heat generation without significantly impacting performance.
By following these guidelines and regularly maintaining your laptop’s cooling system, you can help ensure optimal performance, extended component lifespan, and a quieter, more comfortable computing experience.
Remember, the IT Fix blog is here to provide you with practical tips and in-depth insights on technology, computer repair, and IT solutions. If you have any further questions or need additional assistance, don’t hesitate to visit our website or reach out to our team of IT experts.


