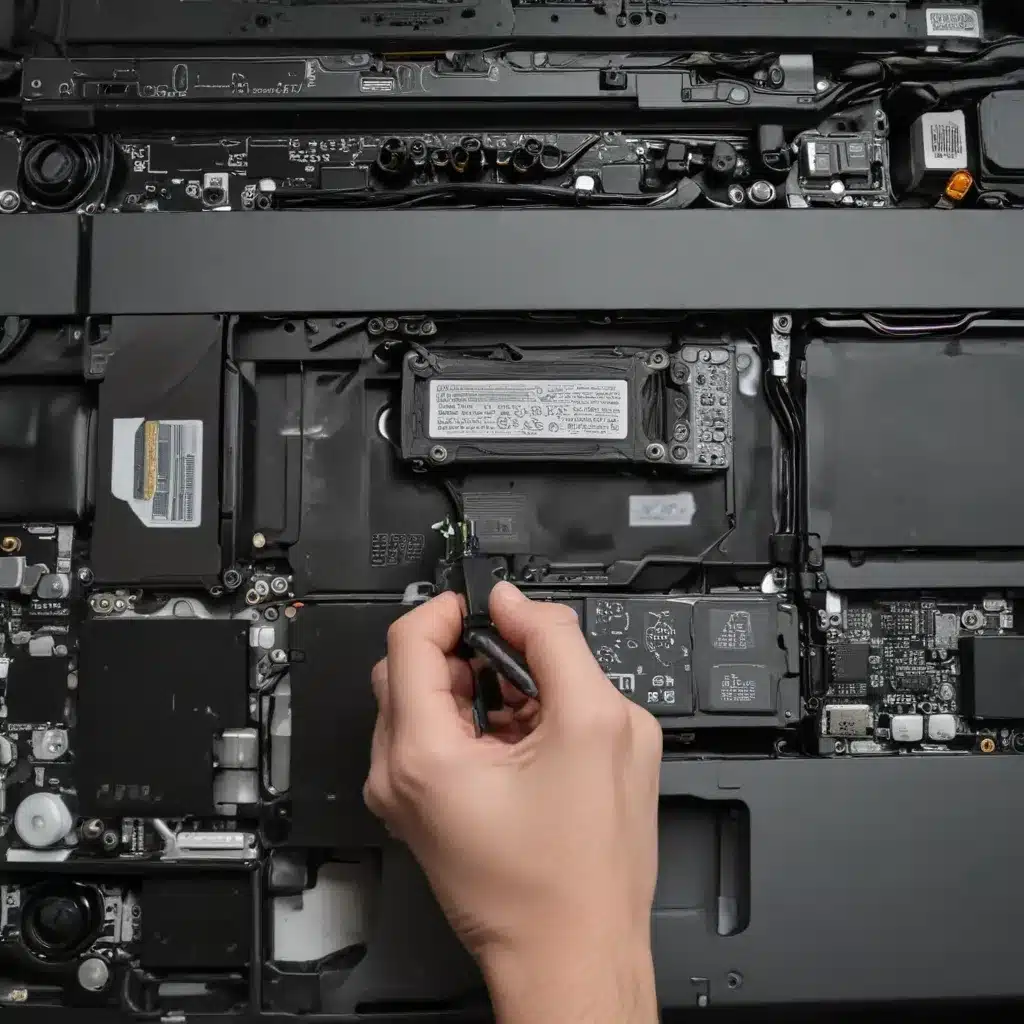
As an experienced IT professional, I’ve encountered numerous laptop power issues over the years. One of the most common problems is a faulty or damaged power jack, which can prevent your device from charging properly. While this may seem like a daunting task, replacing a laptop’s power jack is a straightforward process that can be accomplished with the right tools and a bit of patience.
In this comprehensive guide, I’ll walk you through the step-by-step process of replacing a laptop power jack, providing practical insights and troubleshooting tips to help you get your device back up and running.
Understanding Power Jack Failure
Before we dive into the repair process, it’s essential to understand the common causes of power jack failure. Laptops are often subjected to wear and tear, and the power jack, being a frequently used component, can become loose, damaged, or even completely detached from the motherboard over time.
Some of the leading causes of power jack failure include:
- Physical Damage: The power jack can be accidentally knocked or bent, causing it to become misaligned or broken.
- Constant Movement and Vibration: Frequent transportation and movement of the laptop can put stress on the power jack, leading to a loose connection or breakage.
- Corrosion and Oxidation: Exposure to moisture, dust, or other environmental factors can cause the power jack’s metal contacts to corrode, preventing a proper connection.
- Overuse and Abuse: Repeatedly plugging and unplugging the power adapter, or using a worn-out adapter, can eventually wear down the power jack, causing it to fail.
Preparing for the Repair
Before you begin the power jack replacement process, ensure that you have all the necessary tools and materials. Here’s what you’ll need:
- Soldering Iron: A high-quality soldering iron with a chisel or fine-tipped soldering tip, such as the Hakko FX-888D, is recommended.
- Solder: Use a lead-free solder, such as Kester 60/40 solder, for best results.
- Desoldering Braid or Pump: These tools will help you remove the existing solder from the motherboard.
- Flux: A syringe or pen-style flux applicator can help improve the solder flow during the desoldering and soldering process.
- Thermal Tape: This insulating tape is essential to protect the sensitive circuitry around the power jack during the repair.
- Tweezers: Precision tweezers can be helpful for handling small components.
- Magnifying Glass or Loupe: A magnifying tool can assist with detailed soldering work, especially for laptops with tightly spaced components.
- Compressed Air: Use compressed air to clean the affected area and remove any debris.
- Isopropyl Alcohol: 99% isopropyl alcohol can be used to clean the motherboard and surrounding components.
Step-by-Step Laptop Power Jack Replacement
Now that you have all the necessary tools, let’s dive into the power jack replacement process.
Step 1: Prepare the Motherboard
Start by cleaning the area around the power jack using compressed air or 99% isopropyl alcohol. This will help ensure a clean surface for the desoldering and soldering processes.
Step 2: Apply Flux and Solder
Use the soldering iron to apply fresh solder to the existing power jack connections on the motherboard. This will help break up the old solder and prepare the area for removal.
Step 3: Desoldering and Removal
With the flux and new solder applied, use a desoldering braid or pump to remove the existing solder from the through-holes on the motherboard. You may need to repeat this step several times to ensure all the solder is removed.
If the power jack is still not coming out, you can use a hot air soldering station to apply targeted heat to the area, allowing the solder to flow and the power jack to be removed.
Step 4: Protect the Surrounding Circuitry
Before installing the new power jack, apply thermal tape to the sensitive circuitry around the power jack location. This will help prevent any accidental damage during the soldering process.
Step 5: Install the New Power Jack
Carefully align the new power jack with the through-holes on the motherboard, ensuring that it is seated flush and not at an angle. Apply solder to both sides of the through-holes, making sure the connections are secure and the solder has flowed through completely.
Step 6: Reassemble and Test
Once the new power jack is soldered in place, reassemble your laptop and test the power connection. Plug in the power adapter and verify that your device is charging correctly.
Troubleshooting and Additional Tips
If you encounter any issues during the power jack replacement process, here are some troubleshooting tips to consider:
- Stubborn Solder: If the existing solder is particularly stubborn and resistant to removal, try using a higher soldering iron temperature or adding more flux to the area.
- Misaligned Power Jack: Ensure that the new power jack is properly aligned and seated flush with the motherboard. Even a slight angle can cause issues with the power connection.
- Damaged Motherboard: If the area around the power jack is severely damaged or the motherboard has sustained other issues, the repair may be beyond your capabilities, and you may need to seek professional assistance.
Remember, take your time, work carefully, and don’t hesitate to seek guidance or support if you encounter any roadblocks during the repair process.
Conclusion
Replacing a laptop power jack may seem daunting, but with the right tools, knowledge, and a bit of patience, it’s a repair that many experienced IT professionals can tackle. By following the step-by-step guide outlined in this article, you’ll be able to bring your laptop back to life and enjoy uninterrupted power connectivity.
If you found this guide helpful, be sure to visit https://itfix.org.uk/ for more informative articles on technology, computer repair, and IT solutions.


