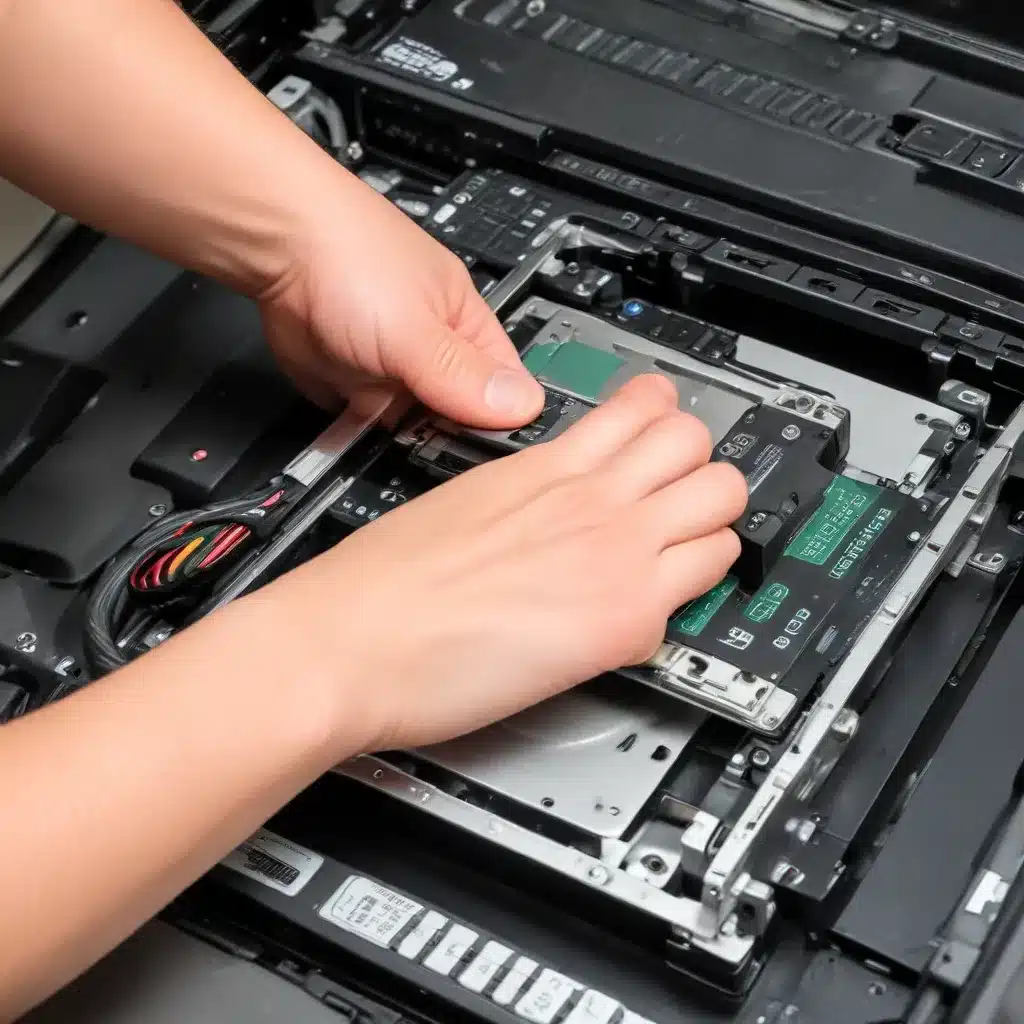
Understanding the Importance of Hard Drive Caddies
As an IT professional, one of the most common tasks I encounter is assisting users with the installation and maintenance of their computer hardware, including laptop hard drives. The use of a hard drive caddy, also known as a drive bay adapter or mounting frame, is a crucial component in ensuring the proper and secure installation of a hard drive within a laptop or desktop computer.
A hard drive caddy serves several important functions. Firstly, it provides a secure and stable mounting solution for the hard drive, preventing it from moving or shifting during use. This is particularly important in laptops, where the device may be subject to more movement and vibration compared to a stationary desktop. Secondly, the caddy helps to ensure proper airflow around the hard drive, which is essential for maintaining optimal operating temperatures and preventing overheating.
Preparing for Caddy Installation
Before you begin the installation process, it’s important to ensure that you have all the necessary components on hand. This typically includes the hard drive caddy itself, the hard drive you wish to install, and any required screws or mounting hardware. It’s also a good idea to have a small Phillips-head screwdriver nearby, as this will be used to secure the hard drive within the caddy.
When selecting a hard drive caddy, it’s important to choose one that is compatible with the size and interface of your laptop’s hard drive. The most common sizes for laptop hard drives are 2.5-inch SATA drives, so you’ll want to ensure that your caddy is designed to accommodate this form factor.
Securing the Hard Drive in the Caddy
The process of installing a hard drive into a caddy is relatively straightforward, but it’s important to follow the proper steps to ensure a secure and stable installation. Begin by placing the hard drive onto the caddy, aligning the screw holes on the drive with the corresponding mounting points on the caddy. Using your Phillips-head screwdriver, gently but firmly secure the hard drive in place by tightening the screws.
It’s worth noting that in some cases, the hard drive may not have pre-drilled screw holes, or the caddy may not have the necessary mounting points. In these instances, you may need to explore alternative mounting solutions, such as using adhesive or hook-and-loop fasteners to secure the drive.
Importance of Airflow Considerations
One of the key considerations when installing a hard drive in a laptop is ensuring proper airflow around the component. This is where the design and placement of the hard drive caddy becomes crucial.
Ideally, the caddy should be positioned in a way that allows for unobstructed airflow around the hard drive. This means avoiding areas where the caddy may be blocked by other components, such as the laptop’s chassis or other internal hardware. Additionally, it’s important to ensure that the caddy itself is designed with sufficient ventilation holes or openings to allow air to circulate freely around the hard drive.
Failing to address airflow concerns can lead to the hard drive overheating, which can ultimately result in reduced performance, data corruption, or even complete drive failure. As an IT professional, it’s crucial to prioritize airflow when installing or replacing a hard drive in a laptop or desktop computer.
Troubleshooting and Best Practices
In the event that you encounter any issues during the hard drive caddy installation process, there are a few troubleshooting steps you can take:
- Verify Compatibility: Ensure that the hard drive caddy is compatible with the size and interface of your laptop’s hard drive. Double-check the specifications to ensure a proper fit.
- Inspect the Mounting Points: Carefully examine the caddy and the laptop’s chassis to ensure that the mounting points are aligned correctly and that the screws are tightened securely.
- Check Airflow: Ensure that the caddy is positioned in a way that allows for unobstructed airflow around the hard drive. Consider adjusting the placement or orientation of the caddy if necessary.
- Monitor Temperatures: Use system monitoring software or hardware to keep an eye on the hard drive’s operating temperatures. If you notice any unusual temperature spikes, investigate the issue further.
To ensure the longevity and reliability of your laptop’s hard drive, it’s also important to adhere to the following best practices:
- Regular Cleaning: Periodically clean the laptop’s internal components, including the hard drive caddy, to remove any dust or debris that may be obstructing airflow.
- Thermal Paste Application: If applicable, consider applying a thin layer of high-quality thermal paste between the hard drive and the caddy to improve heat transfer and cooling.
- Avoid Excessive Movement: Be mindful of the laptop’s movement, especially during operation, to minimize the risk of shocks or vibrations that could potentially damage the hard drive.
- Backup Data Regularly: Regularly backup your important data to a separate storage device or cloud-based service to protect against potential hard drive failures.
By following these guidelines and best practices, you can ensure that your laptop’s hard drive is securely installed, properly cooled, and well-protected, ultimately contributing to the overall reliability and performance of your system.
Conclusion
The installation of a hard drive caddy in a laptop or desktop computer is a crucial step in ensuring the proper and secure mounting of a hard drive, as well as maintaining optimal airflow and cooling. By understanding the importance of caddies, following the correct installation procedures, and addressing airflow considerations, IT professionals can help to extend the lifespan of their clients’ hardware and minimize the risk of data loss or system failures.
Remember, the https://itfix.org.uk/ website is a valuable resource for IT professionals, offering a wealth of practical tips, troubleshooting guides, and in-depth insights into the world of technology and computer repair. I encourage you to explore the site further and stay up-to-date with the latest trends and best practices in the IT industry.


