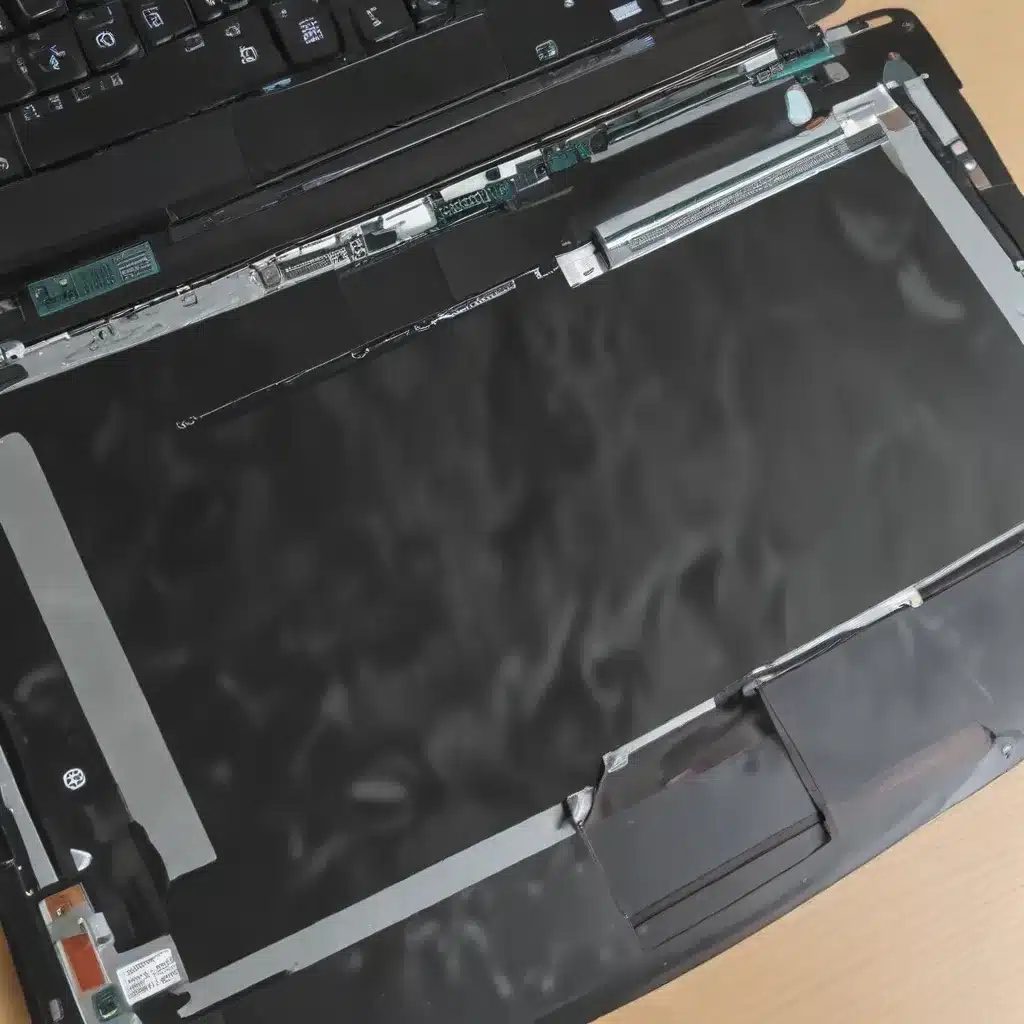
Unlocking the Secrets of DIY Laptop Screen Repair
As a seasoned IT professional, I’ve seen my fair share of laptop display issues, from cracked screens to flickering panels. While many people assume that a broken laptop display means the end of the device, the truth is that with the right knowledge and a bit of patience, you can often salvage your trusty laptop by replacing the display panel yourself. In this comprehensive guide, I’ll walk you through the step-by-step process of laptop display panel replacement, empowering you to take control of your technology and keep your devices running smoothly.
Preparing for the Task
Before you embark on your display replacement journey, it’s crucial to gather the necessary tools and materials. Here’s what you’ll need:
- Replacement screen: Ensure you purchase a compatible display panel for your specific laptop model. Double-check the specifications to avoid compatibility issues.
- Nylon or metal picks: These delicate tools will help you carefully pry open the laptop housing and remove the old display.
- Tweezers: Useful for handling small components and connectors during the repair process.
- Scissors: For trimming adhesive tape to size.
- Hairdryer or heat gun: Used to soften the adhesive that secures the display panel.
- LCD repair double-sided tape: This specialized tape will be used to attach the new display panel.
- Compressed air: Helpful for clearing any debris or glass fragments from the laptop’s interior.
With your tools and materials ready, let’s dive into the step-by-step process of replacing your laptop’s display panel.
Removing the Old Display Panel
-
Power off the laptop: Ensure your device is completely powered down to avoid any potential damage during the repair process.
-
Disconnect the power cable: Unplug the power cord from your laptop to eliminate any risk of electrical shocks.
-
Locate the display components: Familiarize yourself with the key display components, such as the LCD ribbon cable, digitizer board, and wireless antennas. Understanding their placement will help you navigate the removal process more safely.
-
Heat and pry: Using a hairdryer or heat gun, gently warm the display panel’s edges until the adhesive softens. Carefully insert your nylon or metal picks under the panel and begin prying it up, starting from a corner that’s not near the sensitive components.
-
Protect the antennas: As you work your way around the display, be mindful of the copper WiFi antennas located on the top bezel. Proceed with caution to avoid damaging these delicate components.
-
Disconnect the cables: Once the display panel is loosened, you’ll need to disconnect the LCD ribbon cable and the digitizer board ribbon cable. Do this by gently lifting the plastic tabs on the connectors and pulling the cables out.
-
Remove the old panel: With the cables disconnected, you can now carefully lift the old display panel away from the laptop’s chassis.
-
Clean the surface: Thoroughly clean the laptop’s interior, removing any adhesive residue or glass fragments to prepare for the installation of the new display.
Transferring the Digitizer
-
Locate the digitizer board: The digitizer board is responsible for the touchscreen functionality of your laptop. Carefully pry it up from the old display panel.
-
Apply adhesive: Apply a generous amount of LCD repair tape to the underside of the digitizer board, ensuring a secure attachment to the new display panel.
-
Reconnect the cables: Reattach the LCD ribbon cable and the digitizer board ribbon cable to their respective connectors on the new display panel.
Installing the New Display Panel
-
Prepare the adhesive: Apply the LCD repair tape generously around the perimeter of the laptop’s chassis, doubling up the tape in areas where the digitizer board will be positioned.
-
Align and attach: Carefully place the new display panel face-down on a soft surface, such as a microfiber cloth. Align the laptop’s chassis on top of the panel and press it down firmly to ensure a secure attachment.
-
Reconnect the cables: Reattach the LCD ribbon cable and the digitizer board ribbon cable to their respective ports on the laptop’s motherboard, taking care to route the cables through the designated channels.
-
Power on and test: Power on the laptop and verify that the new display panel is functioning correctly, including the touchscreen capabilities.
-
Finalize the installation: Once you’re satisfied with the display’s performance, remove the adhesive backing and gently lower the display panel onto the laptop’s chassis, aligning it with the bezel. Apply firm pressure around the edges to ensure a secure bond.
Troubleshooting and Additional Tips
- Careful handling: Remember to handle the display panel with care, as these components are fragile and can be easily damaged.
- Verify cable connections: Double-check that all ribbon cables are properly seated and secured to avoid any connectivity issues.
- Consider the digitizer placement: Pay special attention to the digitizer board’s positioning, as improper installation can lead to touchscreen problems.
- Seek professional help: If you encounter any difficulties or are unsure about the repair process, don’t hesitate to consult with a trusted IT professional or the manufacturer’s support team.
By following this comprehensive guide, you’ll be well on your way to successfully replacing your laptop’s display panel and reviving your device. Remember, with the right tools, patience, and a bit of technical know-how, you can take control of your laptop’s repair and save yourself the cost of professional service. Happy tinkering!
For more IT tips and computer repair solutions, be sure to visit IT Fix – your one-stop destination for all things tech.


