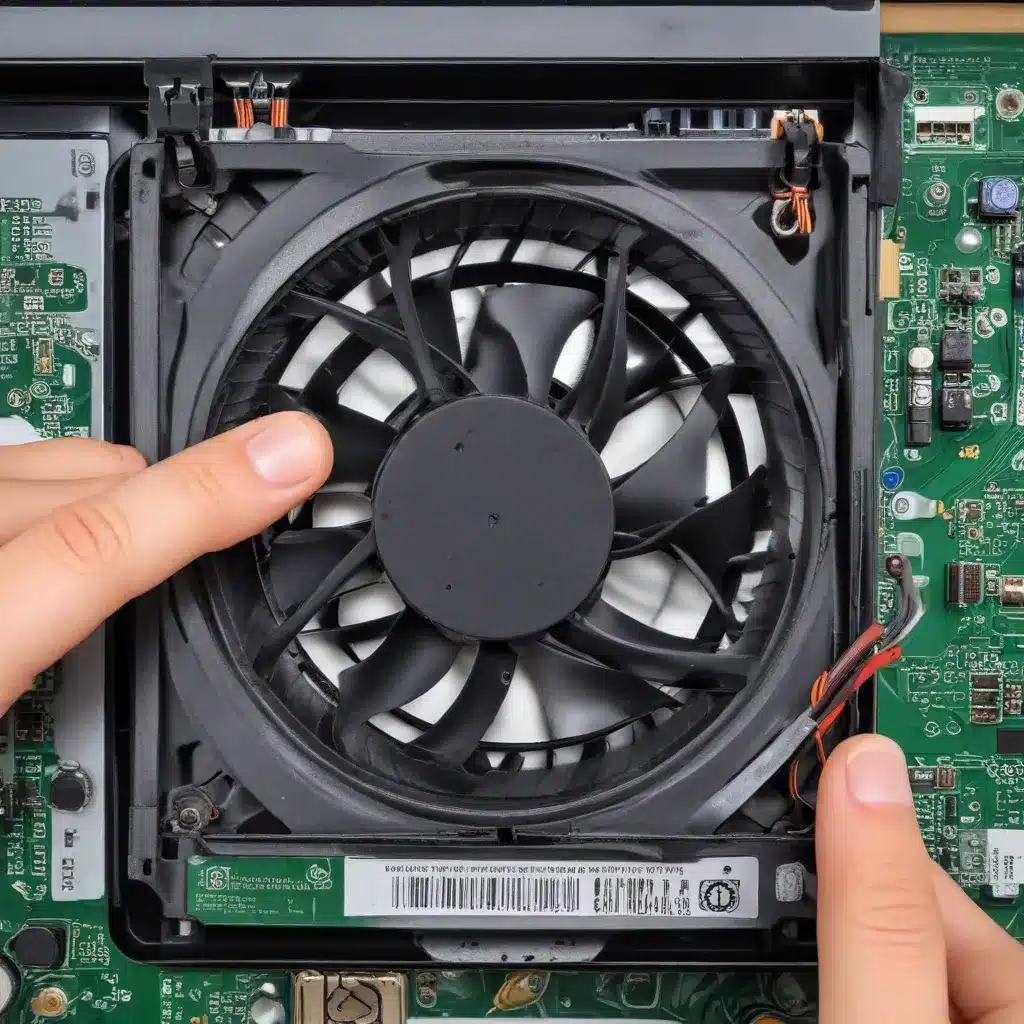
As a seasoned IT professional, I’ve seen my fair share of laptop overheating issues. One of the most common culprits? A malfunctioning cooling fan. In this comprehensive guide, I’ll share practical tips and in-depth insights on how to diagnose, repair, and replace a laptop’s cooling fan to restore proper airflow and temperature.
Understanding the Importance of Laptop Cooling
Laptops generate a significant amount of heat during operation, especially when running demanding applications or games. This heat is generated by the internal components, such as the CPU, GPU, and other electronic parts. If this heat is not effectively dissipated, it can lead to a variety of problems, including:
- Reduced Performance: Overheating can cause your laptop’s components to throttle or even shut down to prevent damage, resulting in decreased performance and responsiveness.
- Shortened Lifespan: Prolonged exposure to high temperatures can degrade the internal components, leading to premature failure and a shortened overall lifespan for your laptop.
- Instability and Crashes: Overheating can cause system instability, resulting in unexpected shutdowns, freezes, or even blue screen errors.
That’s where the cooling fan plays a crucial role. By efficiently removing the heat generated by your laptop’s internal components, the cooling fan helps maintain optimal operating temperatures and ensures your device runs smoothly.
Diagnosing a Malfunctioning Cooling Fan
Before jumping into fan replacement, it’s essential to properly diagnose the issue. Here are some common signs that your laptop’s cooling fan may be malfunctioning:
- Excessive Noise: If your laptop’s cooling fan is making unusual or excessively loud noises, such as grinding, whirring, or rattling, it could be an indication of a problem.
- Overheating: If your laptop is running hotter than usual, with the internal components feeling excessively warm to the touch, it may be a sign that the cooling fan is not functioning correctly.
- Sudden Shutdowns or Performance Issues: Unexpected shutdowns, slowdowns, or system instability may be a result of the cooling fan’s inability to effectively dissipate heat.
- Visual Inspection: Carefully inspect the cooling fan’s physical condition. If you notice any debris, dust buildup, or physical damage to the fan blades, it’s likely time for a replacement.
If you suspect a cooling fan issue, it’s crucial to address it promptly to prevent further damage to your laptop’s internal components.
Replacing the Cooling Fan
Once you’ve determined that your laptop’s cooling fan needs to be replaced, follow these steps to ensure a successful and safe replacement:
-
Gather the Necessary Tools: You’ll need a set of small screwdrivers, a can of compressed air, and a replacement cooling fan that is compatible with your specific laptop model.
-
Back up Your Data: Before proceeding, make sure to back up all your important files and data to an external storage device or cloud-based service. This will ensure that your data is safe in case anything goes wrong during the repair process.
-
Shut Down and Unplug Your Laptop: Turn off your laptop and unplug the power adapter to ensure your safety during the repair process.
-
Access the Cooling Fan: Refer to your laptop’s user manual or manufacturer’s website to locate the steps for accessing the cooling fan. This typically involves removing the bottom panel or a specific access cover.
-
Disconnect the Fan: Carefully disconnect the fan’s power cable, taking note of the cable’s orientation to ensure proper re-connection later.
-
Remove the Fan: Gently remove the fan from its mounting, being careful not to damage any surrounding components.
-
Clean the Heatsink: Use a can of compressed air to carefully clean the heatsink, removing any dust or debris that may have accumulated.
-
Install the Replacement Fan: Carefully align the replacement fan and secure it in place using the appropriate screws. Reconnect the power cable, ensuring a proper connection.
-
Reassemble Your Laptop: Carefully replace any panels or covers you had to remove, ensuring everything is properly aligned and secured.
-
Test the Replacement: Power on your laptop and monitor the cooling fan’s operation. Ensure that the fan is spinning correctly and that your laptop’s temperatures have returned to normal levels.
Remember, always refer to your laptop’s specific service manual or manufacturer’s instructions for the exact steps, as the process may vary slightly between different models.
Maintaining Proper Laptop Cooling
To prevent future cooling-related issues, it’s essential to maintain your laptop’s cooling system regularly. Here are some tips to keep your laptop running at optimal temperatures:
- Clean the Cooling Vents: Use a can of compressed air to gently blow out any dust or debris that may have accumulated in the laptop’s cooling vents. This will ensure unobstructed airflow.
- Use a Laptop Cooling Pad: Invest in a quality laptop cooling pad that can provide additional airflow and help dissipate heat more effectively.
- Avoid Blocking Air Vents: Make sure to keep the laptop’s air vents clear of any obstructions, such as furniture, clothing, or other objects.
- Monitor Temperatures: Use a system monitoring tool to keep an eye on your laptop’s internal temperatures and identify any potential issues before they become critical.
- Keep the Laptop in a Well-Ventilated Area: Avoid using your laptop in cramped or confined spaces, as this can impede airflow and lead to overheating.
By following these best practices, you can help prolong the lifespan of your laptop and ensure it continues to perform at its best.
Conclusion
Replacing a malfunctioning cooling fan is a critical repair for maintaining the overall health and performance of your laptop. By understanding the importance of proper cooling, diagnosing the issue, and following the right steps to replace the fan, you can restore your laptop’s optimal operating temperatures and prevent costly damage to its internal components.
Remember, if you ever feel uncomfortable or unsure about performing the fan replacement yourself, don’t hesitate to seek professional assistance from a reputable IT repair service like IT Fix. Their experienced technicians can quickly diagnose and address any cooling-related issues, ensuring your laptop continues to run smoothly for years to come.


