Introduction
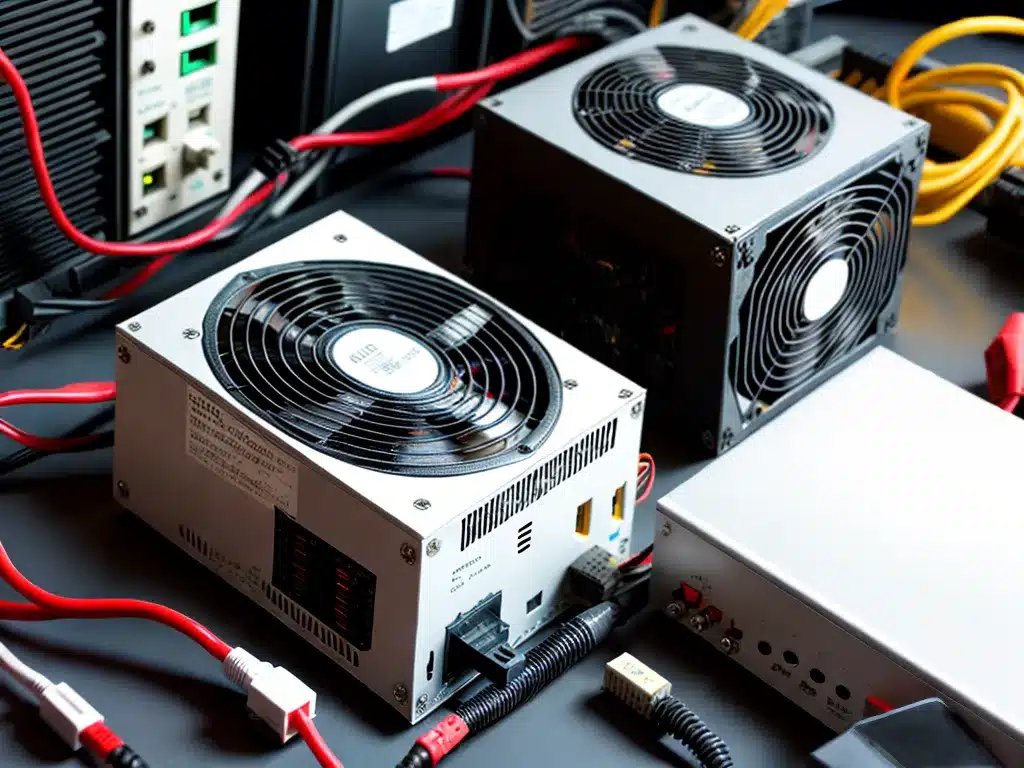
Replacing an old or faulty power supply is one of the easiest ways to give your desktop computer a performance and reliability boost. With power supplies being relatively inexpensive compared to other components, it’s a great bang-for-buck upgrade. This article will walk you through the step-by-step process of installing a new power supply in a desktop PC.
Preparation
Before installing the new power supply, I need to make sure I have all the necessary tools and components. Here is a checklist of what I will need:
- New power supply
- Phillips screwdriver
- Zip ties (optional)
- Isopropyl alcohol and lint-free cloth (optional)
I should also check the power supply specifications against my PC components to ensure compatibility. The key things to check are:
- Wattage – The new PSU needs to provide enough wattage for all components.
- Form factor – The physical size needs to fit my PC case. Common sizes are ATX and SFX.
- Connectors – The PSU needs to have the right connectors for my PC’s motherboard, GPU, storage drives etc.
Once I’ve verified compatibility, I can move on to the installation steps.
Turn Off and Disconnect the PC
The first step is to turn off and disconnect my PC:
- Shut down the PC and turn off the power supply switch.
- Unplug the power cable from the back of the power supply.
- Touch the metal PC case to discharge any static electricity in my body. Static can damage components.
With the PC powered off and disconnected, it’s safe to work inside the case.
Remove the Old Power Supply
To remove the old power supply:
-
Remove the side panel from the PC case to access the internal components. This usually involves removing two or more screws or thumbscrews on the rear/side of the case.
-
Unplug all connector cables from the old power supply:
- 24-pin ATX motherboard power connector
- 4/8-pin CPU power connector
- PCIe/GPU power connectors
- SATA power connectors for storage drives
- Molex connectors for fans etc
-
Remove any zip ties bundling the cables for a neat build. This will make it easier to remove the old PSU.
-
Unscrew the 4 mounting screws securing the power supply to the back of the case. These are usually standard Phillips or hex screws.
-
Slide the old power supply out and set it aside.
Install the New Power Supply
With the old unit removed, it’s time to install the new PSU:
-
Position the new power supply unit in the case. Make sure the fan faces downwards for optimal airflow.
-
Insert and tighten the 4 mounting screws to secure it to the case.
-
Connect the 24-pin ATX and 4/8-pin CPU power cables to the motherboard. Make sure they are fully inserted.
-
Connect the remaining PSU cables to storage drives, GPU, fans etc. Consult the PSU manual for help identifying the connectors.
-
Use zip ties to bundle and route the cables neatly, if desired. This improves airflow and aesthetics.
-
Double check that all connectors are properly seated.
Finish Up
Almost done! Just a few more steps to complete the installation:
-
Replace the PC case side panel and reinstall any screws/thumbscrews.
-
Reconnect the power cable to the new PSU and turn on the power supply switch.
-
Press the PC’s power button to turn it on. It should boot up normally.
-
Enter BIOS setup and reset to defaults if necessary. Some motherboards need this when changing hardware.
-
Run some stress tests to verify stable operation under load. Monitoring software like HWiNFO can check for issues.
-
If everything checks out, the new power supply is successfully installed! Enjoy the performance boost.
Replacing an aging PSU is one of the easiest upgrades for extending a desktop PC’s life. This step-by-step walkthrough makes the process approachable for novice builders. With the right preparation and care, anyone can swap in a new power supply unit.

