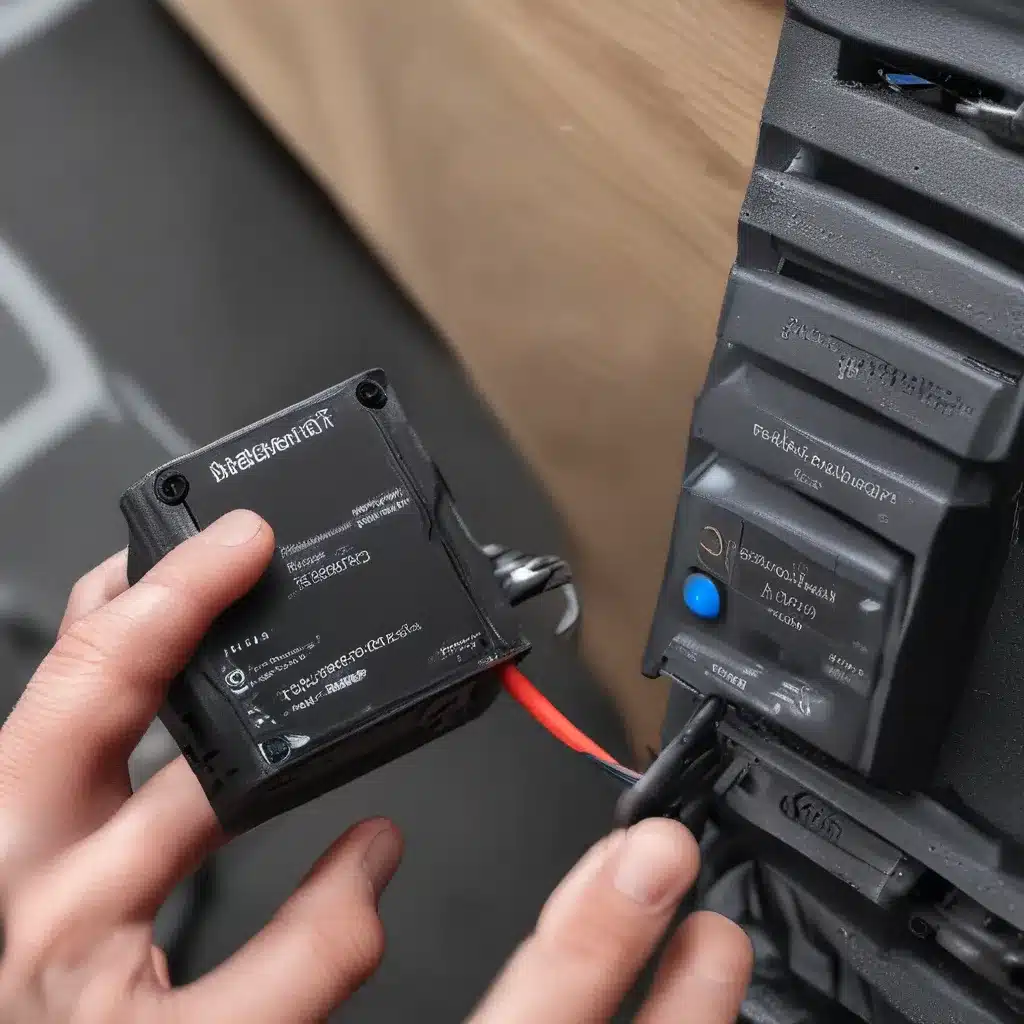
Bidding Farewell to Bluetooth Woes
Ah, the age-old tale of the faulty Bluetooth adapter – a story as old as technology itself. If you’re like me, you’ve probably dealt with your fair share of these pesky little devices over the years. One minute they’re working like a charm, connecting your wireless devices with ease, and the next, they’re about as useful as a paperweight.
But fear not, my fellow tech enthusiasts! Today, we’re going to embark on a journey to conquer the dreaded Bluetooth adapter replacement process. Whether your current adapter is on its last legs or has already met its untimely demise, I’m here to guide you through the steps to get your computer back in fighting shape.
Disabling the Old Adapter
Before we can install the new Bluetooth adapter, we need to take care of the old one. After all, you can’t have two Bluetooth adapters vying for dominance on your system – that’s a recipe for disaster.
To disable the old adapter, simply head to your Windows 10 settings and navigate to the Bluetooth & other devices section. From there, you’ll see your current Bluetooth adapter listed. Click on the three-dot menu next to it and select “Disable.”
This will effectively put the old adapter into retirement, allowing us to move forward with the installation of the new one without any pesky conflicts or compatibility issues. Trust me, it’s a crucial step that will save you a lot of headaches down the line.
Choosing the Right Replacement
With the old adapter out of the way, it’s time to start shopping for its replacement. Now, I know what you’re thinking – “But there are so many options out there! How do I know which one is right for me?”
Fear not, my friends, for I have done the research for you. After scouring the internet and sorting through countless reviews, I’ve landed on the TP-Link UB500 Bluetooth 5.0 dongle as the perfect choice for your needs.
This little guy packs a serious punch, with Bluetooth 5.0 EDR technology that ensures lightning-fast, reliable connectivity. And the best part? It’s got a compact, USB-powered design that makes it a breeze to install on any laptop or desktop running Windows 10 or 11.
Plugging It In and Getting It Going
Alright, now that we’ve got the right adapter in hand, it’s time to get this show on the road. Plug the TP-Link UB500 into an available USB port on your computer, and let’s see what happens.
In an ideal world, Windows 10 would recognize the new adapter and install the necessary drivers automatically. But, as we all know, technology doesn’t always play by the rules. If you encounter any issues during the installation process, don’t panic – it’s a common occurrence.
The first step is to head back to the Bluetooth & other devices section in your Windows settings. If the new adapter is properly recognized, you should see a toggle switch that allows you to turn it on and off. If, however, you only see an “Add Bluetooth or other device” button, then you’ll need to take things a step further.
Manually Installing the Drivers
Don’t worry, manually installing the drivers isn’t as daunting as it may sound. In fact, it’s a pretty straightforward process that could save you a lot of time and frustration.
Start by heading to the TP-Link website and downloading the latest drivers for the UB500 Bluetooth adapter. Once the download is complete, run the installer and follow the on-screen instructions. This will ensure that your new adapter is equipped with the proper software to communicate with your Windows 10 or 11 system.
After the installation is complete, head back to the Bluetooth & other devices section in your Windows settings. You should now see the toggle switch for your new adapter, indicating that it’s ready to go.
Connecting Your Devices
With the new Bluetooth adapter up and running, it’s time to start pairing your wireless devices. Whether it’s a trusty mouse, a sleek set of headphones, or a keyboard that has seen better days, the process is quick and painless.
Simply click the toggle switch to turn on the adapter, and then click the “Add Bluetooth or other device” button. From there, your Windows 10 or 11 system will scan for available devices and guide you through the pairing process.
Within a matter of minutes, you’ll be reconnected to all your beloved wireless gadgets, and the Bluetooth woes of the past will be nothing more than a distant memory. Huzzah!
Wrapping Up
There you have it, folks – the complete guide to installing a replacement Bluetooth adapter on your Windows 10 or 11 computer. Whether you’re dealing with a stubborn old adapter or just looking to upgrade to the latest and greatest, the steps outlined here should have you back in business in no time.
And remember, if you ever find yourself in need of more comprehensive computer repair services, be sure to check out ITFix.org.uk. Their team of skilled technicians is always ready to lend a helping hand, no matter the issue.
Happy Bluetooth-ing, my friends! May your wireless connections be swift, your devices ever-connected, and your tech troubles a thing of the past.


