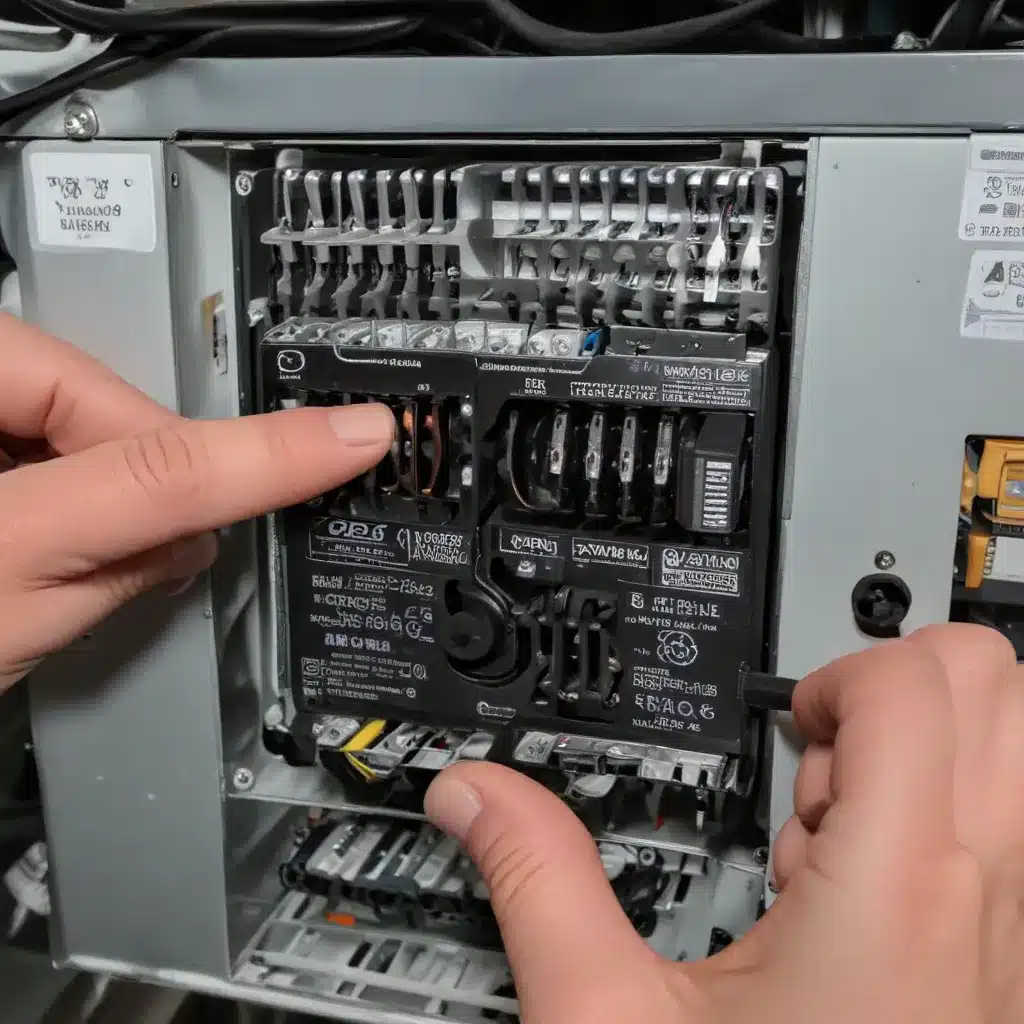
As an experienced IT professional, I’ve seen firsthand the impact a failing power supply unit (PSU) can have on a computer system. From random shutdowns and blue screens to complete system failure, a faulty PSU can wreak havoc on your hardware. In this comprehensive guide, we’ll explore the process of identifying and replacing a problematic PSU, ensuring your computer continues to operate reliably.
Recognizing the Signs of a Failing Power Supply
The first step in addressing a faulty PSU is to identify the symptoms. Common signs that your power supply may be on its way out include:
- Sudden Shutdowns or Restarts: If your computer is unexpectedly powering off or restarting without warning, it could be an indication of a PSU issue.
- Frequent Blue Screens: Blue screens of death (BSoDs) can often be traced back to a malfunctioning power supply, as it struggles to provide stable power to your system.
- Intermittent System Behavior: Inconsistent performance, such as stuttering, freezing, or delayed responsiveness, may suggest a problem with the power supply.
- Inability to Power On: In severe cases, a completely failed PSU may prevent your computer from turning on at all.
If you’re experiencing any of these issues, it’s essential to investigate the problem further and determine if the power supply is the culprit.
Testing the Power Supply Unit
To confirm that your PSU is indeed the source of the problem, you’ll need to perform some basic testing. There are a few methods you can use:
Using a Multimeter
A multimeter is a versatile tool that can measure electrical voltage, current, and resistance. To test your PSU with a multimeter:
- Disconnect the power supply from the motherboard and other components.
- Use a paper clip or jumper wire to short the green wire (labeled “PS_ON”) to any of the black ground wires on the 24-pin connector. This will “jump-start” the PSU, allowing you to measure the output voltages.
- Set your multimeter to measure DC voltage and check the following points:
- 12V rail: Should read between 11.4V and 12.6V
- 5V rail: Should read between 4.75V and 5.25V
- 3.3V rail: Should read between 3.14V and 3.47V
- If any of these voltages are outside the acceptable range, your PSU is likely faulty and needs to be replaced.
Using a Power Supply Tester
A power supply tester is a specialized tool designed specifically for testing PSUs. These testers typically have a variety of connectors that plug directly into the PSU, allowing you to check the output voltages and overall functionality. The process is generally more straightforward than using a multimeter, as the tester will provide a clear pass/fail indication.
If both the multimeter and power supply tester confirm that your PSU is malfunctioning, it’s time to start the replacement process.
Selecting a Replacement Power Supply
When choosing a new power supply, there are several factors to consider:
Form Factor and Dimensions
Ensure the replacement PSU matches the form factor (ATX, SFX, etc.) and physical dimensions of your existing unit. This will ensure it fits properly within your computer case.
Wattage and Efficiency
Determine the total power consumption of your system by adding up the wattage requirements of your components (CPU, GPU, storage, etc.). Choose a PSU with a wattage rating that exceeds your system’s power needs, leaving some headroom for future upgrades.
Additionally, look for a power supply with an 80 Plus certification, indicating its energy efficiency. Higher efficiency ratings can translate to lower energy bills and reduced heat output.
Connectors and Cables
Verify that the replacement PSU has the necessary connectors and cables to power all your components, including the motherboard, CPU, graphics card, and storage devices.
Brand and Reliability
Opt for a power supply from a reputable manufacturer with a history of reliable products and good customer reviews. Investing in a quality PSU can help prevent future issues and protect your valuable hardware.
Installing the Replacement Power Supply
Once you have the new power supply, follow these steps to install it:
- Unplug the old PSU: Disconnect the power cord and all internal cables connected to the old power supply.
- Remove the old PSU: Locate and remove the screws securing the old PSU to the computer case, then gently pull it out.
- Install the new PSU: Place the new power supply in the same position as the old one and secure it with the appropriate screws.
- Connect the power cord: Plug the power cord into the new PSU and the wall outlet.
- Connect the internal cables: Attach the 24-pin motherboard connector, the 4-pin or 8-pin CPU connector, and any additional connectors for your graphics card, storage devices, and fans.
- Tidy up the cables: Organize and route the cables neatly within the case, ensuring they don’t obstruct airflow or interfere with other components.
- Close the case: Reassemble your computer and close the case.
Verifying the Replacement Power Supply
After installing the new power supply, it’s essential to test your system to ensure it’s functioning correctly. Turn on the power switch on the back of the new PSU and press the power button on the front of the case. Monitor the boot process and check for any error messages or unusual behavior.
If everything appears to be working correctly, you’ve successfully replaced the faulty power supply. However, if you still encounter issues, you may need to investigate other potential hardware problems or seek the assistance of a professional IT technician.
Remember, a reliable power supply is the foundation of a well-performing computer system. By taking the time to identify and replace a faulty PSU, you can help prevent further damage to your hardware and ensure your computer continues to operate at its best.
For more IT solutions, troubleshooting tips, and technology insights, be sure to visit https://itfix.org.uk/. Our team of experienced professionals is dedicated to providing practical guidance and in-depth insights to help you optimize your computing experience.


