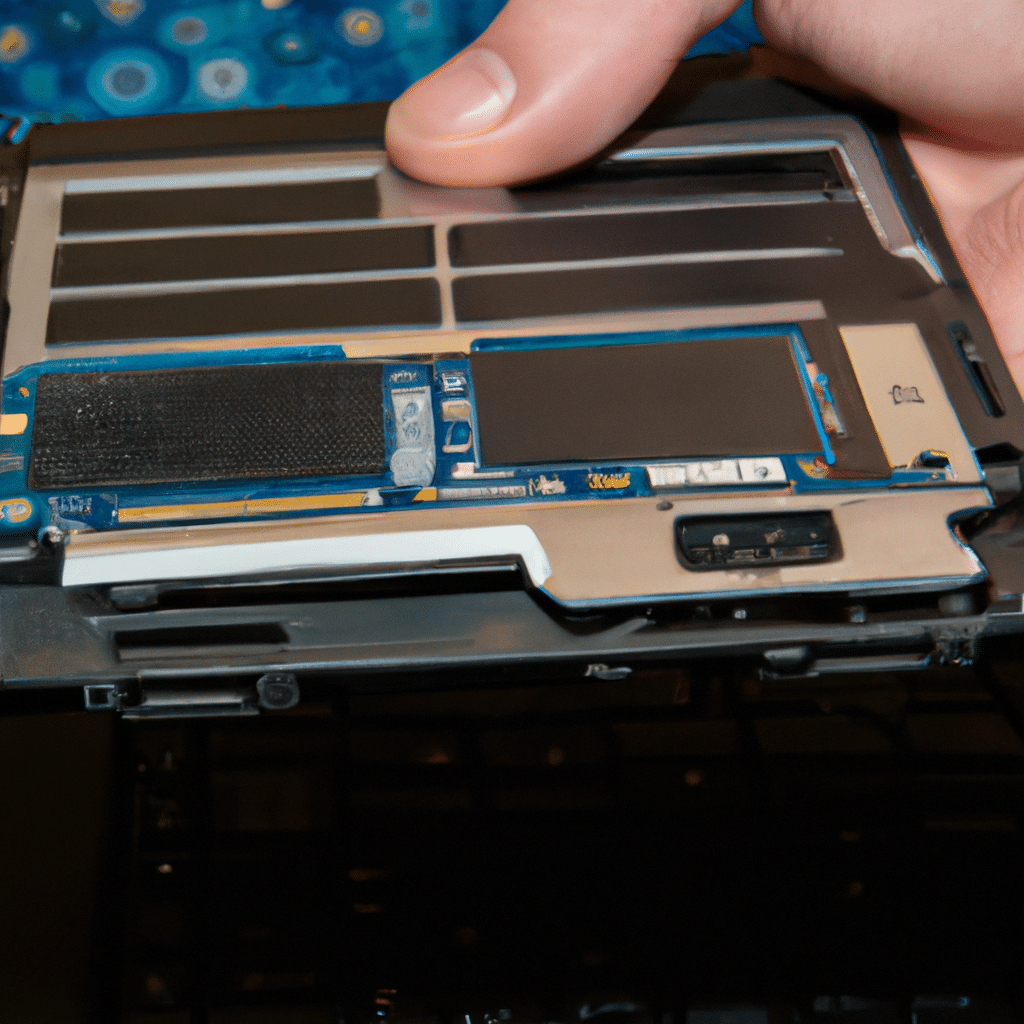
Are you tired of dealing with a slow laptop that takes forever to load programs and files? Upgrading your laptop’s RAM may be the solution you need for better performance. In this article, we’ll cover everything you need to know about upgrading your laptop’s RAM, including the benefits, the types of RAM, and the steps to follow for a successful upgrade.

Benefits of Upgrading Your Laptop’s RAM
Before we dive into the specifics of RAM upgrades, let’s first understand why upgrading your laptop’s RAM is beneficial. RAM, or Random Access Memory, is the space where your laptop stores data for quick access by the CPU. When you open a program or file, the data is transferred from the hard drive to the RAM, where it can be accessed faster.
Having more RAM means your laptop can store more data in its memory, allowing it to access information faster and more efficiently. This can lead to a significant improvement in your laptop’s performance, especially when running multiple programs or complex applications simultaneously. Upgrading your laptop’s RAM can also increase its lifespan, as it reduces the strain on the CPU and other components.
Types of RAM
When it comes to upgrading your laptop’s RAM, there are two main types to consider: DDR3 and DDR4. DDR3 is the older of the two and is compatible with most laptops released before 2015. DDR4 is the newer and faster option, but it’s only compatible with laptops released after 2015.
Before purchasing new RAM, make sure to check your laptop’s specifications to determine which type is compatible. You can usually find this information on the manufacturer’s website or by checking the laptop’s manual.
Steps to Follow for a Successful RAM Upgrade
Now that you understand the benefits and types of RAM, let’s dive into the steps to follow for a successful upgrade.
-
Determine your laptop’s current RAM: Before purchasing new RAM, you need to know how much RAM your laptop currently has. You can do this by checking the laptop’s system information or by using third-party software like CPU-Z or Speccy.
-
Purchase compatible RAM: Once you know which type of RAM your laptop requires, it’s time to purchase the new RAM. Make sure to purchase RAM that’s compatible with your laptop’s specifications, including the type, speed, and capacity.
-
Power off your laptop: Before removing or installing any components, make sure to power off your laptop and unplug it from the charger.
-
Remove the back cover: Most laptops have a removable back cover that gives you access to the internal components. Remove the back cover and locate the RAM slots.
-
Remove the old RAM: Gently push down on the clips on either side of the RAM module to release it from the slot. Once it’s released, pull it out at a 45-degree angle.
-
Install the new RAM: Align the notch on the new RAM module with the notch on the slot and insert it at a 45-degree angle. Once it’s fully inserted, push down on the module until you hear the clips click into place.
-
Replace the back cover: Once the new RAM is installed, replace the back cover and tighten any screws or clips.
-
Power on your laptop: Finally, power on your laptop and check the system information to ensure the new RAM is recognized and working properly.
Conclusion
Upgrading your laptop’s RAM is a simple and effective way to improve its performance and increase its lifespan. By following the steps outlined in this article, you can upgrade your laptop’s RAM with confidence and enjoy a faster, more efficient computing experience. Remember to check your laptop’s specifications before purchasing new RAM and follow proper safety precautions when working with internal components.


