Introduction
A crossover cable is a special type of Ethernet cable used to connect two devices of the same type together, such as two routers, two switches or two computers. It reverses the transmit and receive pins on each end, allowing the two devices to communicate directly. Crossover cables are handy for network troubleshooting and certain configurations, but like anything, they can experience problems. Here’s how to troubleshoot some common crossover cable connection issues.
Symptoms of Crossover Cable Issues
Here are some typical symptoms that a crossover cable may be faulty or connected improperly:
-
No link light on ports connected by crossover cable – If the link lights are off on both ends, it indicates there is no connectivity over the cable.
-
Can’t access device on other end – You are unable to ping or connect to the IP address of the device on the other end of the crossover cable.
-
Slow network performance – Your connection is sluggish or lagging when transferring data between the two connected devices.
-
Intermittent connectivity problems – The connection seems to drop in and out when using the crossover cable.
Step 1: Inspect the Cable and Ports
The first step is to inspect the physical cable and port connections:
-
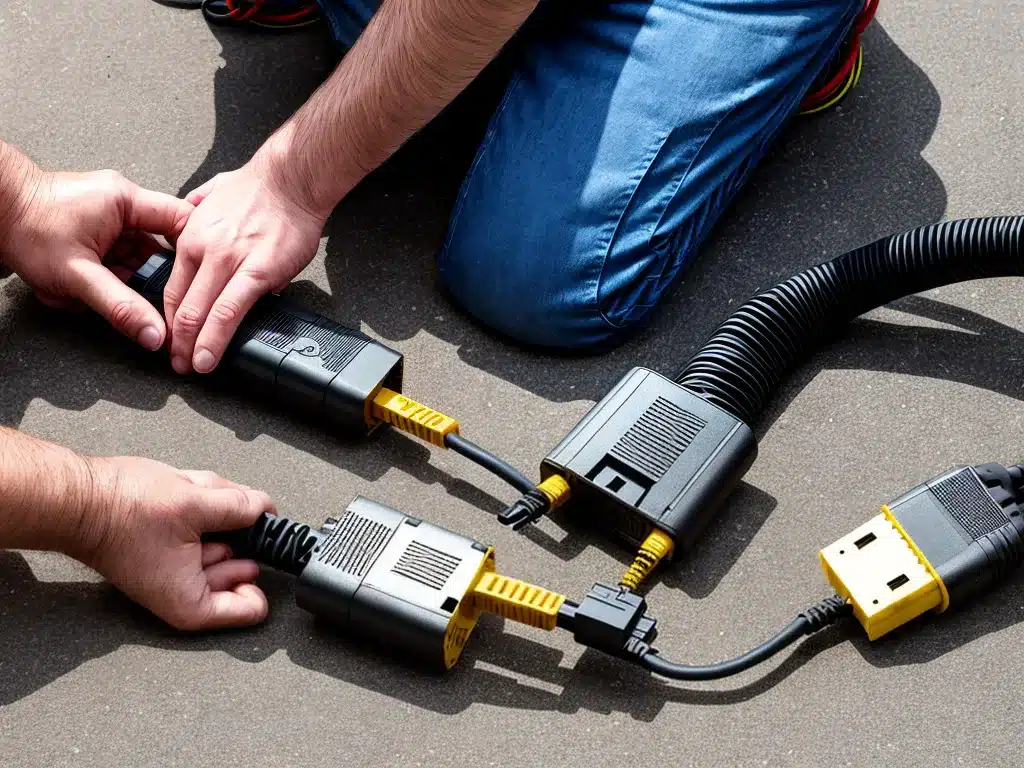
Verify it is a crossover cable – Make sure an actual crossover wired cable is being used, not a standard patch cable. Trace along the cable and look closely at the RJ45 connectors to identify it.
-
Reseat connections – Remove and reconnect the crossover cable to the devices on both ends to ensure a solid connection.
-
Check for damaged wires or clips – Inspect along the full length of the cable for any kinks, cuts, worn spots or bent clips that could indicate a wiring problem inside the cable.
-
Swap with new cable – Replace the crossover cable with a brand new one if available to rule out the existing cable as the cause.
Step 2: Verify Crossover Adapters or Uplinks
If the connections are made using crossover adapters or uplink ports, check that:
-
Adapters are connected properly – Make sure any RJ45 crossover adapters are correctly attached to the regular patch cables.
-
Uplink mode enabled – Verify that the uplink feature is enabled on the port if connecting two switches or other devices together in this way.
-
Activity lights – Check that the adapter link lights are on to confirm the adapters are functioning correctly.
-
Bypass adapters – Try connecting directly with a crossover cable instead of using adapters to see if the adapters are faulty.
Step 3: Test with a Different Device
If the cable and ports seem okay, plug each end of the crossover cable into a different device to test connectivity:
-
Use laptop or tablet – Connect to the crossover cable with a mobile device and see if you get a link light and IP address.
-
Swap with alternate device – Test with a different router, switch, computer, or other device if available to isolate where the problem lies.
-
Verify IP addresses – Check that IP addresses in the expected subnet range are assigned to each device when the crossover is connected.
-
Ping test – Try to ping between the two devices over the crossover cable to verify bidirectional communication.
Step 4: Double Check Configurations
If using the crossover cable between two similar devices like routers or PCs, look for any required configuration:
-
Disable spanning tree – Some switches may need to have STP disabled on the ports used for crossover cables.
-
Set static IPs – Configure static IPs rather than DHCP in the same subnet on PCs or servers connected directly through the crossover.
-
Turn off wifi and firewalls – Disable other network connections like wireless and firewall software that could interfere with the crossover connection.
-
Verify port settings – Make sure the ports have the correct speed, duplex, and other parameters matching on both ends.
Step 5: Test Continuity
As a last resort, the cable can be tested for continuity:
-
Use cable tester – A dedicated RJ45 cable tester will easily verify continuity between conductors and locate any wiring issues.
-
Check pinout – Use a multimeter or continuity tester to manually check the continuity for the crossover pinout: 1 to 3, 2 to 6, 3 to 1, and 6 to 2.
-
Look for shorts – Test for any short circuits between conductors that could cause intermittent problems with the cable.
If all else fails, try a brand new crossover cable between known good devices to isolate the issue. With multiple connection points and configurations, crossover cable issues can be tricky but methodically going through these troubleshooting steps will usually uncover the culprit.
Summary
Troubleshooting crossover cable issues requires verifying the physical connections, testing with different components, double checking configurations, and ultimately testing the continuity of the cable itself. Going through these steps one-by-one will help determine where connectivity is being lost between devices and isolate any faults to the cable, ports, or settings. With a systematic approach, crossover connection problems can usually be resolved and communication successfully established between the two ends.

