Is Your CMOS Battery on Its Last Legs?
As a computer repair specialist in the UK, I’ve seen my fair share of issues caused by a faulty CMOS battery. It’s one of those unsung heroes of your PC that can quietly cause all sorts of problems if left unchecked. But don’t worry, testing and replacing your CMOS battery is a pretty straightforward task – as long as you know what to look for.
You see, that little round battery on your motherboard is responsible for keeping your BIOS settings and system clock ticking away, even when your PC is switched off. It’s the guardian of your computer’s most vital signs. But just like any battery, it won’t last forever. If it starts to fail, you might notice some peculiar behavior from your machine.
Spotting the Signs of a Dying CMOS Battery
So, how can you tell if your CMOS battery is on its last legs? Well, keep an eye out for a few telltale signs. [1] First and foremost, if your system clock keeps resetting itself every time you power on, that’s a dead giveaway. The CMOS battery is responsible for preserving that information, so if it’s dying, your clock will go haywire.
Another common symptom is random BIOS settings changes. [2] If you find that your BIOS keeps reverting to default settings, or you have to re-enter things like the boot order or overclocking profiles every time you boot up, that’s a clear indication that your CMOS battery is struggling to do its job.
And let’s not forget the good old “CMOS Checksum Error” message. [3] If you’re greeted with that ominous warning during startup, it means the BIOS is detecting a problem with the stored settings, which is often due to a dying CMOS battery.
But wait, there’s more! If your computer is taking longer than usual to boot up, that could also be a sign that the CMOS battery is on its last legs. [4] The BIOS relies on that battery to quickly initialize all the necessary hardware, and if it’s struggling, it can slow down the whole process.
Testing the CMOS Battery
Okay, so you’ve spotted the warning signs – now what? Well, the next step is to actually test the CMOS battery to confirm it’s the culprit. And the good news is, you don’t need any fancy tools to do it.
The simplest method is the good old-fashioned “unplug and wait” test. [5] Just turn off your PC, unplug the power cable, and leave it sitting overnight. If your system clock and BIOS settings are still intact when you power it back on, then your CMOS battery is in good shape. But if you have to reset everything, well, it’s time for a replacement.
Now, if you want to get a bit more scientific, you can actually measure the voltage of the CMOS battery using a digital multimeter. [6] Aim for a reading between 2.7 and 3.3 volts – anything below that and it’s time to swap it out.
Replacing the CMOS Battery
Once you’ve confirmed that your CMOS battery is on its way out, it’s time to replace it. And the good news is, it’s a relatively simple process, even for a PC novice.
First things first, make sure you’ve got the right replacement battery. [7] The most common type is the CR2032 coin cell, but double-check your motherboard manual to be sure. You don’t want to accidentally install the wrong size and risk causing more problems.
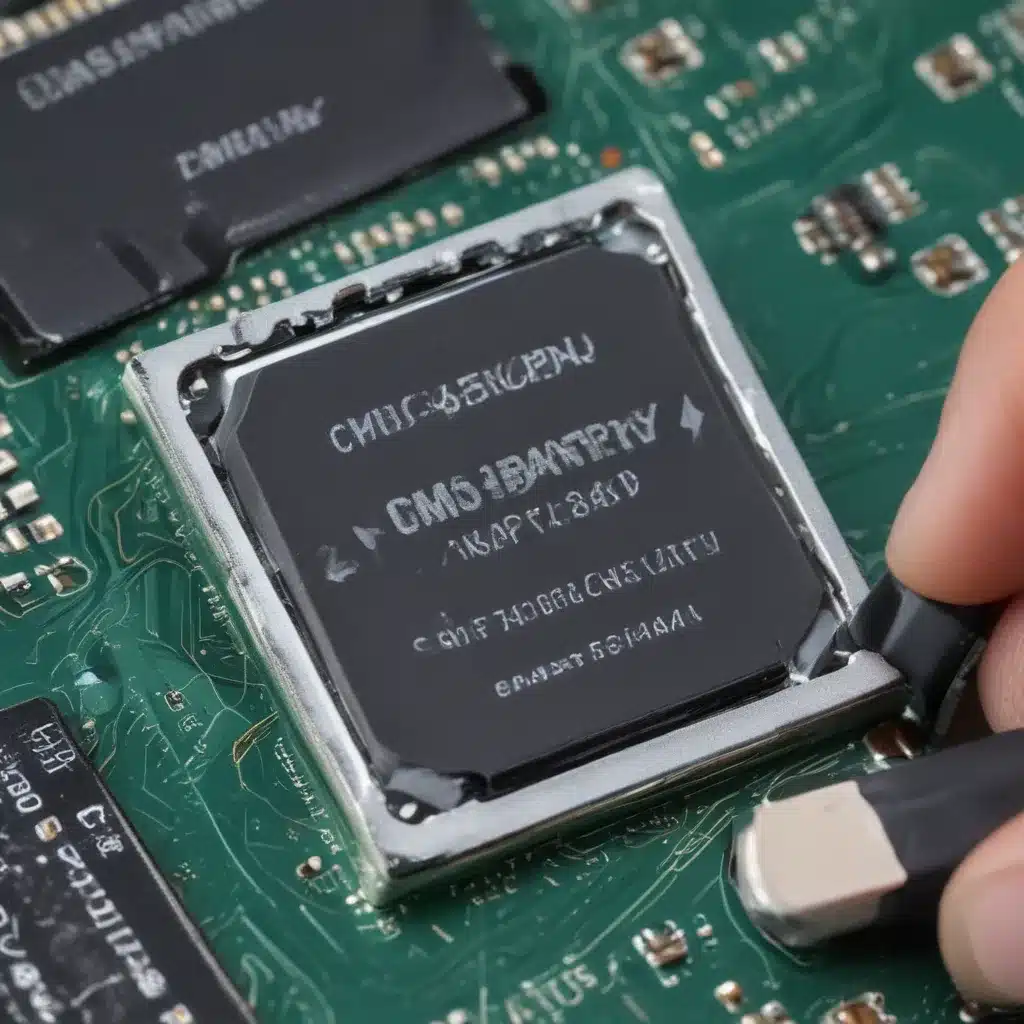
Next, power down your PC, unplug the power cable, and open up the case. Locate the CMOS battery – it’s usually a small, round, silver battery near the bottom of the motherboard. [8] Gently pry it out using a flat-head screwdriver or your fingernail, being careful not to damage any surrounding components.
Once the old battery is out, simply slide the new one into the slot, making sure it clicks into place. And voila, you’re done! Just close up the case, plug everything back in, and power on your PC. You should find that your system clock and BIOS settings have been restored to their former glory.
Wrapping Up
There you have it, folks – the secret to testing and replacing a faulty CMOS battery. It may seem like a daunting task, but trust me, it’s a lot simpler than dealing with a computer that’s constantly forgetting the time or reverting to default settings.
So, the next time you notice your PC acting up in any of the ways we discussed, don’t hesitate to investigate that little battery on your motherboard. It might just be the key to getting your machine back in tip-top shape. Happy repairing!
[1] https://urbanerecycling.com/discover-how-to-test-and-replace-a-cmos-battery-3/
[2] https://www.quora.com/How-do-I-know-if-my-CMOS-battery-needs-replacing
[3] https://www.reddit.com/r/buildapc/comments/3wn2d8/discussion_just_a_reminder_that_a_dead_bios/
[4] https://www.hp.com/us-en/shop/tech-takes/what-is-cmos-battery-how-to-remove-and-replace
[5] https://forum.asrock.com/forum_posts.asp?TID=14229&title=no-energy-on-cmos-battery-always-reset-uefi
[6] https://www.howtogeek.com/893809/how-to-test-and-replace-your-cmos-battery/
[7] https://www.reddit.com/r/buildapc/comments/3wn2d8/discussion_just_a_reminder_that_a_dead_bios/
[8] https://forums.anandtech.com/threads/cmos-battery-needs-to-be-replaced-frequently.1348186/


