Introduction
Setting up a wireless network at home can seem daunting, but it doesn’t have to be! A wireless home network allows all of your devices to connect to the internet and share files without needing wires. With the right equipment and a bit of know-how, you can create your own wireless network relatively easily. In this guide, I’ll walk you through the entire process of setting up a wireless home network step-by-step.
Equipment Needed
To set up a wireless network, you’ll need just a few key pieces of equipment:
-
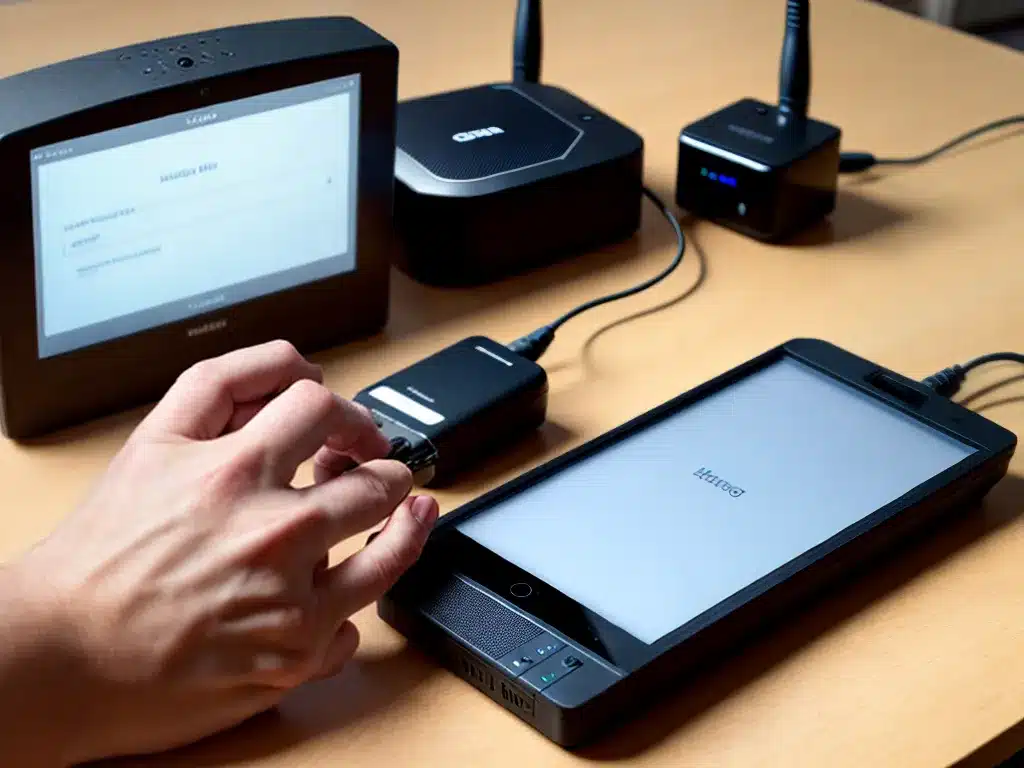
Wireless router – This connects to your modem and broadcasts the wireless signal. It allows multiple devices to connect to the same network.
-
Modem – Provides the internet connection that the router broadcasts wirelessly. This is usually provided by your ISP.
-
Ethernet cables – Used to connect the router to the modem if they aren’t close to each other.
-
Wireless devices – Any device with wifi capabilities can connect, including laptops, phones, tablets, smart TVs, and more.
Steps to Set Up the Network
1. Choose a Good Location for the Router
The location of your wireless router is important for getting the best wifi signal throughout your home. Some tips:
-
Place the router in a central area if possible, avoiding corners.
-
Elevate the router for better range, e.g. on a shelf or table.
-
Keep it away from thick walls, metal surfaces, and other objects that can block the signal.
-
Make sure it’s accessible to an electrical outlet and ethernet ports.
2. Connect the Router to the Modem
Using an ethernet cable, connect one of the router’s LAN ports to the modem’s LAN port. This connects the router to the internet source.
If the router and modem are far apart, you may need extra ethernet cables joined together. The maximum length for an ethernet cable is 100 meters.
3. Configure the Wireless Network Settings
Access your router’s management page by entering its IP address in a browser. The default is usually 192.168.0.1 or 192.168.1.1.
Here, you can configure your wireless network settings:
-
Create a network name (SSID) and password.
-
Choose a wireless band (2.4Ghz or 5Ghz). 5Ghz is faster but has less range.
-
Configure the security protocol, like WPA2. Keep security enabled!
-
Set up guest networks if you want to share your wifi with visitors.
4. Connect Devices to the Wireless Network
The final step is to connect all your devices!
On each device:
-
Go to the wifi settings and select your network name.
-
Enter the password when prompted.
-
Confirm you’re connected by opening a browser or app.
-
Connect gaming consoles, smart home devices, printers, and any other wifi-enabled devices.
And that’s it! Your home wireless network should now be up and running. Enjoy the freedom and convenience of wifi connectivity.
Tips for a Better Wireless Connection
Here are some tips to optimize and improve your wifi network:
-
Update your router firmware for performance improvements.
-
Use a wireless channel that isn’t overloaded by neighbors’ networks. Apps like WiFi Analyzer can help.
-
Consider a mesh system if you have wifi dead zones in parts of your home.
-
For gaming and streaming, always connect via ethernet cable when possible.
-
Limit interference by keeping routers away from Bluetooth devices, baby monitors, microwaves, etc.
-
Set devices that don’t move (like desktop PCs) to use the 5Ghz band for faster speeds.
-
Change your SSID and password regularly for better security.
With good setup and some tweaking, you can enjoy fast, reliable wifi throughout your home. Let me know if you have any other questions!

