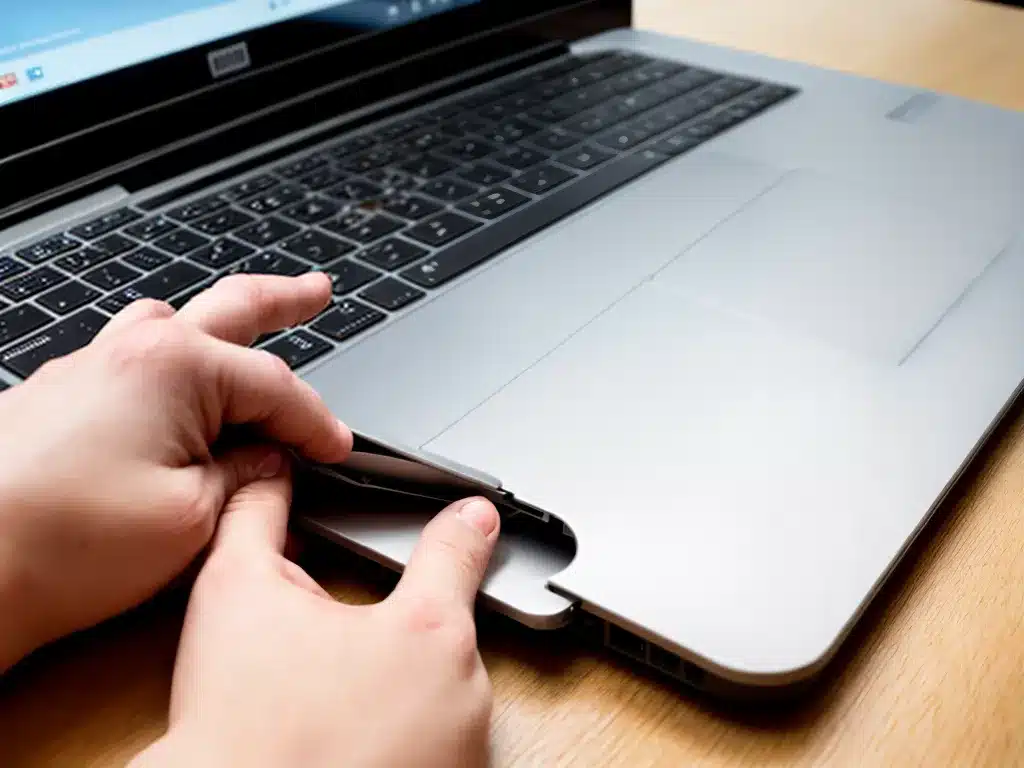
Cleaning the inside of your laptop can seem daunting, but it’s an important maintenance task that will help keep your computer running smoothly. With some basic supplies and a little care, you can safely clean the interior without damaging any components.
Why You Should Clean the Inside of Your Laptop
There are a few key reasons why it’s beneficial to clean the inside of your laptop:
-
Removes dust buildup – Dust and debris can accumulate inside your laptop over time, especially around the fans and heat sinks. This can block airflow and cause your computer to overheat.
-
Extends component life – Dust acts as an insulator, trapping heat around components like the CPU and GPU. Excessive heat can shorten the lifespan of these parts. Cleaning removes dust and improves cooling.
-
Prevents system crashes – Built up dust can sometimes cause hardware problems that lead to random crashes or freezes. Cleaning helps reduce these issues.
-
Improves performance – With better airflow and cooler components, your laptop can run smoother and faster, especially during graphics intensive tasks like gaming or video editing.
How Often Should You Clean Inside Your Laptop?
For most laptops, aim to clean the interior every 6-12 months. If you use your laptop frequently or own a gaming laptop that runs hot, clean every 3-6 months instead. Watch for symptoms like random crashes, overheating, or loud fans as signs it could be time for a cleaning.
What You’ll Need
Gather the following supplies before taking apart your laptop:
-
Compressed air duster – This is the most essential tool, used to blow out dust. Avoidusing a vacuum as it can produce static.
-
Cotton swabs – For wiping down fan blades and reaching tight spaces.
-
Isopropyl alcohol – Optional, used dampened on a swab for removing stubborn dirt.
-
Phillips screwdriver – For opening up the laptop case to access the fans and heatsinks.
How to Clean Inside Your Laptop
Follow these steps to thoroughly clean the interior:
1. Power Down, Unplug, and Remove Battery
- Shut down your laptop through the OS, don’t just close the lid.
- Unplug the charger from the wall and laptop.
- If possible, remove the battery. This avoids damage from accidental powering on.
2. Remove Case and Access Components
- Use a Phillips screwdriver to remove any screws from the bottom case panel.
- Carefully pry off the bottom panel. Refer to a teardown guide if needed.
- Locate the fans, heat sinks, vents, and circuit boards.
3. Blow Out Dust with Compressed Air
- Hold fans firmly when blowing on them to avoid damage.
- Use a sweeping motion across vents and boards to blow dust out.
- Cotton swabs can help dislodge caked-on dust in tight spaces.
4. Clean Fan Blades
- Wipe down visible fan blades with a dry cotton swab.
- For stubborn dirt, use a swab dampened lightly with isopropyl alcohol.
5. Check for Remaining Dust
- Visually inspect all areas for any remaining clumps of dust.
- Repeat air blasting and swabbing until it’s clean.
6. Reassemble Laptop
- Replace all components and case panels in reverse order.
- Screw panels back into place securely.
- Reconnect battery and charger.
7. Update Drivers and Manage Airflow
After cleaning, update drivers like graphics and wifi for best performance. Also manage dust intake by using your laptop on hard flat surfaces and keeping vents unobstructed.
Signs You Damaged Components
If reassembled incorrectly, components can be knocked loose or damaged. Warning signs include:
- Laptop not powering on.
- Scrambled image on display.
- Error lights or beeps at startup.
- Parts visibly cracked or scratched.
If you notice any of this, power off immediately and re-check connections before seeking professional repair. With care and patience, you can safely clean inside your laptop!


