Introduction
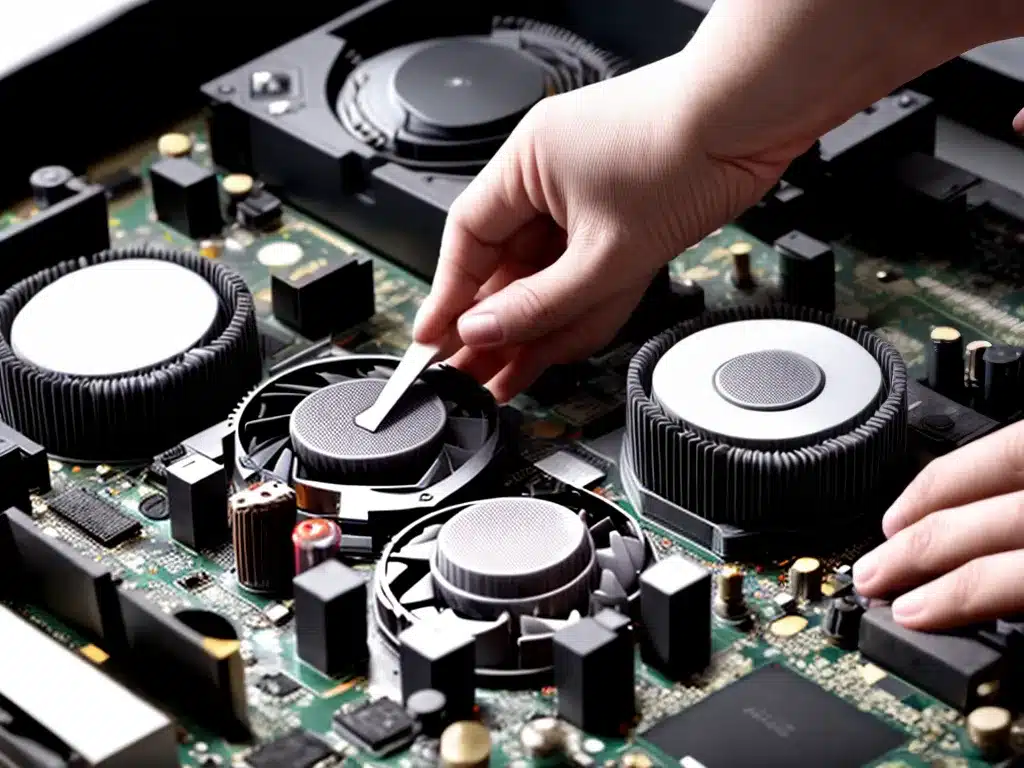
Replacing the thermal paste on your CPU and GPU can provide substantial improvements in temperatures and performance. While it may seem daunting, with the right preparation and patience, anyone can replace their thermal paste. In this guide, I will walk through the entire process step-by-step.
When To Replace Thermal Paste
Thermal paste is designed to last for several years, but it can dry out or lose effectiveness over time. Here are some signs it may be time to replace your thermal paste:
-
Increased temperatures – If your CPU or GPU temperatures are steadily climbing higher than they used to, new thermal paste can help bring them back down.
-
Loud fans – Fans constantly ramping up to full speed is a sign your components are running hotter than they should be.
-
Throttling – Thermal throttling kicks in to protect your hardware from overheating. Replacing old paste can help prevent throttling.
-
Old paste – If it’s been 3-5 years since you last replaced the paste, reapplying fresh paste can provide a temperature drop.
As a general guideline, thermal paste should be replaced every 3-4 years. But keep an eye out for the symptoms above to know if it’s time sooner.
How To Remove The Old Thermal Paste
Before applying new paste, you need to remove the old dried out paste from the CPU/GPU and heatsink.
Materials Needed
- Isopropyl alcohol
- Paper towels or microfiber cloths
- Cotton swabs
Steps to Remove Old Paste
-
Power off your computer and unplug the power supply. Discharge any static electricity by touching a grounded metal object.
-
Use a screwdriver to remove the heatsink mounting screws to access the CPU/GPU. Remove the heatsink.
-
Inspect the top of the CPU/GPU and the heatsink cold plate. Note any dried paste buildup.
-
Use paper towels soaked in isopropyl alcohol to wipe off the old paste. Rub gently until it is removed.
-
For stubborn paste, use cotton swabs dipped in alcohol to scrub. Take your time and be gentle.
-
Once all the old paste is cleaned off, use a dry paper towel to remove any remaining alcohol.
-
Allow the CPU/GPU and heatsink to dry completely before applying new paste.
Choosing The Right Thermal Paste
With so many options available, it can be tough to choose the right thermal paste. Here are some things to consider:
-
Performance – Look at benchmarks and reviews to find a paste that provides the best performance for your CPU/GPU. Arctic MX-4 and Noctua NT-H1 are good all-around options.
-
Conductivity – For CPUs/GPUs sensitive to electrical conductivity, choose a non-conductive paste like Thermal Grizzly Kryonaut.
-
Ease of use – Liquid metal pastes provide the best performance but can be tricky to apply and maintain. Traditional pastes are easier for beginners.
-
Durability – Some pastes last longer than others before needing to be replaced. Target one that lasts 3-5 years.
How To Apply New Thermal Paste
Once you’ve selected the right new paste for your setup, it’s time to apply it. Follow these steps:
Materials Needed
- Thermal paste
- Isopropyl alcohol
- Paper towels
- Latex gloves (optional)
Steps to Apply New Paste
-
Place a small line or pea-sized dot of paste in the center of the CPU/GPU. Less is more – too much paste can cause issues.
-
Use a credit card or plastic spreader to smooth the paste out into a thin, even layer. Make sure it covers the entire IHS.
-
Apply paste to the heatsink cold plate in the same method. Cover the entire surface.
-
Slowly lower the heatsink back down onto the CPU/GPU. Be careful not to move or twist the heatsink.
-
Reinstall the mounting screws in an X or crisscross pattern to ensure even contact.
-
Reconnect the fan header. Always test boot your PC to verify temperatures before buttoning it up.
-
Let the PC run for about 30 minutes then power down and recheck paste application if any issues.
Troubleshooting Common Thermal Paste Problems
If after repasting you are still seeing high temperatures, here are some potential issues to check:
-
Too much/too little paste – Use the pea method and plastic spreader to get just the right amount.
-
Bubbles in paste – Tiny air bubbles can reduce heat transfer. Reapply if you see bubbles.
-
Paste pump-out – Paste being pushed out from between surfaces. Tighten heatsink mounting pressure.
-
Poor contact – Verify heatsink is properly mounted with even pressure on the CPU/GPU.
-
Needed better paste – Try a higher performance paste if temperatures are still high.
Take the time to properly apply the right paste and your CPU/GPU will thank you with lower temperatures and better performance. Just be patient, work carefully, and be ready to troubleshoot. With some thermal care, your system can run cooler and last longer.


