Assessing if You Need a Trackpad Replacement
Before replacing your MacBook’s trackpad, it’s important to determine if a replacement is truly necessary. Here are some signs that your trackpad may need replacing:
-
The cursor jumps around or moves erratically on its own. This could indicate a hardware issue with the trackpad.
-
The trackpad is physically damaged, such as having cracks or missing chunks. Physical damage can prevent the trackpad from working properly.
-
Gestures like pinch-to-zoom or two-finger scrolling don’t work. If the basic gestures aren’t responsive, the trackpad likely needs replacing.
-
Clicking the trackpad doesn’t register clicks. If the clicking mechanism under the trackpad is broken, a replacement is required.
-
The cursor drifts when your finger is stationary on the trackpad. This points to a sensitivity problem with the trackpad itself.
If you’re experiencing one or more of these issues, a trackpad replacement will likely resolve the problems.
Gathering Necessary Replacement Parts and Tools
Once you’ve determined a trackpad replacement is needed, gather all the required parts and tools:
-
Replacement trackpad – Make sure it’s compatible with your specific MacBook model. Trackpads are not universally interchangeable.
-
A small Phillips head screwdriver to remove screws from the MacBook case.
-
Plastic prying tools to help pop off the MacBook case without damaging it. Avoid using metal tools.
-
Tweezers may be helpful for disconnecting and reconnecting delicate trackpad cables.
-
Thermal paste to reapply between the new trackpad and CPU.
-
Isopropyl alcohol to remove old thermal paste residue.
Only use replacement parts intended for your MacBook’s model. Attempting to install an incompatible trackpad can damage the computer.
How to Replace the Trackpad Step-by-Step
With the proper parts on hand, here is a step-by-step walkthrough for replacing a MacBook’s trackpad:
1. Shut Down the MacBook
Start by fully shutting down the MacBook – don’t just put it to sleep. This avoids any electrical damage during the repair process.
2. Remove the Lower Case
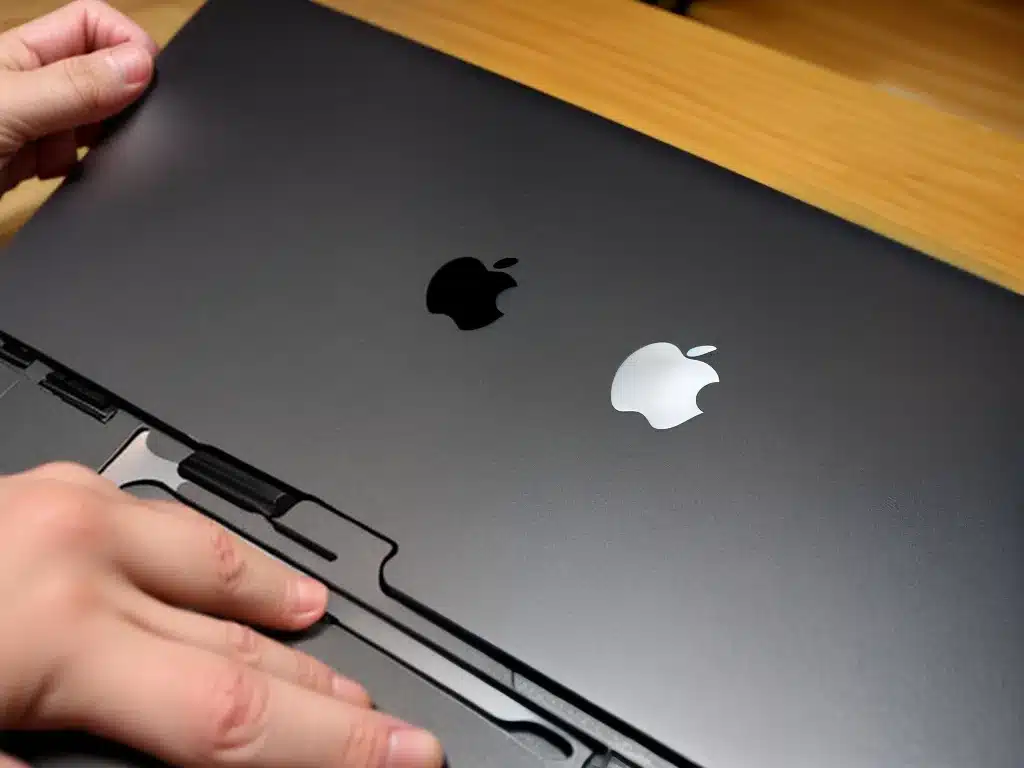
Use a plastic prying tool to gently pop up and disconnect the lower case starting from the bottom corners. Remove all screws holding it in place. Be careful not to damage any cables.
3. Disconnect the Trackpad Cable
Once the lower case is off, locate the ribbon cable connecting the trackpad to the logic board. Gently pull it straight out to detach it.
4. Remove the Old Trackpad
There will be several screws securing the trackpad in place. Remove them with the Phillips head screwdriver and lift out the old trackpad.
5. Install the Replacement Trackpad
Position the new trackpad where the old one was and insert and tighten its screws. Reattach the trackpad cable to the logic board socket.
6. Replace the Thermal Paste
Before reinstalling the lower case, apply fresh thermal paste between the trackpad and CPU heat sink. This improves heat transfer.
7. Reassemble the MacBook
Screw the lower case back on, reconnecting any other cables or brackets. Power the MacBook back on and test that the new trackpad works!
Be slow and gentle during each step to avoid any accidental damage. Take your time and ensure proper connections. With care, you can successfully replace a MacBook’s trackpad.

