Introduction
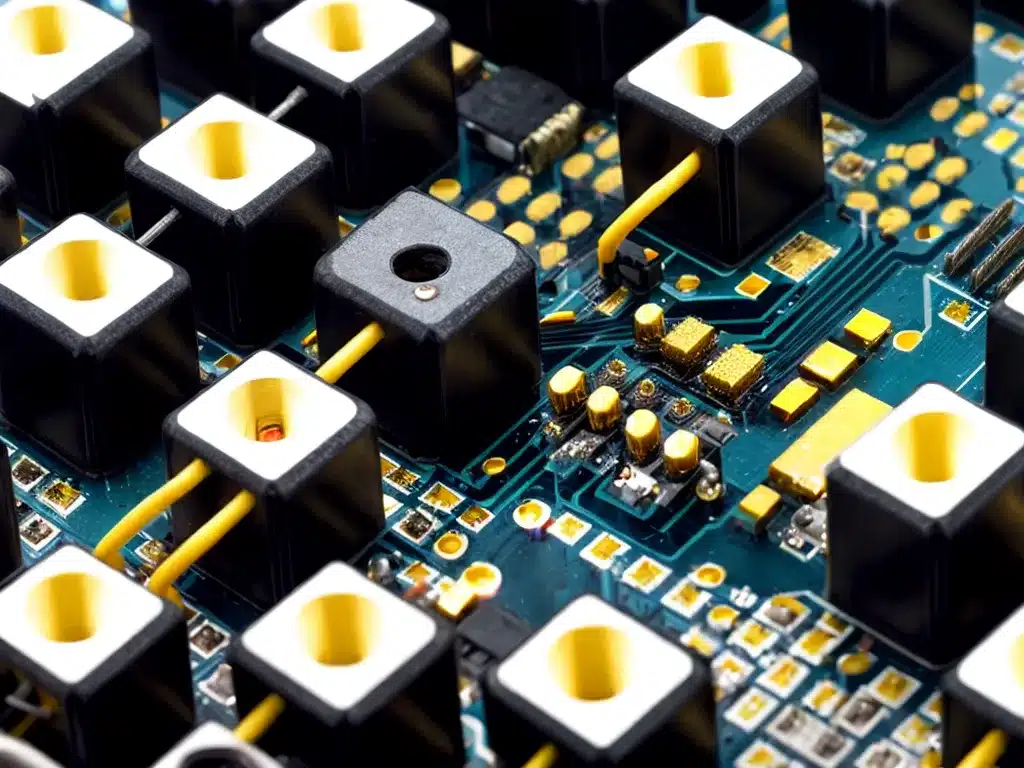
Replacing a faulty capacitor on your motherboard can sometimes resolve issues like random crashes, blue screens of death, and failure to boot. With the right tools and some patience, this repair can be done at home by someone with basic soldering skills. Knowing the steps involved will help ensure success.
What You’ll Need
Before attempting a motherboard capacitor replacement, gather the necessary supplies:
- Soldering iron – A basic 15-30W iron will suffice. Ensure the tip is in good condition.
- Solder – Lead-free solder with a rosin core works best.
- Desoldering wick – Also called solder braid, this helps remove old solder.
- Replacement capacitors – Match rating and dimensions to the original.
- Flux pen – Helps solder adhere to the board and components.
- Isopropyl alcohol – For cleaning the board before and after soldering.
- Anti-static mat – Protects against static discharge damage.
- Needle-nose pliers – For gripping and holding parts in place.
- Magnifying glass – Helps work on small board components.
Identifying the Faulty Capacitor
Determining which capacitor needs replacement takes some troubleshooting:
- Visually inspect the capacitors on the motherboard for any signs of bulging or leaking electrolyte. This usually indicates failure.
- Use a multimeter to test capacitors for short circuits or being out of tolerance.
- Consult the motherboard documentation to understand the purpose of individual capacitors.
- Correlate any error codes or symptoms with the specific capacitors in that circuit.
- One faulty capacitor may cause cascading failures of others, so inspect them all.
Focus your inspection around the CPU socket, DRAM slots, and voltage regulation components. Electrolytic capacitors usually fail first.
Removing the Motherboard
Before desoldering the faulty capacitor, the motherboard must be removed from the computer case:
- Unplug all power cables from the motherboard and peripherals.
- Remove any add-in cards like the video card and network card.
- Disconnect all data cables attaching storage drives and ports.
- Unscrew the motherboard screws securing it to the case standoffs.
- Carefully lift the motherboard out of the case. Avoid bending or touching the bottom.
Place the motherboard on an anti-static mat on a sturdy, well-lit table to work on.
Desoldering the Capacitor
With the motherboard out, now the faulty capacitor can be desoldered:
- Use flux on the capacitor’s solder joints to aid desoldering.
- Heat one joint with the soldering iron, then use the desoldering wick to draw out the molten solder.
- Repeat for the other joint until the capacitor is detached and can be lifted out.
- Thoroughly clean the flux residue from the board with isopropyl alcohol.
- Avoid applying too much heat or putting strain on the solder pads.
Take photographs for reference before desoldering, in case the markings on the capacitor are unclear.
Soldering the New Capacitor
Once the old capacitor is removed, soldering the new one is straightforward:
- Match the values and dimensions – Voltage, capacitance, polarity, lead spacing.
- Insert the leads through the holes and hold it flat against the board.
- Apply flux to aid solder flow and heat both joints simultaneously to attach securely.
- Ensure the solder joints are cone-shaped and shiny. Reflow if needed.
- Clip excess leads and clean off flux with alcohol. Avoid board flexing until the solder cools.
Visually verify that the new capacitor sits flush and is oriented correctly on the board before reassembling.
Post-Repair Testing and Reassembly
With the new capacitor soldered in, complete these final steps:
- Power up the board outside the case and run diagnostics to confirm the issue is resolved.
- If the repair fails, recheck solder joints and verify the right capacitor values.
- Once fully operational, carefully mount the board back into the case.
- Reconnect all cables, cards, drives, and ports previously detached.
- Run final testing under normal conditions and loads.
With some diligence and care, replacing faulty capacitors can often fix motherboard issues and avoid expensive replacements. Just be sure to use the proper tools, parts, and techniques outlined here.

