Introduction
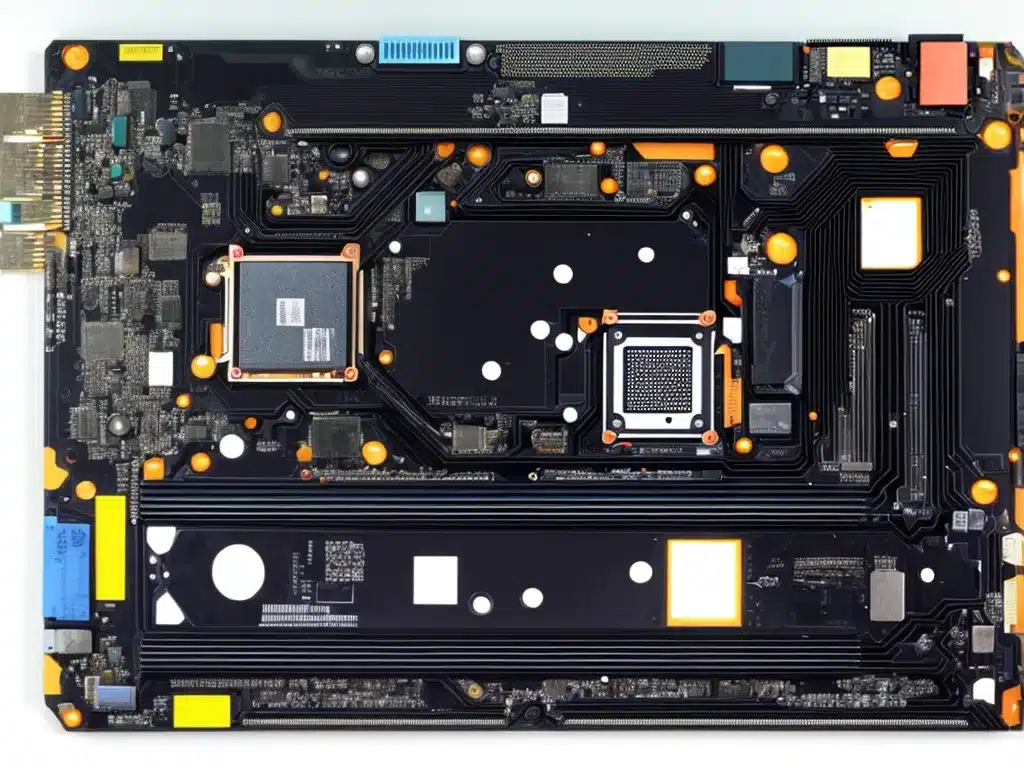
Replacing a laptop motherboard can be a daunting task, but with some preparation and by following proper steps, it can be done successfully. A faulty motherboard is one of the most common reasons for a non-functional laptop, so being able to replace it yourself can save you time and money. In this comprehensive guide, I will walk you through the entire process of replacing a laptop motherboard step-by-step.
Things You Will Need
Before starting, make sure you have the following items:
- New compatible motherboard – Get the exact replacement part for your laptop model.
- Phillips screwdriver – To remove screws from laptop chassis and motherboard.
- Plastic pry tools – Useful for prying open latches and connectors gently.
- Thermal paste – Needed to apply between CPU and heatsink for proper thermal conductivity.
- Isopropyl alcohol – For cleaning old thermal paste off CPU and heatsink.
- Anti-static wrist strap – Prevents static discharge damage to motherboard components.
Precautions
Take note of these precautions before replacing a laptop motherboard:
- Discharge static electricity – Always ground yourself by wearing an anti-static wrist strap.
- Work on an anti-static mat – Put your laptop on an anti-static mat while working on it.
- Unplug all cables/adapters – Switch off, unplug and remove any connected devices.
- Follow ESD safety – Avoid static charge buildup by not working in carpeted areas.
- Careful with screws – Keep different sized screws from chassis and motherboard separate.
- Refer service manual – Follow disassembly and reassembly instructions closely.
Step 1: Disassemble the Laptop
The first step is to gain access to the motherboard by taking apart the laptop chassis:
- Switch off laptop, remove battery and AC adapter.
- Remove any peripheral devices connected to laptop.
- Unscrew bottom case screws. These are usually marked with keyboard icon or other symbols.
- Gently pry open the bottom case starting from the sides using a plastic tool.
- Disconnect cable connectors for keyboard, trackpad, speakers etc going to motherboard.
Be gentle while handling ribbon cables and connectors. Avoid yanking them forcefully.
Step 2: Remove Old Motherboard
With bottom case removed, you can take out the faulty motherboard:
- Identify screw holes securing the motherboard and remove all screws.
- Carefully disconnect all cable connectors attached to the motherboard. Make note of their positions.
- Lift motherboard out of chassis taking care not to bend or apply force.
Note: If reusing heatsink/fan, clean off old thermal paste residue from CPU chip using isopropyl alcohol and lint-free cloth.
Step 3: Install New Motherboard
It’s now time to install the new replacement motherboard:
- Align motherboard properly into chassis and gently lower it into place.
- Insert and tighten motherboard screws. Do not over tighten.
- Reconnect all cable connectors in their original ports. Ensure proper fit.
- If reusing heatsink, apply fresh thermal paste on CPU chip before reattaching heatsink.
- Place chassis bottom cover back and tighten case screws.
Be very careful when reconnecting delicate ribbon cable connectors. Do not force connectors into ports.
Step 4: Reassemble Laptop
You’re almost done. Follow these final steps to complete motherboard replacement:
- Reinstall battery and reconnect AC adapter.
- Turn on laptop and allow it to boot into operating system.
- Install necessary driver updates for new motherboard if prompted.
- Run diagnostics like CPU stress test to verify functioning.
- Use laptop normally checking for any issues.
If laptop doesn’t boot properly or has problems, recheck connections and motherboard alignment inside chassis.
Troubleshooting Tips
Here are some troubleshooting tips in case issues arise after replacing laptop motherboard:
- If laptop isn’t turning on, reseat RAM and reconnect cables properly.
- For overheating issues, redo thermal paste application on CPU.
- If certain devices aren’t working, install updated drivers from manufacturer website.
- For motherboard fitting issues inside chassis, consult service manual and realign.
- If you get BIOS related errors, reset CMOS battery on motherboard.
Overall take your time and follow each step diligently when doing a laptop motherboard replacement. Patience and care will result in success.
Conclusion
While replacing a laptop motherboard requires meticulous care, it can be done yourself by following systematic steps. The key things to keep in mind are ESD precautions, proper cable connections, thermal paste application and rebooting laptop to load updated drivers. With the right replacement part, tools and techniques, you can troubleshoot laptop issues by swapping out a faulty motherboard. This guide covers the entire process in a step-by-step manner to help you through it.


