The Dreaded Cracked Screen
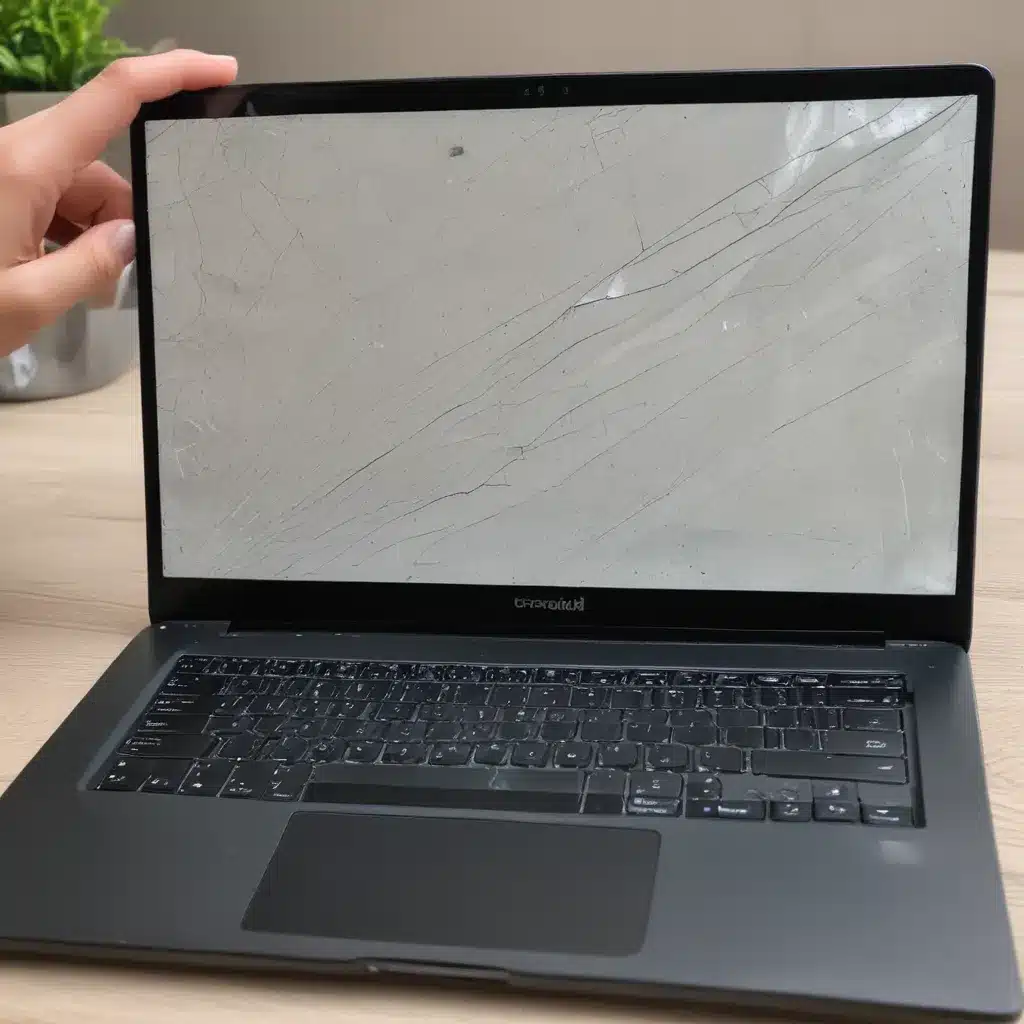
We’ve all been there – you’re hurriedly packing up your laptop, only to drop it on the floor and hear that sickening crunch. Your heart sinks as you gaze upon the spider web of cracks spreading across your screen. Panic sets in – your precious device, the lifeblood of your digital existence, has fallen victim to the cruel twists of fate.
But before you resign yourself to the computer repair shop and their exorbitant fees, take a deep breath. As a seasoned DIY warrior, I’m here to walk you through the process of replacing that cracked screen yourself. It may seem daunting, but with the right tools and a little elbow grease, you can have your laptop back in working order in no time.
Assessing the Damage
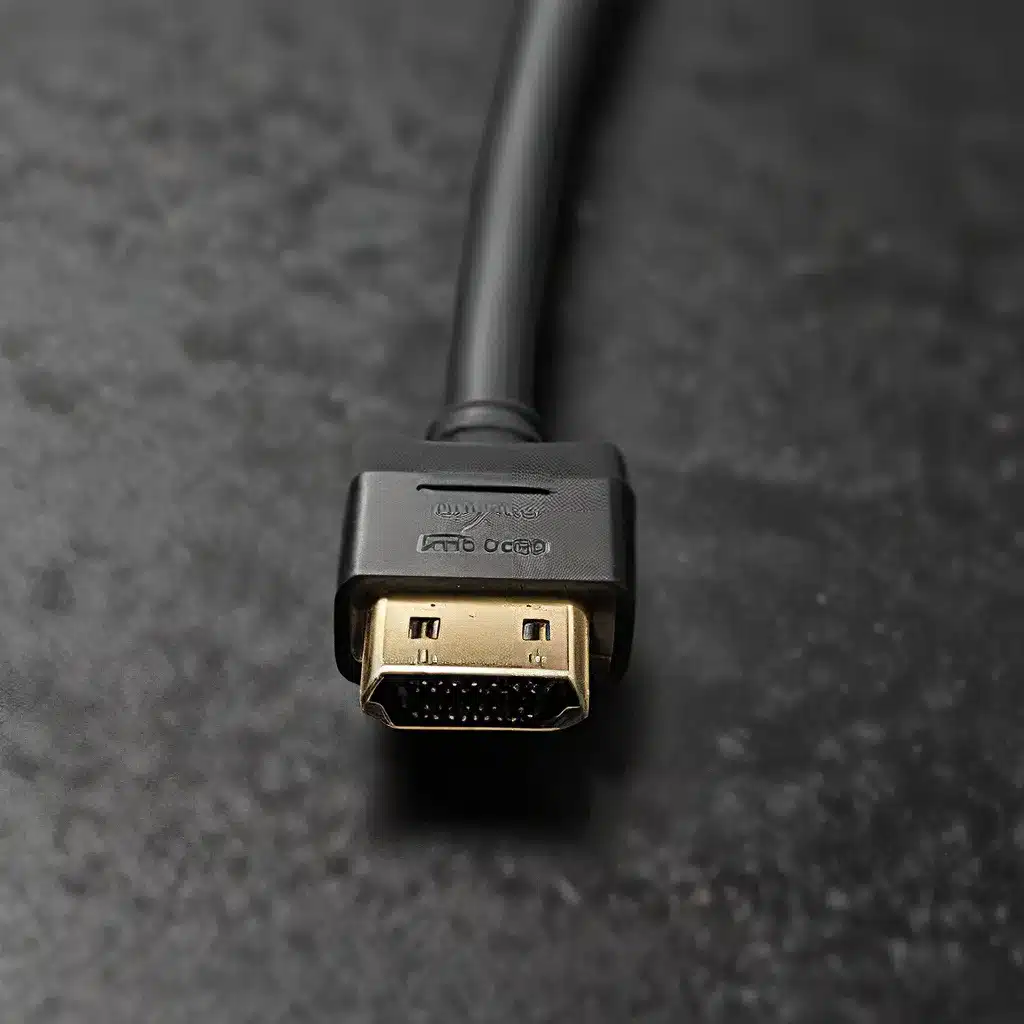
The first step is to give your laptop a thorough inspection. [1] Plug it into an external monitor or TV to ensure the graphics card is still functioning properly. If the image looks good on the external display, then the issue is definitely with the screen itself. However, if you’re not getting any video output at all, there could be a deeper problem with the motherboard or other components.
Once you’ve confirmed the screen is the culprit, [2] carefully remove the battery and disconnect any power sources. This will prevent any electrical mishaps during the repair process. Next, take a close look at the bezel – the plastic frame surrounding the screen. You’ll likely find some screws or clips holding it in place. Gently pry the bezel off, being mindful not to damage any delicate parts.
Extracting the Old Screen
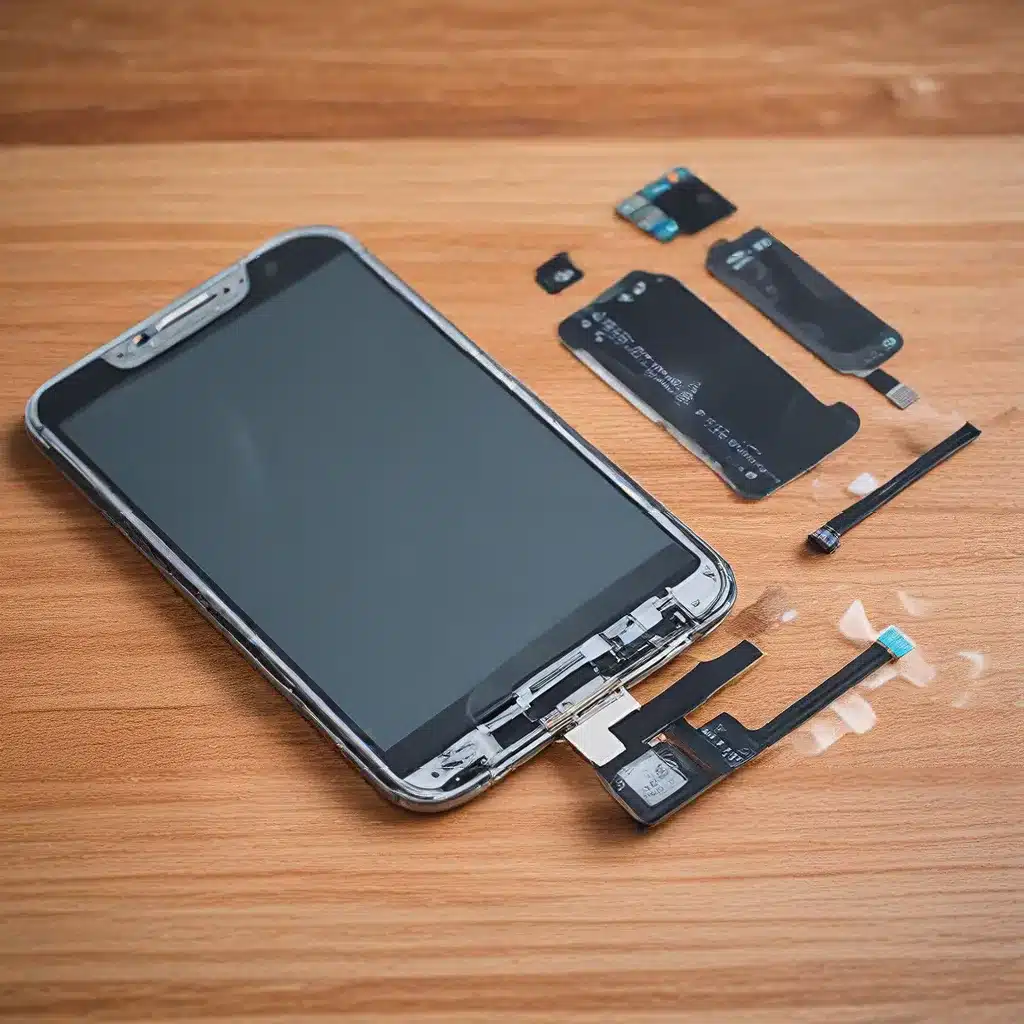
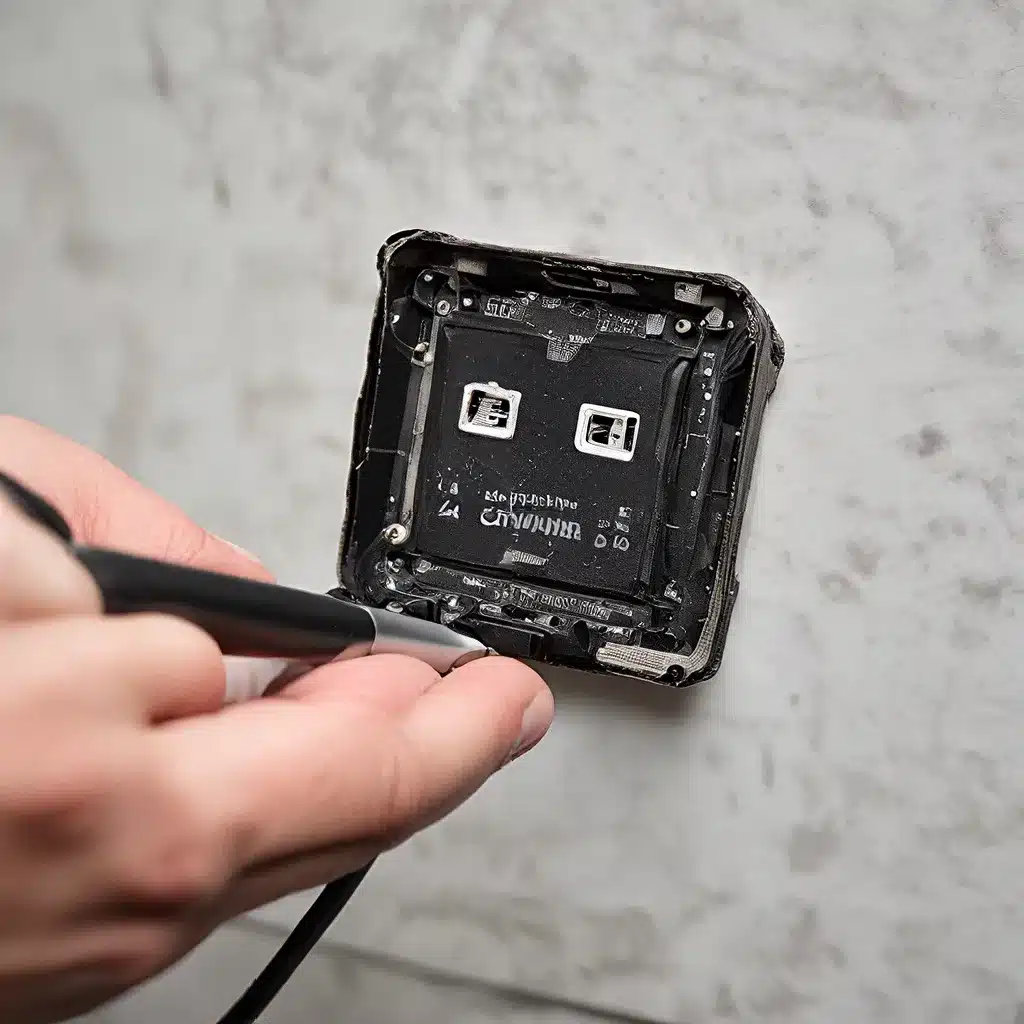
With the bezel removed, you should now have access to the screws securing the screen itself. [3] Use a small Phillips head screwdriver to carefully remove these screws, taking note of their placement so you can properly reinstall the new screen. Disconnect the cable connecting the screen to the motherboard, [4] taking care not to pull on the cable itself, as this can damage the connectors.
At this point, you should be able to lift the old screen out of the frame. [5] Gently place it aside, making sure not to put any pressure on the cracked panel. Now it’s time to order your replacement part.
Finding the Right Replacement
Sourcing a compatible replacement screen can be a bit tricky, as laptop models can vary greatly in their display specifications. [4] Your best bet is to search for your specific laptop model number, along with the words “LCD screen” or “display panel.” This should turn up a variety of options on sites like eBay, Amazon, or even the manufacturer’s own website.
When shopping for a replacement, [6] make sure to match the size, resolution, and connector type of the original screen. You may also want to consider upgrading to a higher quality panel if it’s within your budget. Just be sure to double-check the details before placing your order.
Reinstalling the New Screen
With your shiny new screen in hand, it’s time to get to work. [3] Carefully align the replacement panel in the frame, taking care not to apply any pressure to the display. Reconnect the cable to the motherboard, ensuring it’s firmly seated. [5] Secure the screen in place using the screws you removed earlier, then snap the bezel back on, being mindful of any clips or tabs.
[6] Before powering on your laptop, take a moment to inspect your handiwork. Make sure all the screws are tightened, the bezel is securely in place, and the cable connection is solid. Then, reinsert the battery and plug in the power cord. Moment of truth – let’s see if your DIY screen replacement was a success!
The Moment of Truth
With bated breath, you press the power button and watch as your laptop springs to life. [1] The external display shows a healthy image, and as the login screen appears, you can’t help but feel a sense of pride. Your screen is good as new, and you saved a bundle by tackling the repair yourself.
Of course, not every screen replacement goes off without a hitch. [6] If you encounter any issues, such as a blank or flickering display, double-check your work and make sure all the connections are secure. You may also want to consult additional resources, like repair manuals or online forums, to troubleshoot the problem.
But for now, sit back, bask in the glory of your accomplishment, and enjoy your freshly revived laptop. With this skill in your toolbox, you’ll be ready to tackle any screen-related disaster that comes your way.
References:
[1] https://www.pcworld.com/article/426808/how-to-replace-a-broken-laptop-screen.html
[2] https://www.linkedin.com/advice/0/how-do-you-replace-broken-cracked-laptop-screen
[3] https://www.youtube.com/watch?v=ryIepQwM4HI
[4] https://www.pcworld.com/article/426808/how-to-replace-a-broken-laptop-screen.html
[5] https://www.youtube.com/watch?v=Ktw8EmNc1nw
[6] https://www.linkedin.com/advice/0/how-do-you-replace-broken-cracked-laptop-screen

