Uncovering the Sticky Situation
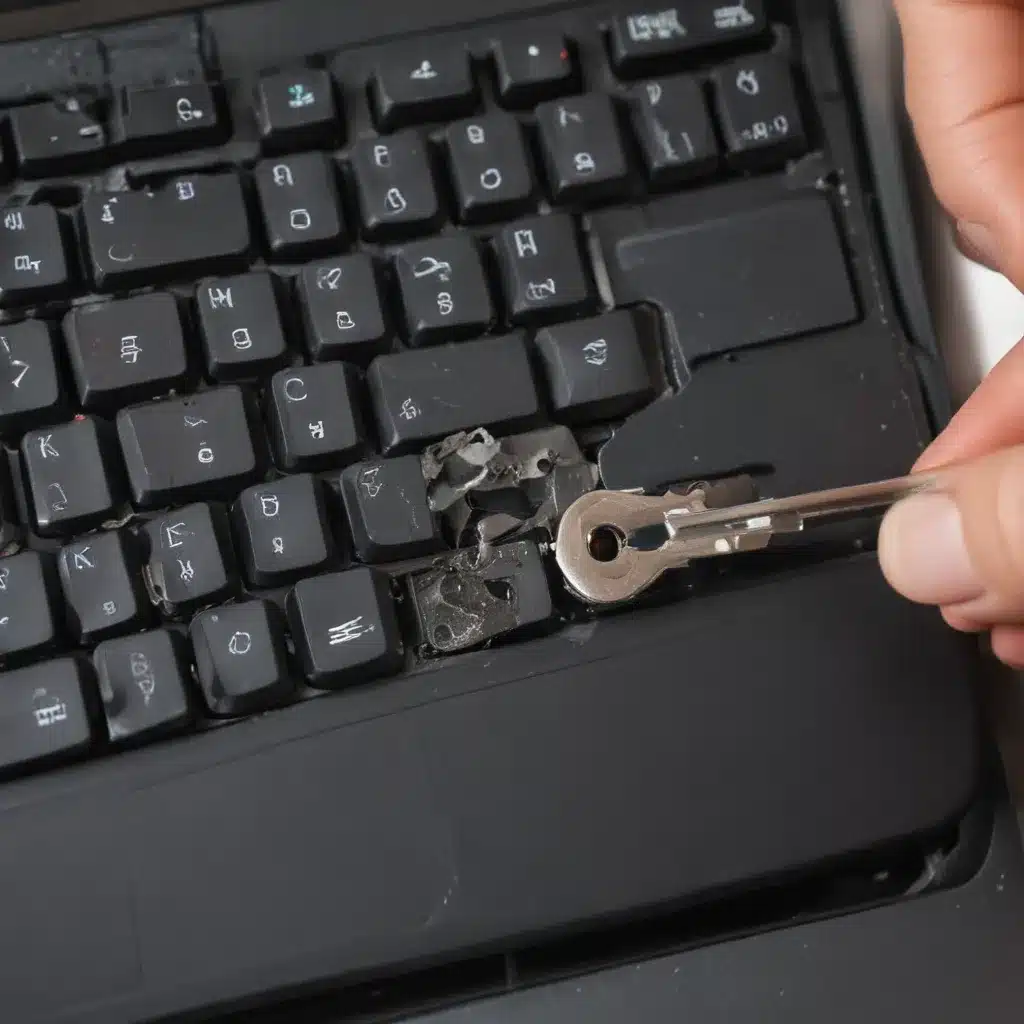
Have you ever had the misfortune of a sticky or jammed key on your laptop keyboard? It’s like trying to type with a lead weight attached to your finger – frustrating, inconvenient, and downright maddening. As a seasoned computer repair technician, I’ve seen my fair share of these sticky situations, and I’m here to share my tried-and-true methods for getting your keyboard back in tip-top shape.
Let me set the scene. Picture this: you’re happily typing away, cranking out that important report or composing the perfect email, when suddenly, your “W” key decides to stage a mutiny. It’s stuck, refusing to budge, and you’re left tapping away like a frustrated drummer, praying for it to miraculously unstick itself. But alas, the key remains as stubborn as a mule, and your productivity grinds to a halt.
Fear not, my fellow laptop-wielding friends! I’ve got your back. In this comprehensive guide, I’ll walk you through the step-by-step process of identifying the issue, troubleshooting the problem, and ultimately restoring your keyboard to its former glory. By the time we’re done, you’ll be typing away like a pro, with nary a sticky key in sight. Are you ready to dive in? Let’s get started!
Identifying the Culprit
The first step in tackling a sticky or jammed key is to determine the root cause of the issue. Is it a physical obstruction, a build-up of debris, or something more sinister lurking beneath the surface? Let’s explore the possibilities:
Physical Obstructions
Sometimes, a key can become stuck due to a physical obstruction, such as a piece of hair, a crumb, or even a small object that has found its way into the keyboard. [1] This can happen when you’re typing away, completely lost in your work, only to be interrupted by the sudden stickiness of a key.
Debris and Dirt Buildup
Over time, keyboards can accumulate a surprising amount of dust, dirt, and other grime, which can cause keys to become sticky or unresponsive. [2] This is especially true if you’re a frequent snacker or enjoy sipping your morning coffee while working. Those tiny crumbs and spilled droplets can wreak havoc on your keyboard’s delicate mechanisms.
Mechanical Issues
In some cases, the problem may be more deeply rooted, with a mechanical issue causing the key to become stuck or jammed. This could be due to a faulty switch or a problem with the underlying circuitry. [3] While these issues can be a bit more complex to diagnose and resolve, don’t worry – I’ve got you covered.
Now that we’ve identified the potential culprits, let’s dive into the step-by-step process of tackling this sticky situation.
Cleaning and Maintenance
The first line of defense against a sticky or jammed key is a good, old-fashioned cleaning. This simple yet effective approach can often resolve the issue without the need for more complex repairs.
Compressed Air
One of the most effective tools in your keyboard-cleaning arsenal is a can of compressed air. [4] Gently spray the affected key, as well as the surrounding area, to dislodge any debris or dust that may be causing the problem. Be sure to hold the can upright and maintain a consistent distance from the keyboard to avoid any liquid or propellant from damaging the components.
Soft-Bristle Brush
If the compressed air isn’t doing the trick, try using a soft-bristle brush to gently sweep away any visible dirt or debris. [5] Avoid using anything too stiff or abrasive, as you don’t want to risk damaging the delicate key mechanism.
Isopropyl Alcohol
For a more thorough cleaning, you can dampen a cotton swab with some isopropyl alcohol and gently wipe down the affected key and surrounding area. [6] This can help dissolve any sticky residues or grime that may be causing the issue. Just be sure to let the area dry completely before testing the key.
After giving your keyboard a thorough cleaning, give the offending key a try. If it’s still sticky or jammed, it’s time to move on to the next step.
Resetting and Realigning
If the cleaning process hasn’t resolved the issue, it’s possible that the key has become misaligned or needs to be reset. This is a delicate process, so proceed with caution and take your time.
Removing the Key
Carefully remove the affected key by gently prying it up with a small, flat-head screwdriver or a keyboard key puller tool. [7] Be gentle, as you don’t want to damage the key or the underlying mechanism.
Inspecting and Cleaning
Once the key is removed, take a close look at the underlying mechanism. Check for any visible obstructions or debris, and give it a gentle cleaning with compressed air or a soft-bristle brush.
Realigning the Key
If the mechanism appears clear, try carefully repositioning the key and gently pressing it back into place. Make sure it’s seated properly and that the key is moving freely without any sticking or binding.
Resetting the Key
If the key is still giving you trouble, you may need to reset it. Gently press down on the key mechanism, making sure it’s firmly in place, and then replace the key. This can help realign the components and restore proper function.
After completing these steps, give the key a try. If it’s still not working as it should, it may be time to consider a more in-depth repair.
Advanced Repairs
In some cases, a sticky or jammed key may require more extensive repairs, such as replacing the key switch or even the entire keyboard. These are delicate procedures that should only be undertaken by experienced technicians, but it’s good to be aware of the options.
Replacing the Key Switch
If the key switch itself is the culprit, you may need to replace it. This involves carefully removing the key, accessing the switch beneath, and carefully installing a new one. [8] It’s a meticulous process, but it can be a effective solution for a stubborn key.
Keyboard Replacement
In the most severe cases, you may need to replace the entire keyboard. This is typically a last resort, as it can be a time-consuming and costly repair. However, if the keyboard is malfunctioning due to widespread issues or physical damage, it may be the best course of action.
Remember, these advanced repairs should only be attempted by skilled technicians who have the proper tools and expertise. Trying to tackle them on your own could result in further damage to your laptop, so it’s always best to seek professional help.
Preventing Future Sticky Situations
Now that you’ve conquered the sticky key problem, let’s talk about how to prevent it from happening again in the future. After all, an ounce of prevention is worth a pound of cure, as they say.
Regular Keyboard Cleaning
Make it a habit to clean your keyboard on a regular basis. [7] Use the techniques we discussed earlier, such as compressed air and soft-bristle brushes, to keep dust, dirt, and debris at bay. This will help ensure your keys stay responsive and trouble-free.
Keyboard Covers and Protectors
Investing in a keyboard cover or protector can be a game-changer when it comes to preventing sticky keys. These nifty accessories form a barrier between your keyboard and the elements, shielding it from spills, crumbs, and other potential culprits. [9]
Proper Eating and Drinking Habits
As tempting as it may be to enjoy your morning coffee or midday snack while typing away, it’s best to avoid eating and drinking near your laptop. [10] Those little spills and crumbs can quickly turn into a sticky situation, so be mindful of your keyboard-adjacent habits.
By following these simple preventive measures, you can keep your laptop keyboard in top shape and avoid the frustration of sticky or jammed keys in the future.
Conclusion
There you have it, my fellow laptop enthusiasts – a comprehensive guide to tackling the dreaded sticky or jammed key. From identifying the root cause to implementing effective cleaning and repair techniques, I’ve shared my expert tips and tricks to help you regain control of your keyboard.
Remember, while some issues may require the expertise of a professional technician, many of these problems can be solved with a little elbow grease and some patience. So, the next time you encounter a stubborn key, don’t panic – just refer back to this guide, and you’ll be typing away like a pro in no time.
Here’s to a future filled with responsive, trouble-free keyboards and the sweet sound of uninterrupted productivity. Happy typing!
[1] https://www.youtube.com/watch?v=e-7QUstOUEw
[2] https://www.wikihow.com/Fix-a-Jammed-Keyboard-Key
[3] https://www.youtube.com/watch?v=I0kY4V_1qQA
[4] https://answers.microsoft.com/en-us/windows/forum/all/keyboard-key-stuck-not-physically/af4e2073-9c91-454d-ad1e-98402977651f
[5] https://www.youtube.com/watch?v=4o2yq354bPs
[6] https://www.reddit.com/r/techsupport/comments/14ndwqe/my_laptop_w_key_gets_stuck_but_not_physically/
[7] https://answers.microsoft.com/en-us/windows/forum/all/random-keys-act-like-theyre-stuck-even-though/1e023a51-0346-4f97-9fa6-a59e3fb12b5a
[8] https://www.quora.com/The-downward-arrow-key-on-my-laptop-is-stuck-and-is-just-like-pressing-down-constantly-What-should-I-do-to-get-rid-of-it
[9] https://www.youtube.com/watch?v=e-7QUstOUEw
[10] https://www.wikihow.com/Fix-a-Jammed-Keyboard-Key

