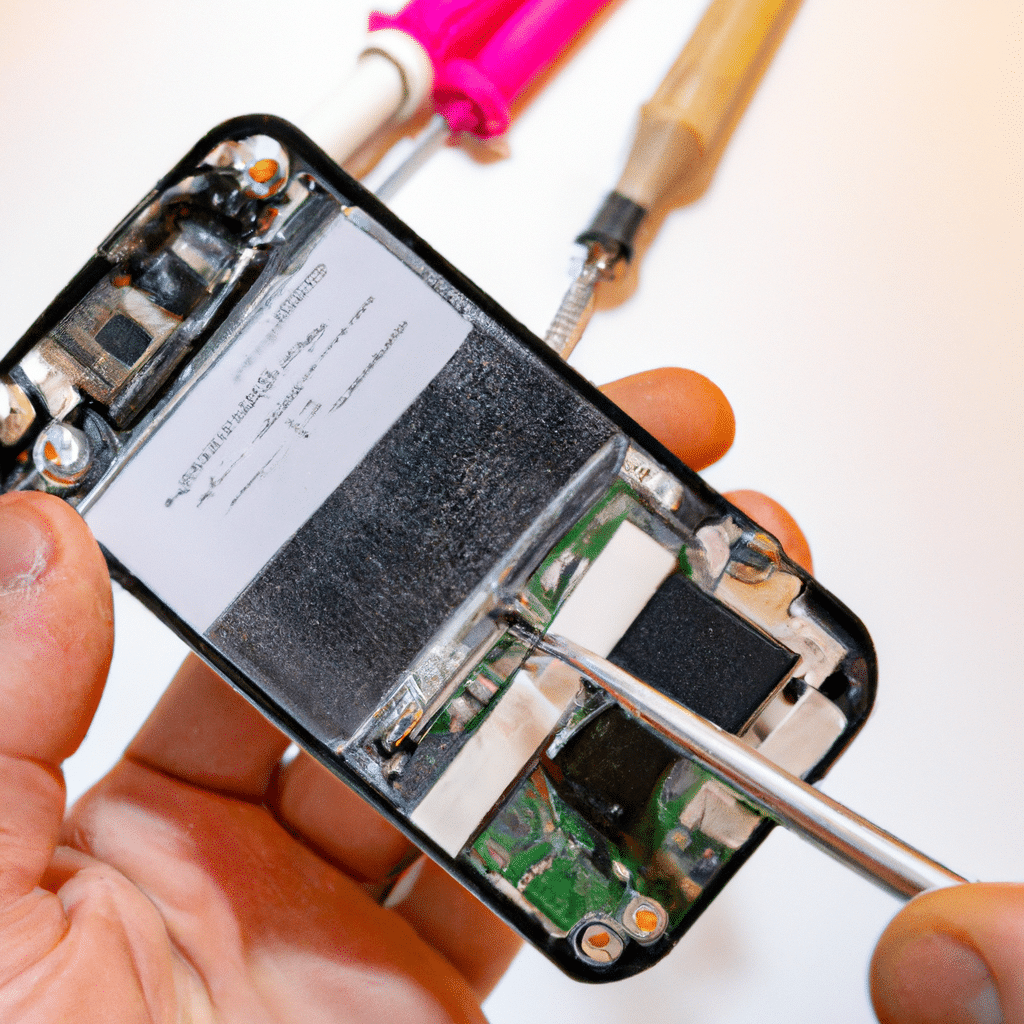
How to Repair a Smartphone with a Damaged Display Connector
At some point in time, everyone experiences the frustration of a damaged smartphone screen. While some may opt to purchase a new phone, others may choose to repair it themselves. However, repairing a smartphone with a damaged display connector can be a daunting task, especially for those who are not familiar with the technicalities involved. In this article, we will guide you through the process of repairing a smartphone with a damaged display connector.

Introduction
Before we begin, it is important to note that repairing a smartphone with a damaged display connector requires technical expertise. If you are not confident in your abilities, it is best to seek the help of a professional.
Tools Required
To repair a smartphone with a damaged display connector, you will need the following tools:
- Screwdriver set
- Plastic pry tool
- Heat gun or hairdryer
- Adhesive remover
- Replacement display connector
Step-by-Step Guide
Step 1: Power off your smartphone
Before you begin the repair, you must power off your smartphone and remove the battery. This will prevent any damage to the device and ensure your safety during the repair process.
Step 2: Remove the back cover
Using a plastic pry tool, remove the back cover of your smartphone. Be careful not to damage any of the components inside the device.
Step 3: Remove the screws
Using a screwdriver set, remove the screws that hold the display connector in place. Set the screws aside in a safe location.
Step 4: Remove the old display connector
Using a plastic pry tool, gently remove the old display connector from the device. Be careful not to damage any of the components surrounding the connector.
Step 5: Clean the area
Using an adhesive remover, clean the area where the old display connector was located. This will ensure that the new connector adheres properly to the device.
Step 6: Install the new display connector
Using a heat gun or hairdryer, warm up the adhesive on the back of the new display connector. Carefully align the connector with the corresponding ports on the device and press firmly to adhere.
Step 7: Reassemble the device
Once the new display connector is securely in place, reassemble the device by following the previous steps in reverse order.
Conclusion
In conclusion, repairing a smartphone with a damaged display connector can be a challenging task. However, with the right tools and knowledge, it can be accomplished successfully. Remember to always power off your device before attempting any repairs and seek professional help if you are not confident in your abilities. With these tips, you can repair your smartphone and enjoy its full functionality once again.


