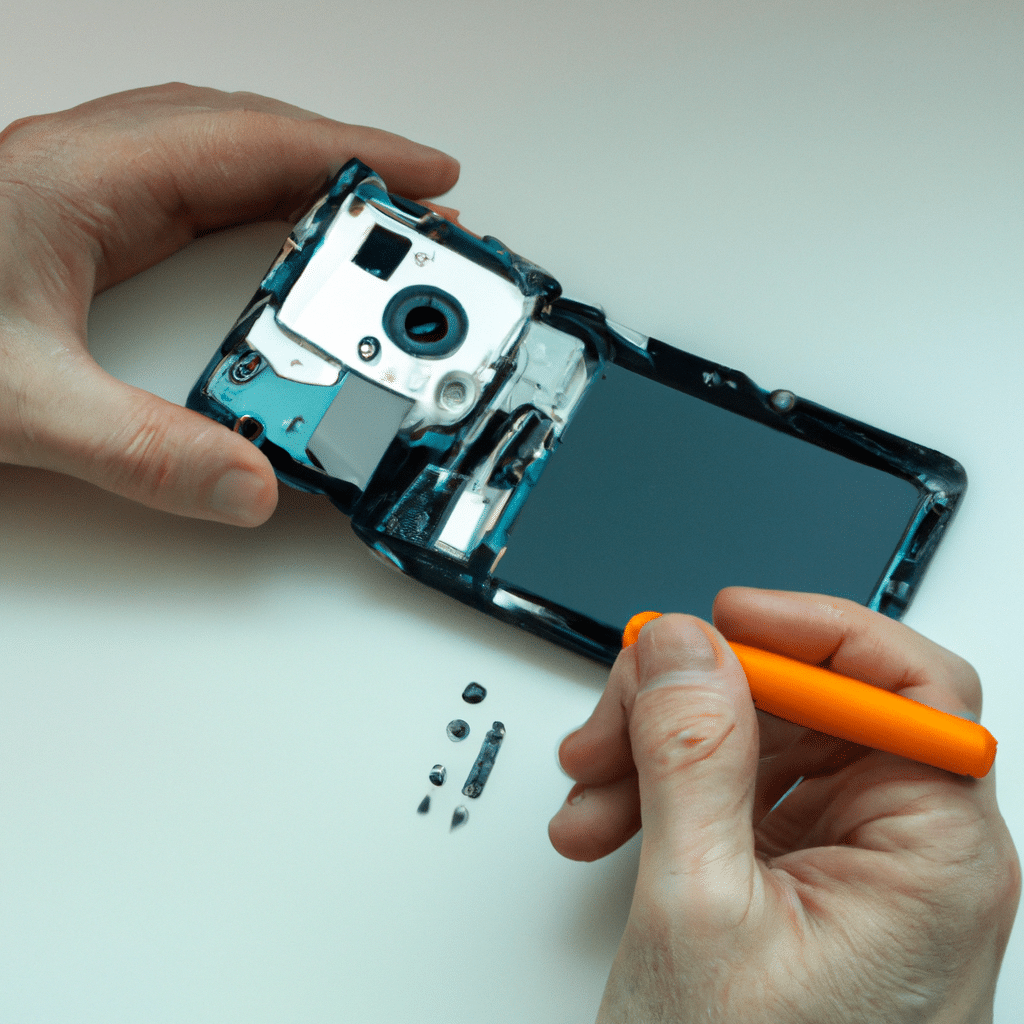
How to Repair a Smartphone with a Broken Front-Facing Camera
Smartphones have become an indispensable part of our lives. We use them for communication, entertainment, and even work. However, they are not indestructible, and accidents happen. One of the most common problems that smartphone users face is a broken front-facing camera. In this article, we will guide you on how to repair a smartphone with a broken front-facing camera.

Diagnose the Problem
Before we start repairing the front-facing camera, we need to diagnose the problem. There are several possible reasons why your front-facing camera is not working. It could be a software issue or a hardware problem. Here are some steps to help you diagnose the problem.
Step 1: Restart Your Phone
The first thing you should try is to restart your phone. Sometimes, a simple restart can solve the problem. If your front-facing camera starts working after restarting your phone, then the problem was most likely a software issue.
Step 2: Check the Settings
If restarting your phone did not solve the problem, then the issue could be with the camera settings. Check if the camera app is set to the front-facing camera. If it is not, then switch to the front-facing camera and see if it works.
Step 3: Check for Updates
If the camera settings are correct, then check if there are any software updates available for your phone. Updating your phone’s software can sometimes fix camera issues.
Step 4: Check the Hardware
If none of the above steps worked, then the problem could be with the hardware. Check if there is any physical damage to the camera lens or the surrounding area. If there is, then you will need to replace the front-facing camera.
Repairing a Smartphone with a Broken Front-Facing Camera
Now that we have diagnosed the problem, let’s move on to repairing the front-facing camera. Here are the steps to follow.
Step 1: Gather the Required Tools
Before you start repairing your front-facing camera, you will need to gather the required tools. Here is a list of tools that you might need:
- Screwdriver
- Spudger
- Replacement front-facing camera
- Adhesive
Step 2: Disassemble Your Phone
To replace the front-facing camera, you will need to disassemble your phone. Here are the general steps to follow:
- Power off your phone.
- Remove the SIM card tray.
- Remove the back cover of your phone.
- Remove the battery, if possible.
- Unscrew and remove the motherboard.
- Locate the front-facing camera module and disconnect it from the motherboard.
Step 3: Replace the Front-Facing Camera
Once you have disassembled your phone, you can replace the front-facing camera. Here are the steps to follow:
- Remove the old front-facing camera module from your phone.
- Install the replacement front-facing camera module.
- Reconnect the front-facing camera module to the motherboard.
- Reassemble your phone.
Step 4: Test Your Phone
After you have reassembled your phone, you should test the front-facing camera to see if it is working properly. Open the camera app and switch to the front-facing camera. Take a photo or record a video to make sure that the camera is working correctly.
Conclusion
In conclusion, repairing a smartphone with a broken front-facing camera is not a difficult task if you have the right tools and follow the steps carefully. Remember to diagnose the problem first and gather the required tools before you start repairing your phone. If you are not confident in repairing your phone yourself, then it is best to take it to a professional. With these tips, you can easily repair your smartphone’s front-facing camera and continue to capture those precious moments.


