How to Repair a Smartphone with a Broken Fingerprint Scanner
As smartphones continue to play an increasingly important role in our daily lives, we depend on them more and more for security and convenience. Fingerprint scanners have become a popular way to unlock and secure our devices, but what happens when this feature stops working?

In this article, we will guide you through the steps to repair a smartphone with a broken fingerprint scanner. Our guide is designed to be comprehensive and easy-to-follow, so even if you’ve never attempted a smartphone repair before, you’ll be able to follow along and fix your device.
Step 1: Identify the Problem
The first step to repairing a smartphone with a broken fingerprint scanner is to identify the problem. There are a few different issues that could be causing the problem, so it’s important to rule out each one in turn.
One common issue is a dirty or damaged scanner. If your scanner is dirty, try cleaning it with a soft cloth. If the scanner is scratched or damaged, you may need to replace it.
Another possible issue is a software problem. Try restarting your device and checking for software updates. If the problem persists, you may need to reset your device to its factory settings.
If none of these solutions work, it’s possible that there is a hardware problem with the scanner itself. In this case, you may need to replace the scanner or take your device to a professional for repair.
Step 2: Gather the Necessary Tools
Before you begin the repair process, it’s important to gather all of the necessary tools. You’ll need a set of screwdrivers, a plastic opening tool, and a replacement scanner (if necessary).
It’s also a good idea to have a clean, flat workspace to work on, and to wear an anti-static wristband to prevent damage to your device.
Step 3: Disassemble Your Device
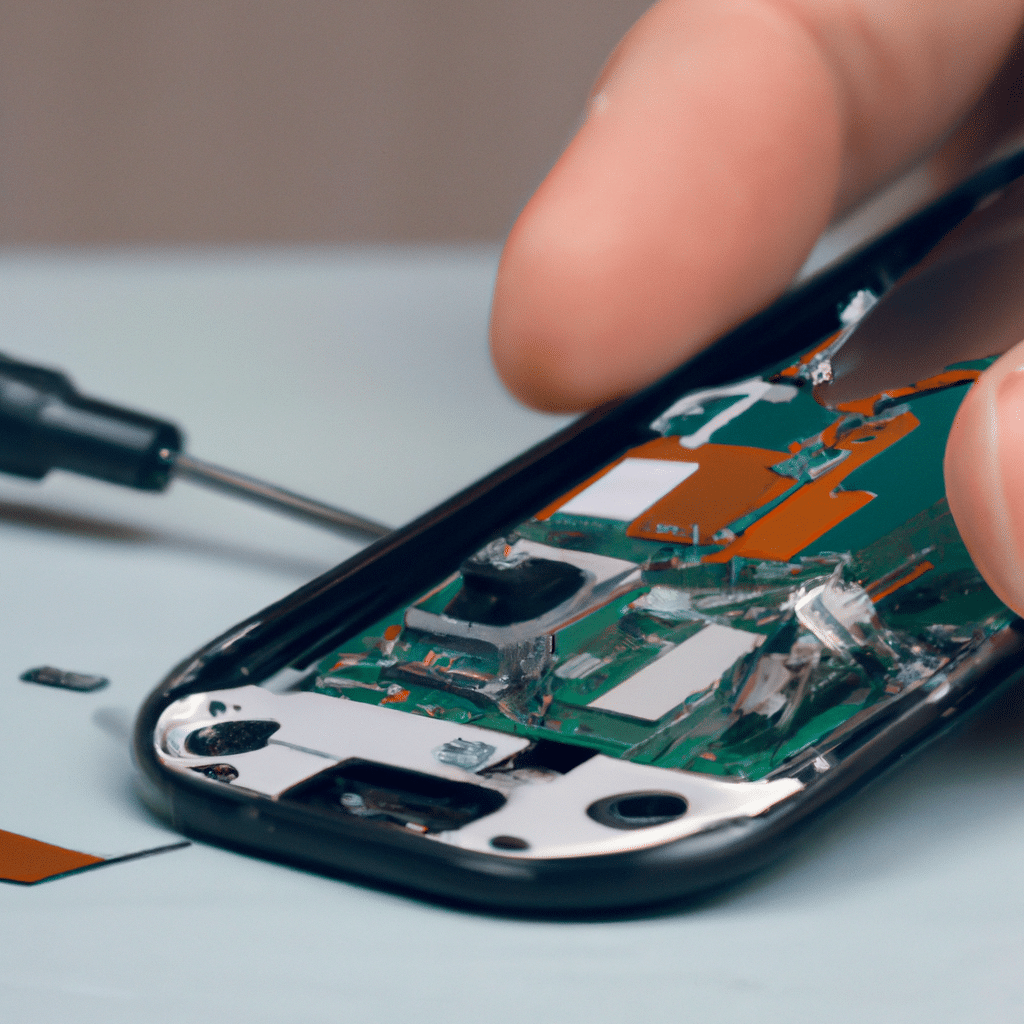
Once you’ve identified the problem and gathered your tools, it’s time to disassemble your device. This can be a daunting task, but with the right tools and a little patience, it’s easier than you might think.
Start by removing the back cover of your device. Use your plastic opening tool to carefully pry the cover off. Be gentle and take your time to avoid damaging the cover or the device itself.
Next, remove the battery and any other components that may be in the way of the scanner. Use your screwdrivers to carefully remove any screws that are holding these components in place.
Step 4: Replace the Scanner
If you’ve determined that the scanner is the problem, it’s time to replace it. Carefully remove the old scanner from your device and replace it with the new one.
Be sure to follow the manufacturer’s instructions carefully and take your time to avoid damaging the new scanner.
Step 5: Reassemble Your Device
With the new scanner in place, it’s time to reassemble your device. Carefully replace any components that you removed earlier and screw them back into place.
Finally, replace the battery and back cover of your device. Power on your device and test the new scanner to make sure it’s working properly.
Conclusion
Repairing a smartphone with a broken fingerprint scanner may seem like a daunting task, but with the right tools and a little patience, it’s a task that can be accomplished by anyone. By following the steps outlined in this guide, you’ll be able to diagnose and repair the problem, and get your device working like new again.
Remember to take your time, follow the manufacturer’s instructions, and be gentle with your device. With a little care and attention, you’ll be able to fix your smartphone and enjoy all of its security and convenience features once again.


