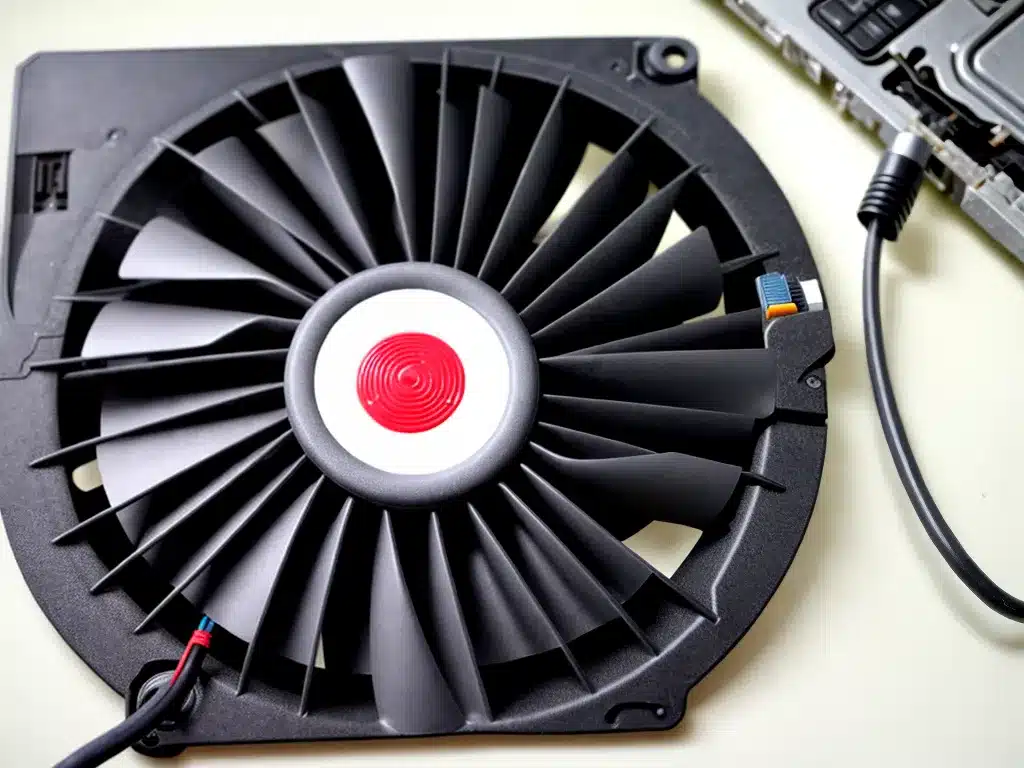
Keeping your laptop’s internal components clean is crucial for optimal performance and longevity. Over time, dust accumulation can lead to overheating issues and hardware failure. Cleaning your laptop’s cooling fans regularly is an easy DIY task that requires minimal tools and effort. In this guide, I will walk you through the step-by-step process of cleaning your laptop’s fans and providing some general maintenance.
Gather the Necessary Supplies
- Small philips head screwdriver
- Compressed air canister
- Cotton swabs
- Isopropyl alcohol
- Microfiber cloth
Before disassembling your laptop, you will need a few supplies on hand. A small philips head screwdriver is necessary for removing access panels and screws. Compressed air in a can is ideal for blasting away dust buildup. Cotton swabs dipped in isopropyl alcohol help scrub away caked-on debris. A microfiber cloth is useful for wiping down components. Make sure you have all of these items ready before proceeding.
Access the Internal Components
To reach the fans and heatsinks, you will need to open up the laptop’s casing. The exact disassembly steps vary between laptop models, but often involve:
- Removing any screws from the bottom cover
- Prying up plastic clips around the perimeter
- Lifting off the access panel
Consult your laptop’s hardware maintenance manual for the exact locations of screws and clips. Use minimal force when prying off the bottom cover to avoid cracking plastic tabs. Once inside, you will expose the main components like the battery, hard drive, RAM, and fans.
Clean the Fans and Heatsinks
With the internals exposed, you can now clean the cooling system. Follow these steps:
- Use compressed air to blast away dust buildup on fans and heatsinks. Hold cans upright and spray in short bursts.
- Use cotton swabs and alcohol to scrub caked-on debris around fan intakes and exhaust vents.
- Vacuum loose dirt with a handheld vacuum or soft brush attachment.
- Wipe down all components with a microfiber cloth.
Be very gentle when cleaning delicate parts like fans. Avoid spinning fans quickly with compressed air to prevent damage. The goal is to remove built-up dust that can impede airflow. A clean cooling system keeps your laptop running cool and efficient.
Replace Thermal Paste (Optional)
Replacing old thermal paste between the CPU/GPU and heatsink can significantly improve heat transfer and lower temperatures. Here are the steps if you choose to replace your laptop’s thermal paste:
- Remove any protective heatsink covers.
- Carefully wipe away old, dried paste with alcohol and coffee filter.
- Apply fresh thermal paste in a thin, even layer on the CPU/GPU.
- Re-attach the heatsink and secure it with screws.
Use a non-conductive paste designed specifically for heatsinks. Applying too much paste can cause it to overflow and create a mess. Thermal paste replacement every 1-2 years can maximize your cooling system’s effectiveness.
Reassemble the Laptop
Once everything is clean and maintained, carefully reassemble your laptop by:
- Reconnecting any internal cables or ribbon connectors.
- Pressing down perimeter plastic clips to re-seat bottom cover.
- Replacing all screws previously removed.
Double check that all internal cables are properly seated and re-connected before closing up. Re-install any rubber screw grommets or protective covers. Power up your laptop and verify fans are running properly before regular use.
Tips for Preventing Future Buildup
- Use laptop on hard flat surfaces, not on soft surfaces like bedding that can block vents.
- Keep your work area clean and dust-free.
- Periodically vacuum keyboard, vents, and ports.
- Consider using cooling pad to improve airflow.
- Replace thermal paste every 1-2 years.
- Clean fans every 6-12 months depending on use.
Implementing good usage habits can minimize dust buildup over time. But regular DIY cleanings are still essential for maintaining your laptop’s cooling system. Properly functioning fans help prevent failure of expensive components due to overheating. With these steps, you can easily keep your laptop running fast, cool, and reliable.


