Introduction
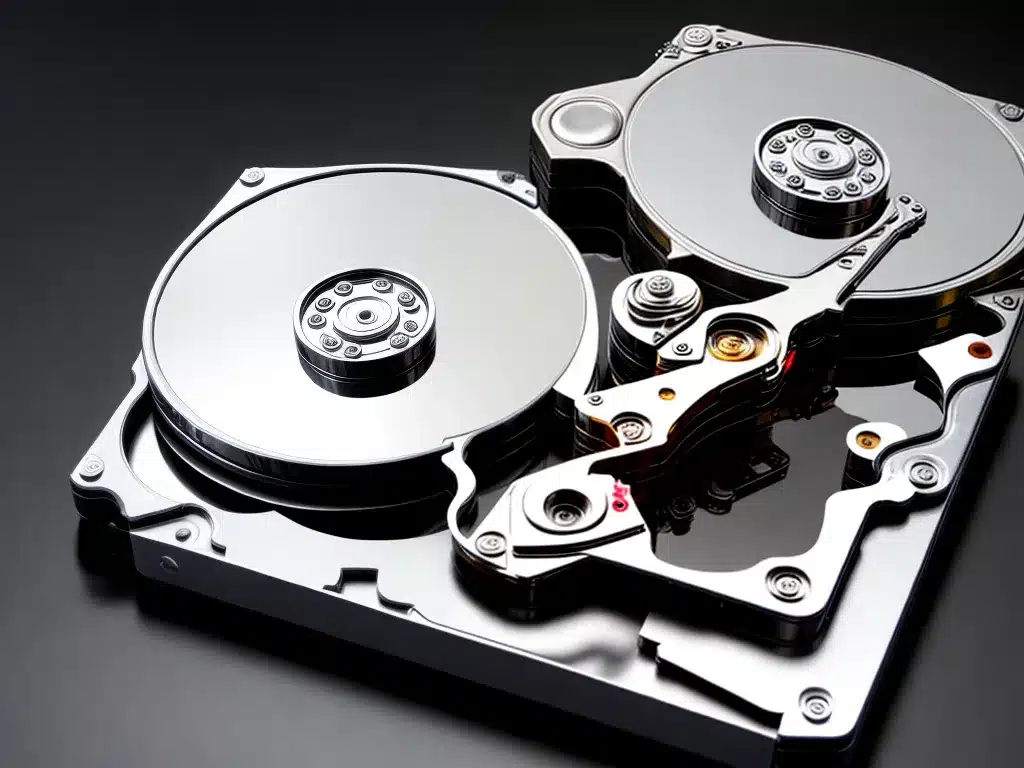
Adding a new hard drive to your computer system opens up more storage space and allows you to better organize your files. However, before you can start using a new hard drive, I need to prepare it by partitioning and formatting it.
Partitioning divides the hard drive into separate sections called partitions. Formatting prepares the partitions to store files by creating a file system.
In this guide, I will walk you through the steps to partition and format a new internal or external hard drive in Windows 10.
Prerequisites
Before getting started, I need to make sure I have the following:
- A new internal hard drive installed in your PC or external hard drive connected via USB
- Administrative access to your Windows 10 computer
- Backups of any important data on your computer (as a precaution)
It’s also a good idea to have the latest Windows updates installed and check how much free disk space you currently have.
Partitioning the New Hard Drive
The first step is to partition the unallocated space on the new drive. Partitioning divides the available space into sections that function like separate drives.
Here are the steps to partition a hard drive in Windows 10:
Open Disk Management
- Type “disk management” into the Windows search bar and select the “Create and format hard disk partitions” option.
- This will open the Disk Management utility.
Create a New Partition
- Right-click on the unallocated space on your new hard drive and choose “New Simple Volume”.
- Follow the prompts to specify the size, drive letter, and format of the new partition.
- For most needs, choose NTFS as the file system.
- Repeat this process to create additional partitions if needed.
Once the partitions are created, the drive is ready to be formatted.
Formatting the New Partitions
Formatting prepares the partitions to store files by creating a file system. Follow these steps to format each partition:
Open Format Dialog Box
- In Disk Management, right-click on a partition and select “Format”.
Choose Format Options
- Choose your desired file system, which is typically NTFS.
- Give the partition a meaningful label if desired.
- Leave other settings as default and click “OK”.
Confirm Format
-
A warning prompt will appear. Click “OK” to confirm.
-
The format will now run. This may take several minutes.
-
Repeat for any other partitions on the new drive.
The new hard drive is now ready to use! You can begin saving files, installing programs, etc.
Improving Hard Drive Performance
Here are some tips to get the best performance from a newly formatted hard drive:
-
Defragment regularly – Defragmenting arranges files neatly on the drive and improves speed.
-
Disable indexing – Indexing speeds up search but slows general performance. Disable for media drives.
-
Check for errors – Use the chkdsk utility to scan for and repair hard drive errors.
-
Remove unneeded files – Don’t let old downloads, caches and other unused files take up space.
-
Add more RAM – More RAM reduces the need for virtual memory paging on the hard drive.
Following a regular maintenance routine will help ensure your new hard drive continues performing well.
Troubleshooting Common Partition and Format Issues
Partitioning and formatting problems can happen. Here are solutions to some common issues:
-
Can’t create new partition – Make sure there is enough unallocated space and close other Disk Management windows.
-
Partition disappears – A letter conflict can make a partition temporarily invisible. Change letters.
-
Format failed – Bad sectors may prevent format. Scan drive for errors with chkdsk.
-
Slow performance – Try defragmenting, disabling indexing, adding RAM, or removing unneeded files.
-
Drive not recognized – Check drive connections, update drivers, and scan for hardware issues.
If you continue having trouble, it may indicate a damaged hard drive. Contact the manufacturer for support or replacement options.
Conclusion
Partitioning and properly formatting a new hard drive prepares it for file storage and optimal performance. Follow the steps outlined in this guide to complete the process in Windows 10.
Remember to partition the drive before formatting, choose NTFS file system, give the partitions meaningful labels, and maintain the drive regularly. With some basic maintenance, your new hard drive will provide reliable expanded storage space.


