Introduction
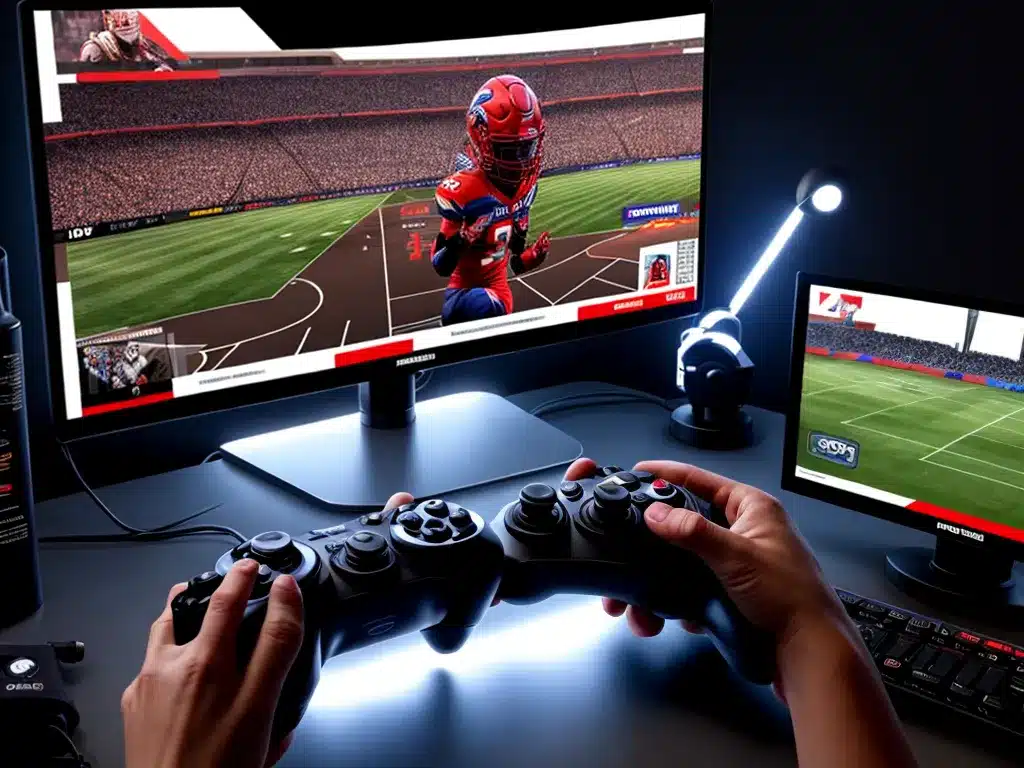
Welcome to my guide on how to live stream games using OBS Studio in 2024! Live streaming games has become incredibly popular in recent years thanks to platforms like Twitch, YouTube, and Facebook Gaming. As a gamer, I want to share my gameplay and connect with viewers worldwide. OBS (Open Broadcaster Software) Studio is currently one of the most popular free and open source software options for live streaming games.
In this comprehensive guide, I will walk you through everything you need to know to set up OBS Studio, configure optimal encoding settings, add overlays and alerts, and start streaming your gameplay to your audience in 2024. Whether you are completely new to live streaming or looking to improve your existing setup, this guide has got you covered. Let’s get started!
Downloading and Installing OBS Studio
The first step is to download the latest version of OBS Studio. Here is a quick overview:
- Go to obsproject.com and click on “Download”
- Download the installer for your Operating System – Windows, Mac or Linux
- Once downloaded, run the installer and follow the on-screen instructions
- Be sure to install both OBS Studio and the OBS Studio plugins for maximum functionality
Key Notes:
- OBS Studio has a streamlined and intuitive interface that is easy to navigate
- The install size is under 75MB which makes it light on system resources
- OBS Studio is open source and available for free
I highly recommend installing OBS Studio instead of the older OBS Classic. OBS Studio has significantly better performance and features tailored for live streaming games in 2024.
Configuring Your Video and Audio Settings
The most important OBS Studio settings to configure for game streaming are your video and audio inputs and outputs. This ensures high quality video and crisp audio for your viewers. Follow these steps:
Setting up Video Sources
- In OBS Studio, click the “+” button in the “Sources” section
- Click “Game Capture” and name it
- Select the game you want to capture
- Right click on the newly created Source and click “Properties”
- Configure settings like capture mode, resolution etc. and click “OK”
Key Notes:
- Game Capture source provides optimal performance for capturing gameplay
- Resolution and FPS should match your monitor/game settings
- Use hotkeys to easily start/stop capturing or switch games
Setting up Audio Sources
- Click the “+” button in the “Sources” section and select “Audio Input Capture”
- Name it and select your microphone from the device dropdown
- Click the gear icon and set the sample rate to 48khz
- Enable advanced audio properties for gain control and noise suppression
Key Notes:
- Reduce background noise by using noise suppression filters
- Boost mic levels selectively by using the gain control
- Sample rate of 48khz provides excellent audio quality for streams
Configuring Video and Audio Outputs
Under the “Controls” section:
- Set the video output resolution and FPS to match your game
- Set audio track 1 to output your mic while track 2 outputs the game audio
- Select encoding options like x264 for optimal quality and performance
This ensures your stream output matches the high visual fidelity of your gameplay and recordings.
Optimizing Encoder Settings in OBS
The encoder settings determine how efficient and fast your video stream is encoded and uploaded for your viewers. Optimizing these settings is crucial to avoid lag, pixelation and buffering during streams. Here are the key tips for 2024:
Selecting the Right Encoder
- x264 provides the best quality using your CPU’s processing power but requires higher CPU usage
- NVENC leverages GPU encoding for lower CPU usage but slightly lower quality
- AMD AMF provides balanced performance if you have an AMD GPU
I recommend starting with x264 for the best quality.
Video Bitrate Settings
- For 1080p 60fps streams, use a bitrate of 5000 – 6000 kbps
- For 720p 60fps streams, 3000 – 4000 kbps is recommended
- Higher resolution and FPS requires a higher bitrate
- Find the optimal setting that doesn’t cause pixelation or buffering
Keyframe Interval
- Set keyframe interval to 2 seconds for optimal visual quality
- Lower intervals like 1 second could cause encoding lag
CPU Usage Preset
- Use the “faster” or “fast” preset for x264 encoding to lighten CPU load
- The “medium” or “slow” presets increase CPU usage for better quality
Finding the right balance is key for lag-free streams. I suggest starting with “faster” first.
Adding Webcam, Overlays and Alerts
Now that you have configured the core video and audio settings, let’s spruce up your stream with overlays, webcam and cool alerts!
Webcam Setup
- Click “+” and select “Video Capture Device”
- Select your webcam and configure resolution and frame rate
- Position it on screen using the drag and drop placement
- Right click and select “Filters” to add effects like green screen
Key Notes:
- Position webcam so it doesn’t block vital HUD elements
- 30fps camera works well. Higher FPS requires more bandwidth
- Green screen effect looks very professional!
Adding Image Overlays
- Import your own logo, banners, icons as .PNG or .JPG files
- Position and resize them on screen using the transform tool
- Use text sources for live view count and chatboxes
- Make sure to not block gameplay or webcam
Pro Tip: Design overlays to match your branding for a polished, professional look!
Setting up Alerts and Notifications
- Install and connect browser alert plugins like Streamlabs or StreamElements
- Configure custom follow, sub, donation etc alerts via the plugin dashboards
- Test alerts by triggering test events to preview animations and sounds
Alerts help engage and excite your audience when live! Pick fun and energetic animation and sound combos.
Going Live on Twitch, YouTube and Facebook
Once your setup is complete, it’s time to start streaming! Here’s how to go live on the top platforms:
Streaming to Twitch
- Generate a Stream Key in your Twitch Creator Dashboard
- In OBS, go to Settings > Stream and select Twitch
- Enter the stream key and set a high quality ingest server
- Click “Start Streaming” and you are live! Monitor stream health.
Streaming to YouTube
- Generate a Stream Key in YouTube Studio following the setup steps
- In OBS, select YouTube as service and add stream key
- Select your channel and optimal server. Start streaming!
- Monitor YouTube dashboard for stream status and comments.
Streaming to Facebook Gaming
- Go to Creator Studio and click “Connect to OBS” to link accounts
- Copy Stream Key and paste in OBS Facebook service settings
- Pick the highest bitrate in Kbps and Start Streaming!
- Chat with viewers and share stream on Facebook pages.
That’s it! With this guide you are ready to deliver high quality, professional game streams to entertain audiences on Twitch, YouTube, Facebook and beyond in 2024. Have fun streaming!

