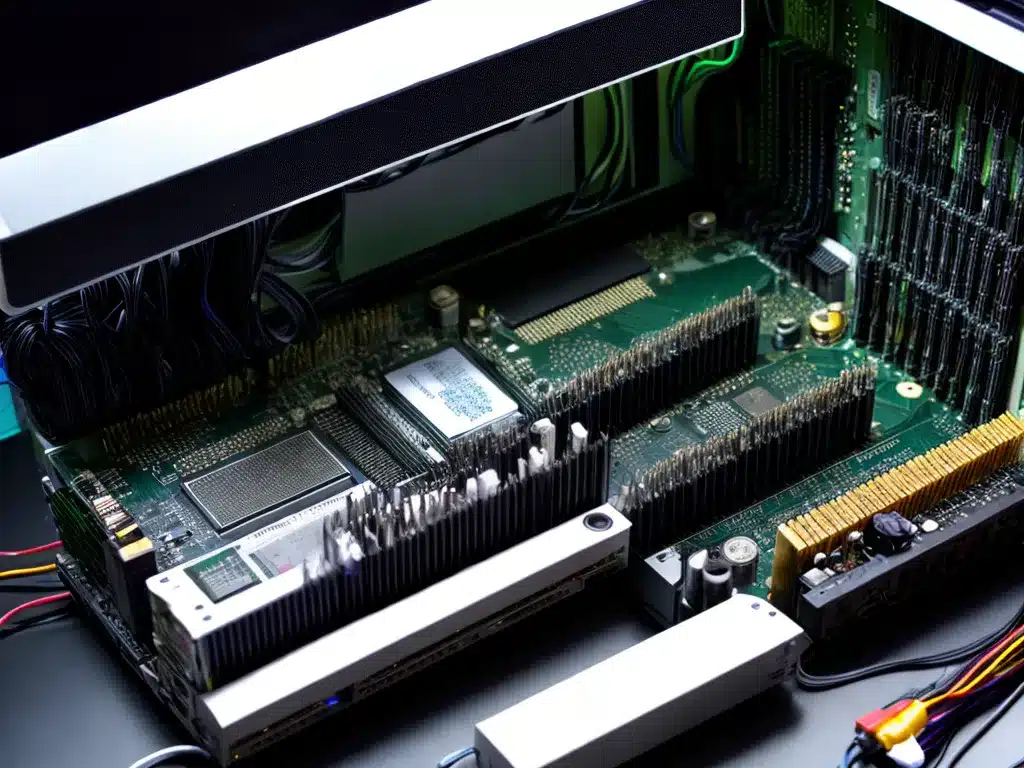
Installing additional RAM (random access memory) in your desktop PC is a relatively straightforward process that can provide a noticeable boost in performance. Here is a step-by-step guide on how to install more RAM in a desktop computer:
Step 1: Determine Compatibility
Before purchasing and installing new RAM modules, you need to make sure they are compatible with your desktop PC. Here are some key factors to check:
-
Motherboard model – The motherboard documentation or manufacturer website will indicate what type of RAM the motherboard supports. This includes the RAM type (DDR2, DDR3, DDR4, etc), maximum RAM speed, and maximum RAM capacity.
-
Existing RAM – Open up your desktop case and visually inspect the RAM that is currently installed. Take note of the RAM specifications printed on the stickers. New RAM should match the same type, speed, voltage, etc.
-
CPU – The CPU specifications will indicate the maximum RAM speed it supports. Don’t exceed the CPU’s supported RAM speed.
-
Operating system – Windows and Linux have maximum RAM limits. Make sure your new total RAM will be within the OS limits.
-
BIOS version – An updated BIOS may be required to support new RAM, especially at higher speeds. Check your motherboard manual.
Step 2: Purchase Compatible RAM
Once you’ve verified compatibility, purchase new RAM modules that match your existing RAM type and speed. Some guidelines:
-
For dual channel systems, purchase RAM kits with matched pairs of RAM sticks.
-
It’s generally best to fill all RAM slots, starting with the largest capacity sticks first. Refer to your motherboard manual for slot population order.
-
For stability, purchase RAM from reputable brands and ensure they have been validated to work with your motherboard. Check your motherboard QVL (qualified vendor list).
Step 3: Prepare for Installation
Before you open up your desktop to install the new RAM, some preparation will help ensure proper installation:
-
Use anti-static precautions – Use an anti-static wrist strap and work on an anti-static mat if available to avoid static discharge damage. At minimum, frequently touch a grounded metal object.
-
Power off and unplug computer – Shut down your computer through the OS, switch off the PSU, and unplug the power cable.
-
Remove side panel – Unscrew and remove the side panel on your desktop case to access the internal motherboard and RAM slots.
Step 4: Install RAM
You are now ready to install the new RAM sticks:
-
Release the RAM slot latches – Locate the empty RAM slots and release the small latches on either end of the slot.
-
Align and insert RAM – Align the notch on the bottom gold edge of the RAM stick with the ridge in the slot. Firmly press down on the RAM stick until the latches snap back into place.
-
Repeat with remaining sticks – Insert additional RAM sticks one at a time following the same insertion process. Refer to your motherboard manual for proper slot population order.
-
Re-install side panel and power on – Carefully re-install the side panel and plug in the power cable. Power on the computer.
Step 5: Verify Installation
Once powered on, verify the OS detects the newly installed RAM capacity:
-
Check RAM quantity in System Information (Windows) or with
free -hcommand (Linux). -
Run a memory test using Windows Memory Diagnostic or Memtest86 to validate RAM stability.
-
Update motherboard BIOS if RAM is not detected properly.
With new RAM installed, you should notice an improvement in system performance and multitasking ability. Enjoy your RAM upgrade!


