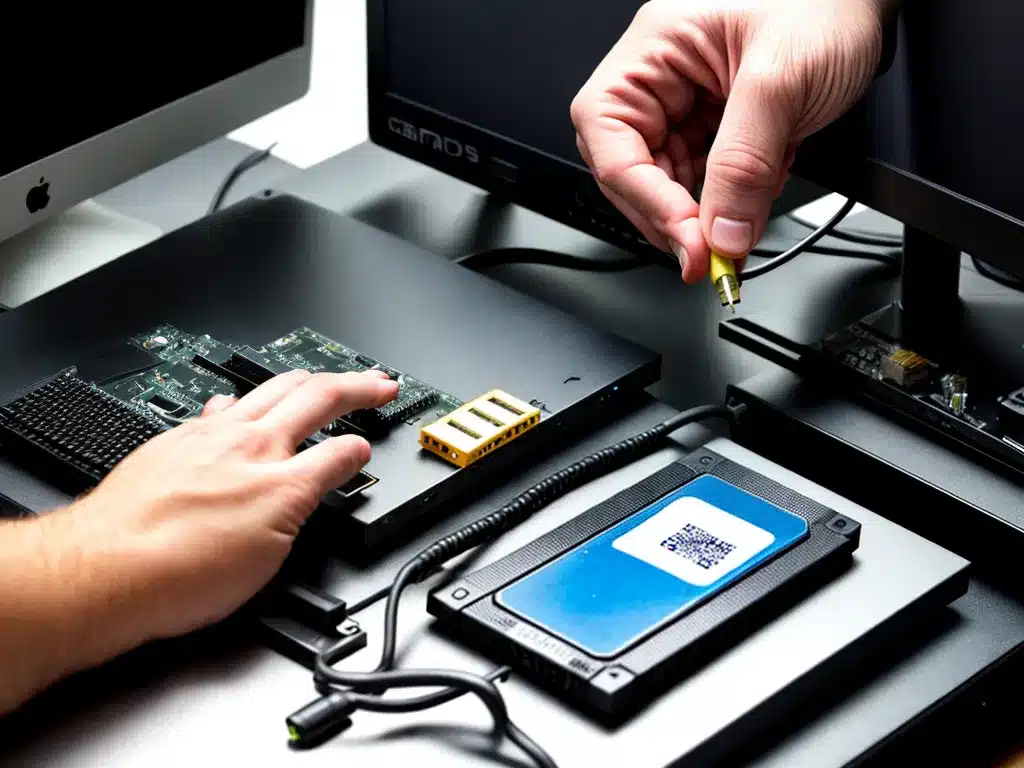
Installing a wireless card in your desktop PC is a straightforward process that allows you to connect your computer to Wi-Fi networks and access the internet wirelessly. With just a few tools and following some simple steps, I can add Wi-Fi capabilities to my desktop.
Selecting a Wireless Card
The first step is choosing the right wireless card for my desktop PC. Here are some tips to guide my selection:
-
Compatibility – I need to pick a card that is compatible with my computer’s motherboard and operating system. USB wireless adapters offer wide compatibility. PCIe and PCI cards need to match my motherboard’s expansion slots.
-
Wireless Standard – Newer standards like 802.11ac and 802.11ax offer faster speeds compared to 802.11n and 802.11g. I should go with at least 802.11n.
-
Frequency Band – Cards that support dual-band (2.4GHz and 5GHz) are preferable as they provide more flexibility.
-
Antennas – Cards with external antennas give better range and speed compared to internal antennas. I should choose a card with at least two external antennas.
-
Speed – Faster cards give higher data transfer speeds. I should check the speed rating in Mbps before buying a card.
After considering these factors, I can zero in on a wireless card that best fits my desktop PC’s capabilities and my networking needs.
Preparing for Installation
Before I start installing the wireless card, some preparation is required:
-
Motherboard manual – The manual will have details about the expansion slots on my motherboard and installation instructions. I should refer to it.
-
Device drivers – I need the latest drivers for my wireless card. I can download them from the manufacturer’s website on another internet-connected device.
-
Tools – A Philips screwdriver is necessary. I may also need a pair of pliers to remove any existing expansion slot covers.
-
ESD precautions – I need to ground myself regularly by touching the metal PC case to discharge static electricity and avoid damaging the card.
Once I have these ready, I can move to the installation steps.
Installing the Wireless Card
Follow these steps to install the wireless card in the desktop PC:
1. Power off the computer and unplug power cord
This is for safety while working inside the PC.
2. Open the PC case
I’ll need to remove the side panel to access internal components.
3. Locate an open PCIe or PCI slot
Refer to the motherboard manual to identify a suitable free expansion slot. PCIe (PCI Express) slots are preferable.
4. Remove the metal slot cover
Use a screwdriver and pliers. This will create an opening for the wireless card.
Use pliers to remove the slot cover.
5. Insert the wireless card into the slot
Align the card’s connectors and carefully push it into the slot. Make sure it is properly inserted.
6. Secure the card with a screw
There will be a dedicated screw hole to lock the card in place. Tighten the screw carefully.
7. Connect the antennas
If my wireless card has external antennas, I need to screw them into the jacks on the card.
8. Replace the PC case cover
Once everything is installed, I can put the case cover back on.
9. Boot up the computer
It’s time to turn on the PC and boot into the operating system.
Installing Drivers
After booting up the computer, I need to install the latest drivers for the wireless card:
-
In Windows, I can insert the driver CD or USB and install from there. Alternatively, I can download and run the driver setup file from the manufacturer’s website.
-
For Linux, I need to refer to the documentation for the specific distro to check the driver installation steps. I may need to use the terminal to install the required driver packages.
-
I should follow the on-screen instructions carefully when installing drivers. A system reboot may be required.
Once the drivers are installed, my OS will recognize the newly added wireless card.
Connecting to a Wireless Network
The last step is connecting to a wireless router or access point:
-
I can click the Wi-Fi icon in the system tray and select the desired network.
-
Alternatively, I can go into Network Settings and pick a network from the list of available SSIDs.
-
I need to enter the password if the network is secured.
After connecting, I can confirm internet access and enjoy wireless connectivity on my desktop PC. With the right wireless card installed and drivers set up, I can have Wi-Fi working on a desktop computer.
Troubleshooting Guide
If I am unable to get the wireless card working, here are some troubleshooting tips:
-
Verify if the card is properly inserted in the PCIe/PCI slot. Reseat it if necessary.
-
Confirm antenna cables are tightly connected to the wireless card.
-
Check Device Manager for any error codes related to the wireless card. Update drivers if needed.
-
Look for a hardware switch or Fn key combination to enable/disable the wireless card on some laptops.
-
Try moving my computer closer to the wireless router for better signal strength.
-
Disable security software temporarily to check for interference.
-
Reset the router and reconnect to the wireless network.
Carefully going through these steps should help fix most wireless card issues. Reach out to the card manufacturer’s tech support if problems persist.


