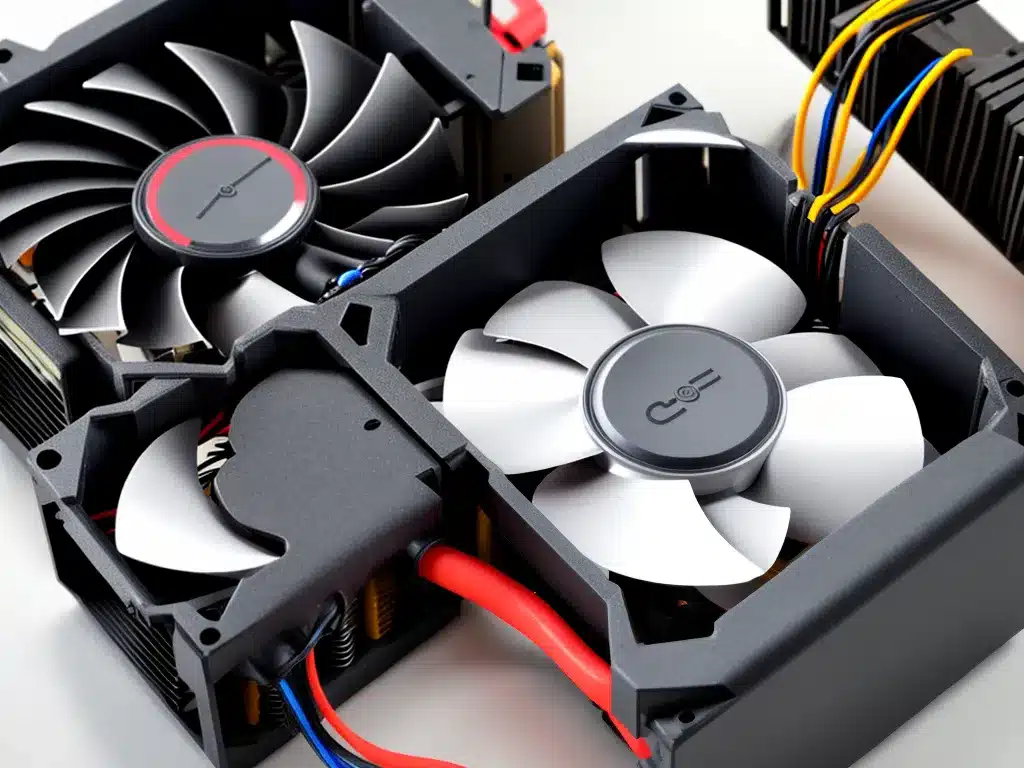
Installing a new CPU cooler can provide better cooling performance and allow you to overclock your CPU. While it may seem daunting, installing a CPU cooler is a straightforward process if you follow these steps.
Choosing a CPU Cooler
When selecting a new CPU cooler, consider the following factors:
Socket Compatibility
-
Make sure the CPU cooler is designed for your CPU socket type. Intel uses LGA sockets while AMD uses PGA/AM4 sockets.
-
Coolers often support multiple sockets but double check before purchasing. Using an incompatible cooler can damage your CPU or motherboard.
Cooling Performance
-
A larger heatsink surface area, more heatpipes, and a powerful fan generally provide better cooling capacity.
-
Make sure the cooler is rated to handle the thermal output of your CPU, especially if overclocking.
-
Air coolers are generally cheaper while all-in-one (AIO) liquid coolers offer the best performance.
Physical Size
-
Measure the space around the CPU socket in your case to ensure the cooler will fit. Tall tower coolers may interfere with side panels or RAM slots.
-
Make sure the cooler doesn’t block other components like PCI-E slots.
-
Liquid AIO radiators need mounting room for fans – check case compatibility.
Removing the Old Cooler
Follow these steps to safely remove your existing CPU cooler:
-
Power down and unplug the computer. Discharging static electricity is critical.
-
Twist the cooler gently back and forth to break the thermal paste seal before lifting. Don’t pull straight up.
-
For stock coolers with push pins, lift the tabs to release the pins.
-
Remove the cooler and use isopropyl alcohol to clean off old thermal paste from the CPU and cooler.
Installing the New Cooler
Installing the new CPU cooler involves securing the cooler, applying thermal paste, and connecting the fan power:
-
Position the cooler over the CPU and secure it with screws or brackets per the instructions. Alternate tightening opposing corners to ensure even contact.
-
Apply a small blob of fresh thermal paste (about 5mm diameter) onto the CPU heat spreader. Do not overapply.
-
Connect the cooler fan power cable to a chassis fan header, usually near the CPU socket.
-
For liquid AIO coolers, mount the radiator and fans first, then connect the pump power and cooling tubes. Follow instructions carefully.
First Boot and Testing
Once installed, boot into the BIOS and check that the CPU fan is detected and ramping up/down. Stress test the CPU and check temperatures using software like Prime95 and CoreTemp.
Compare temperatures to your previous cooler – a significant drop indicates good contact and cooling performance. If temperatures are still high, reapply thermal paste and reseat the cooler.
With good mounting, thermal paste application, and airflow your new CPU cooler will keep your processor cool and enable stable overclocking. Take your time, follow installation instructions, and avoid overtightening!


