Installing a graphics card is a relatively straightforward process that can provide a significant boost in performance to your PC. With some planning and preparation, you can have your new graphics card up and running smoothly. Here’s a step-by-step guide on how to install a graphics card:
Research Compatibility
Before purchasing a new graphics card, you need to make sure it is compatible with your PC setup. Here are some key things to check:
-
Motherboard compatibility – Verify that your motherboard has the correct PCIe x16 slot for your graphics card. Graphics cards commonly use PCIe 3.0 or 4.0 slots.
-
Power supply capacity – Graphics cards require additional power from the PSU. Check how much wattage and PCIe power connectors (6-pin, 8-pin) your PSU has to ensure it can handle the new card.
-
Physical space – Measure the interior space of your PC case to ensure the graphics card will fit. Pay attention to the card’s length and height.
-
Driver support – Confirm the card and your PC components have driver support for the same OS, like Windows 10 or 11.
Uninstall Old Drivers
If you currently have a graphics card installed, you’ll want to uninstall the old graphics drivers before swapping cards. Here’s how:
- Open Start and search for “Device Manager”.
- Expand the “Display adapters” section.
- Right click on your current graphics card and select “Uninstall device”.
- Check the box to “Delete the driver software for this device” and confirm.
- Restart your PC to complete the driver uninstall.
Install the New Card
With compatibility checked and old drivers removed, you’re ready for installation:
- Power down and unplug your computer. This prevents any electrical damage.
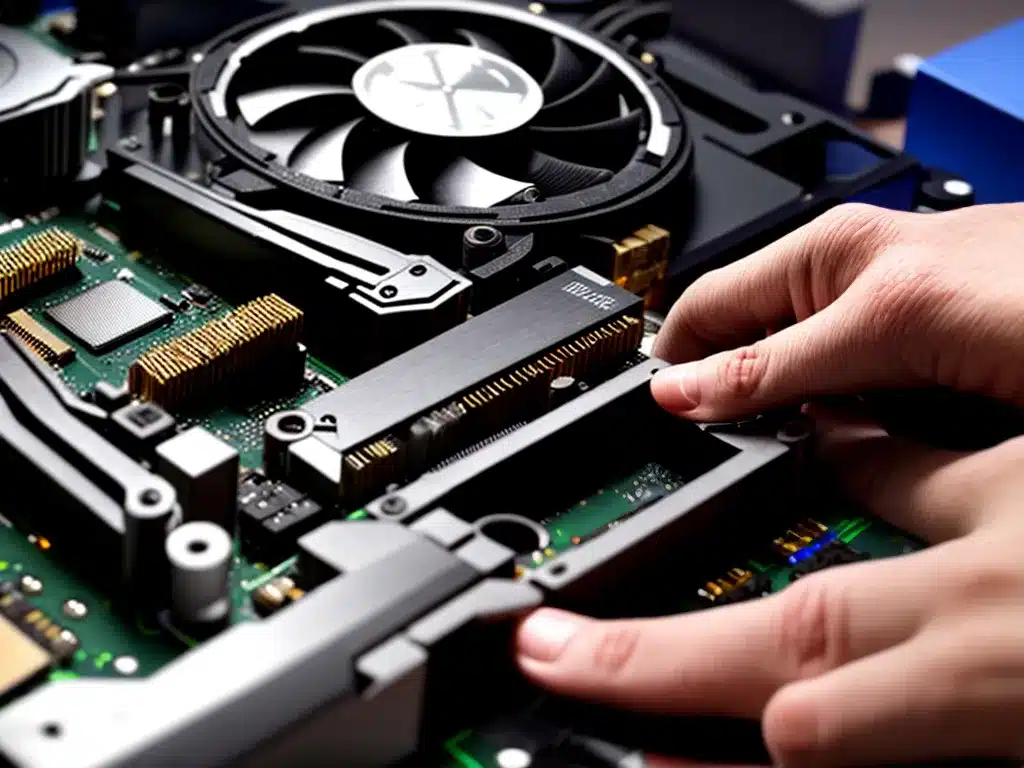
- Open the PC case to access the components.
- Locate the PCIe x16 slot on your motherboard. It is often the top full length slot.
- Remove any slot covers on the rear panel where the graphics card ports will show.
- Carefully align and insert the new graphics card into the PCIe slot. Make sure it is fully seated.
- Secure the card with the slot screw on the PCI bracket.
- Attach the power cables from your PSU to the new card if needed. These often use 6-pin or 8-pin connectors.
- Replace the PC case and screw it back into place.
Install Updated Drivers
With the new graphics card physically installed, it’s time to get the correct drivers:
- Boot up your PC and enter Windows. You may need to initially use your old or integrated graphics.
- Go to the card manufacturer’s website (Nvidia, AMD, etc) and look up your specific model.
- Download and install the latest driver for your OS. Follow any on-screen prompts.
- Restart your PC once the new graphics drivers are installed.
You can now configure any card settings through the respective control panel. Enjoy your upgraded graphics and gaming! Let me know if you have any other questions on the process.

