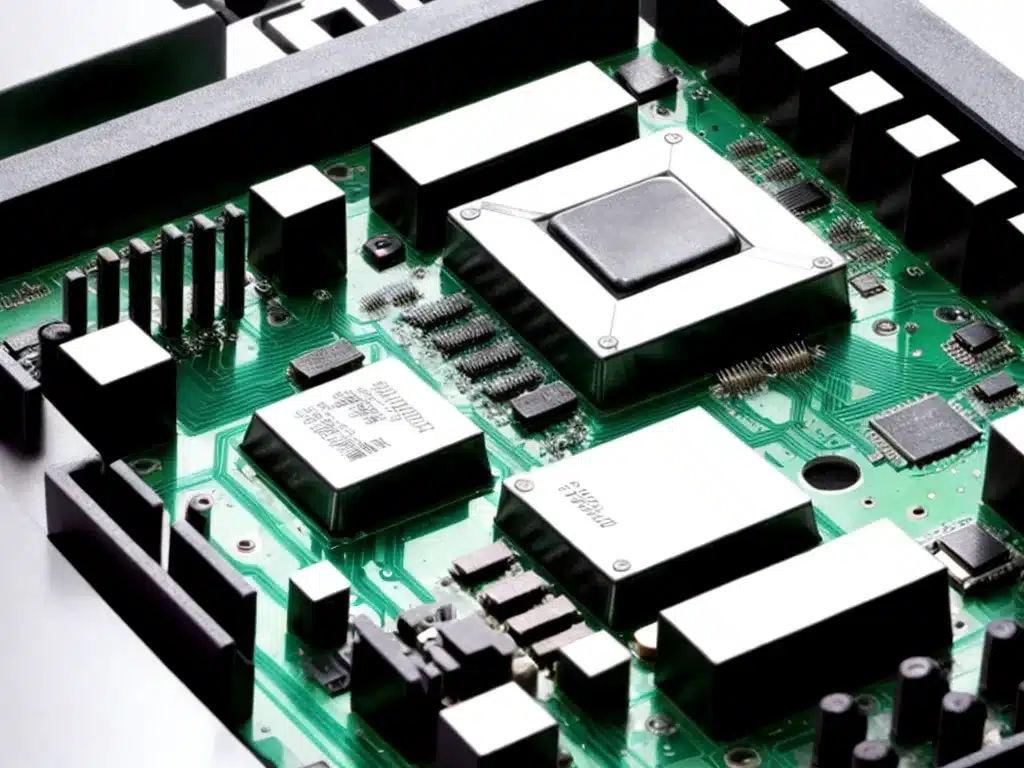
Introduction
Replacing a faulty CPU (central processing unit) processor can keep your computer running smoothly and prevent crashes, freezes, and other issues. While identifying a bad CPU isn’t always straightforward, there are signs to look for and steps you can take to determine if the CPU itself is the root of computer problems. Once you’ve confirmed the CPU is faulty, replacing it involves unseating the chip and installing a new compatible CPU. With some basic computer hardware knowledge and the right replacement part, I can replace a CPU in desktop PC builds and some laptops.
Identifying a Failing or Faulty CPU
Here are some signs that may indicate the CPU itself is failing:
Computer Freezes, Crashes, or BSODs
- Random crashes, freezes, and blue screens of death (BSODs) can sometimes point to a faulty CPU. However, other components like RAM, the motherboard, and hard drive can also cause these issues.
Overheating Issues
- If the CPU is overheating, it could indicate a problem with the chip itself or the cooling system. Overheating can lead to throttling and crashes. Monitor CPU temperatures under load.
Strange Behavior and Errors
- Weird errors, data corruption, performance drops, or strange behavior like GPU glitches may occur with a faulty CPU. The CPU communicates with other components, so its failures can show up system-wide.
High Error Rates
- Tools like Windows Memory Diagnostic can detect high error rates coming from the CPU’s memory controller. This can signal a CPU problem.
POST Codes
- If the computer won’t POST and the motherboard shows CPU error codes, there may be an issue with the processor. Refer to your motherboard manual for CPU error codes.
Testing with a Working CPU
- Swapping in a known good, compatible CPU can help rule out the processor as the culprit. If the issues disappear with a working CPU, the original is likely faulty.
Checking CPU Health
Before replacing the CPU, double check its health in Windows and BIOS:
Resource Monitor
Check CPU usage, speeds, temperatures, and errors shown in Windows Resource Monitor. Look for anomalies under the CPU tab.
Core Temperatures
Use HWMonitor or CoreTemp to check per core temperatures and throttling during stress tests. Overheating may indicate thermal paste issues or a bad CPU.
Performance
Run benchmarks like Cinebench, Prime95, and Intel Processor Diagnostic Tool to check for performance issues and hardware errors. Compare results to baseline averages.
BIOS
Check CPU stats, SMART data, temperatures, and error logs shown in BIOS. Update to the latest BIOS if available.
How to Replace a CPU
Once I’ve confirmed the CPU itself is faulty, follow these steps to replace the processor:
Check Compatibility
- Choose a new CPU that is compatible with your motherboard’s CPU socket, chipset, and BIOS version. Confirm the replacement CPU will work before buying it.
Gather Tools
- I’ll need a small Philips screwdriver, needle-nose pliers, thermal paste, lint-free cloths, and an anti-static wrist strap. For laptops, I may need a special pry tool to separate the case.
Discharge Static Electricity
- Ground myself with an anti-static wrist strap to avoid damaging computer components with ESD (electrostatic discharge).
Power Down and Unplug Computer
- Shut down the computer, unplug power cords, and remove the battery if it’s a laptop. Unplug all peripherals too.
Open Case/Access CPU
- Refer to the computer or motherboard manual for instructions on opening the case and accessing the CPU socket.
Remove Cooler and Old CPU
- Unclip the CPU cooler, loosen screws in an X pattern, and lift straight up. Use care when removing as the old thermal paste may stick the cooler to the CPU.
Unseat and Remove Old CPU
- Lift the retention arm and gently remove the CPU from the socket. Avoid bending any pins.
Inspect Socket
- Check the motherboard CPU socket for any bent or broken pins and debris inside. Straighten any pins carefully with needle-nose pliers.
Insert New CPU
- Match the CPU’s golden triangle with the socket marker. Do not force! Lower and close the retention arm.
Replace Thermal Paste
- Remove old paste with alcohol and reapply fresh paste to the CPU heatspreader in a small line or dots.
Reattach Cooler
- Set the cooler on top and reinstall screws in an X pattern to ensure even pressure. Plug in the cooler power.
Reassemble Computer
- Put the case panels back on, reconnect cables and power cords.
Boot and Check Operation
- Start computer and enter BIOS. Verify CPU is detected properly without errors. Run stress tests like Prime95 to confirm normal temps and stability.
With the right troubleshooting steps to isolate a faulty CPU and proper installation of a compatible replacement processor, I can successfully swap out a computer’s CPU to get it running smoothly again. Basic tools, care when handling, and thermal paste reapplication are key to avoid damaging the delicate pins and electronics.


