Microsoft has officially released the first public beta of Windows 11. This gives anyone interested the ability to test out the next generation of Windows before the official release later this year. Getting access to the Windows 11 beta is free and straightforward if you meet the minimum system requirements.
Checking if Your PC Meets the Minimum Requirements
Before you can install the Windows 11 beta, you’ll need to make sure your PC actually supports it. Microsoft has specific hardware requirements in place this time around. Here’s what you need at a minimum:
- Processor: 1 GHz or faster with 2 or more cores on a compatible 64-bit processor
- RAM: 4GB
- Storage: 64GB or larger storage device
- System Firmware: UEFI, Secure Boot capable
- TPM: Trusted Platform Module (TPM) version 2.0
- Graphics Card: Compatible with DirectX 12 or later with WDDM 2.0 driver
- Display: High definition (720p) display greater than 9″ diagonally, 8 bits per color
The two requirements that you’ll want to pay close attention to are the processor and TPM. Most modern Intel and AMD processors will meet the minimum specs. However, TPM 2.0 has only become commonplace in the last few years. You can check if your PC has a compatible TPM using the Windows Security app.
To summarize, here are the key components your PC needs:
- Processor: 1 GHz dual-core 64-bit CPU
- RAM: 4 GB
- Storage: 64 GB
- TPM: Version 2.0
- ** UEFI + Secure Boot**
- Discrete GPU
- Display: 720p or higher
If your computer matches or exceeds these specifications, you should be good to install the Windows 11 beta.
Joining the Windows Insider Program
To gain access to early Windows 11 builds, you’ll need to join the Windows Insider Program. This is Microsoft’s public beta testing community. Follow these steps to sign up:
- Go to the Windows Insider Program website in your browser.
- Click the
Get Startedbutton. - Sign in with your Microsoft account. If you don’t have one, create one for free.
- Read through the program terms and select
Accept. - On the next page, select
Windows Insider Program. - Link your Microsoft account to the device you want to install Windows 11 on.
- Choose your Insider settings:
- Select the
Dev Channelto get new Windows 11 builds as soon as they are released. - Choose the
Beta Channelfor more stable but less frequent builds. - Click
Confirmto finish enrollling your device.
Once you are registered as a Windows Insider, you’ll be able to download and install Windows 11 preview builds.
Downloading the Windows 11 Beta Installer
Now that your PC meets the requirements and you’ve joined the Insider program, you can proceed with downloading the Windows 11 beta.
Here is the process to get the installer:
- On your enrolled Windows 10 PC, go to Settings > Update & Security > Windows Insider Program.
- Make sure you are on the Dev channel to get the latest Windows 11 builds.
- Click
Check for updates. This will detect the Windows 11 preview. - The Windows 11 preview build will appear under
Optional updates available. ClickDownload and install. - The installer will download to your PC. This can take awhile depending on your internet speed. The Windows 11 beta preview installer is around 5GB in size.
Once the download completes, you can proceed with installing and trying out Windows 11 on your PC!
Doing a Clean Install of the Windows 11 Beta
If you want to do a completely clean install of Windows 11, rather than just an in-place upgrade, that is also possible. Here is what to do:
- Download the Windows 11 Insider Preview ISO file from Microsoft’s website.
- Create a bootable installation media. You can use a USB drive or DVD.
- Boot your PC from the installation media.
- Follow the on-screen prompts to install a clean copy of the Windows 11 beta preview.
Doing a clean install allows you to start completely fresh with Windows 11. It is useful if you want to test the OS on a separate disk partition or new PC.
Installing Windows 11 Beta in a Virtual Machine
If you don’t want to commit to running the Windows 11 preview on your actual hardware, installing it in a virtual machine is a safe option. Here’s how:
- Download and install VirtualBox or other virtualization software.
- Create a new virtual machine. Allocate at least 4GB of RAM and 64GB of storage.
- Set the VM to boot in UEFI mode. Enable Secure Boot and virtual TPM.
- Attach the Windows 11 preview ISO to the VM.
- Boot up the VM and install Windows 11 following the setup prompts.
Running Windows 11 as a VM lets you test all the new features and changes without any risk to your main PC. It’s ideal if you want to try out the beta risk-free.
What to Expect with the Windows 11 Beta
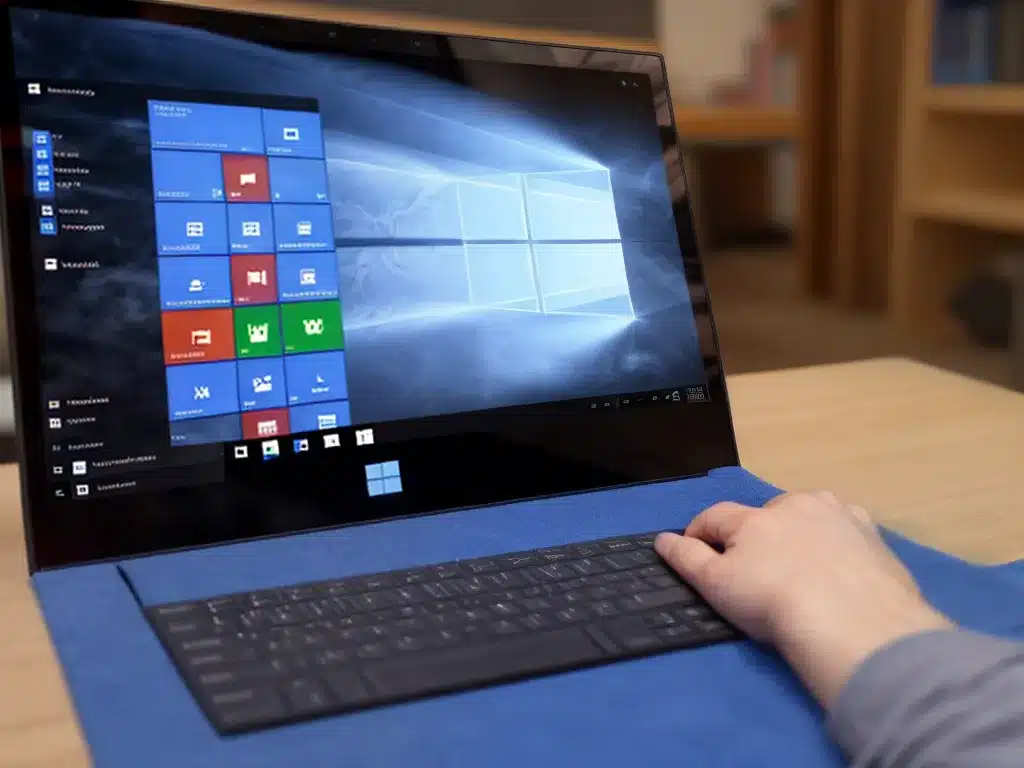
Once you install the Windows 11 beta preview, you’ll immediately notice a redesigned visual interface. It features a centered Start menu and taskbar, rounded corners on windows, pastel colors, and more padding.
Under the hood, you’ll find various new and improved features:
- Revamped multitasking with snap layouts and snap groups
- Better touchscreen and pen support
- Android app integration via Amazon Appstore
- GPU compute support in the Windows Subsystem for Linux
- DirectStorage for faster game loading
- Auto HDR and refresh rate boost for gaming
However, since this is early beta software, you are likely to encounter bugs, crashes, and missing features. Proceed with caution, especially when installing on your daily production machines. As always, it is a good idea to backup your data before trying any pre-release OS.
Overall though, installing the Windows 11 public beta is an exciting way to experience Microsoft’s vision for the future of Windows. Now is your chance to kick the tires and provide feedback before the official launch.

