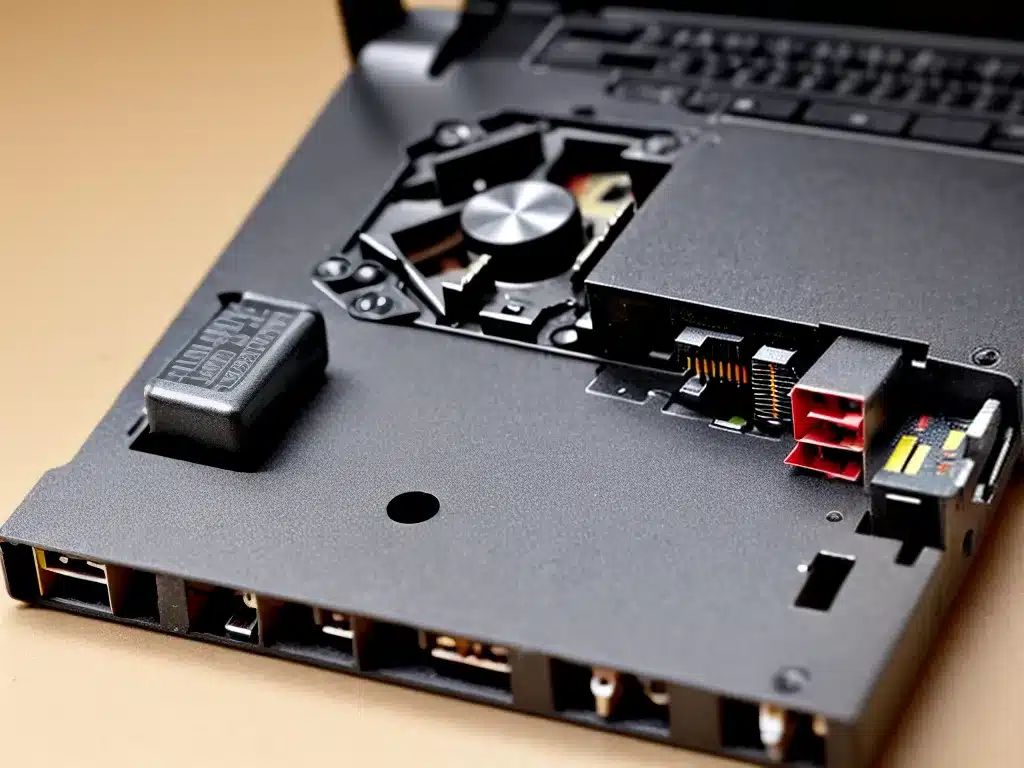
Laptop power jacks can fail for a variety of reasons, but thankfully many issues can be repaired at home if you’re willing to put in some time and effort. Here’s an in-depth guide on diagnosing and fixing common laptop power jack problems.
Symptoms of a Faulty Power Jack
The most obvious symptom of a bad power jack is a laptop that won’t power on or charge when plugged in. However, there are a few other common symptoms to watch out for:
-
The battery stops charging even when the laptop is plugged in.
-
The laptop only charges if the charger is positioned a certain way. Wiggling or jiggling the charger may make it start to charge.
-
The laptop powers off when bumped or moved. This is due to a loose connection.
-
You see sparks or smoke coming from the power port. This indicates serious damage.
-
The charger falls out easily or doesn’t stay snugly plugged in.
If you notice any of these issues, it likely means a problem with the power jack and should be addressed immediately to avoid further damage.
Diagnosing the Issue
Before attempting to fix a faulty laptop power jack, it’s important to correctly diagnose the problem. Here are some troubleshooting steps:
-
Inspect the power port for damage. Look for broken/cracked plastic, bent metal pins, or burnt/melted areas.
-
Check for looseness. See if the power jack moves around or feels loose when you wiggle the charger.
-
Test with another charger. Borrow a compatible charger to see if the issue persists.
-
Check the battery and charger. Ensure they are functional and providing sufficient power.
-
Inspect the motherboard. If there’s obvious damage around the power jack port, the motherboard may need replacement.
-
Measure power jack pin voltages. Use a multimeter to check if power is running through the pins properly.
Once you’ve verified the issue is with the power jack specifically, move on to attempting a fix using the methods below.
Cleaning the Power Jack
If the charging port is just dirty or corroded, simply cleaning it may fix your power issues. Here’s how to safely clean a laptop power jack:
-
Disconnect the battery to avoid short circuits.
-
Use compressed air to blow out any dust or debris from the port.
-
Gently scrape out dirt with a plastic spudger or old credit card. Don’t use anything metal.
-
Apply a small amount of isopropyl alcohol with a cotton swab to remove corrosion.
-
Allow the port to fully dry before reconnecting the battery and testing power functionality.
-
If the corrosion is particularly bad, apply a vinegar solution instead to help dissolve it, then clean with alcohol.
Cleaning takes some patience but works wonders for fixing minor power jack issues caused by dirt, lint, and corrosion.
Reflowing the Power Jack
If the power jack is disconnected or has a loose solder joint, reflowing the solder can potentially restore the connection. This involves heating up the solder points to melt the solder and reconnect any broken joints.
Here is how to properly reflow a laptop power jack:
-
Disconnect the battery and remove any cover panels to access the power jack.
-
Use a heat gun, electric skillet, or professional reflow station to evenly heat the solder points on the power jack to just above the melting point.
-
Once the solder melts, quickly remove the heat source.
-
Allow the solder to cool and solidify into reformed connections.
-
Do not overheat the jack or motherboard to avoid irreparable damage.
-
Reassemble the laptop and test power functionality. The connection should now be restored.
Reflowing takes some skill but works well if the power jack just needs minor resoldering. Seek professional help if you can’t properly reflow the jack.
Replacing the DC Power Jack
For severely damaged or detached power jacks, replacement is the only option. Follow these key steps:
-
Purchase the correct replacement jack for your laptop model.
-
Watch teardown videos to see the jack replacement process for your specific model.
-
Disconnect the battery and remove all necessary components to access the jack.
-
Desolder the old power jack from the motherboard using solder wick or a solder sucker.
-
Solder the new jack in place, matching the original orientation and alignment.
-
Reassemble the laptop and confirm the new jack functions properly before replacing all the components.
-
Boot up the laptop and install any necessary drivers for the new hardware.
While replacing the jack takes advanced soldering skills, it resolves the issue permanently in most cases. Seek a professional repair shop if you can’t replace it yourself.
Preventing Future Power Jack Failure
To help avoid power jack issues down the road:
-
Don’t strain the power cord. Avoid pulling, twisting, or putting excess tension on the cord.
-
Ensure firm power connections. Never wiggle or jiggle the charger when plugged in.
-
Keep the power port clean. Frequently inspect for and remove any lint or debris buildup.
-
Handle your laptop gently. Drops and impacts can loosen internal connections.
-
Don’t use while charging. Generating excess heat can damage the charging port.
-
Consider using a docking station instead which reduces wear and tear on the built-in power jack.
With proper care and maintenance, you can significantly extend the lifespan of your laptop’s power jack. But if issues eventually occur, use the steps in this guide to get your laptop charging again!


