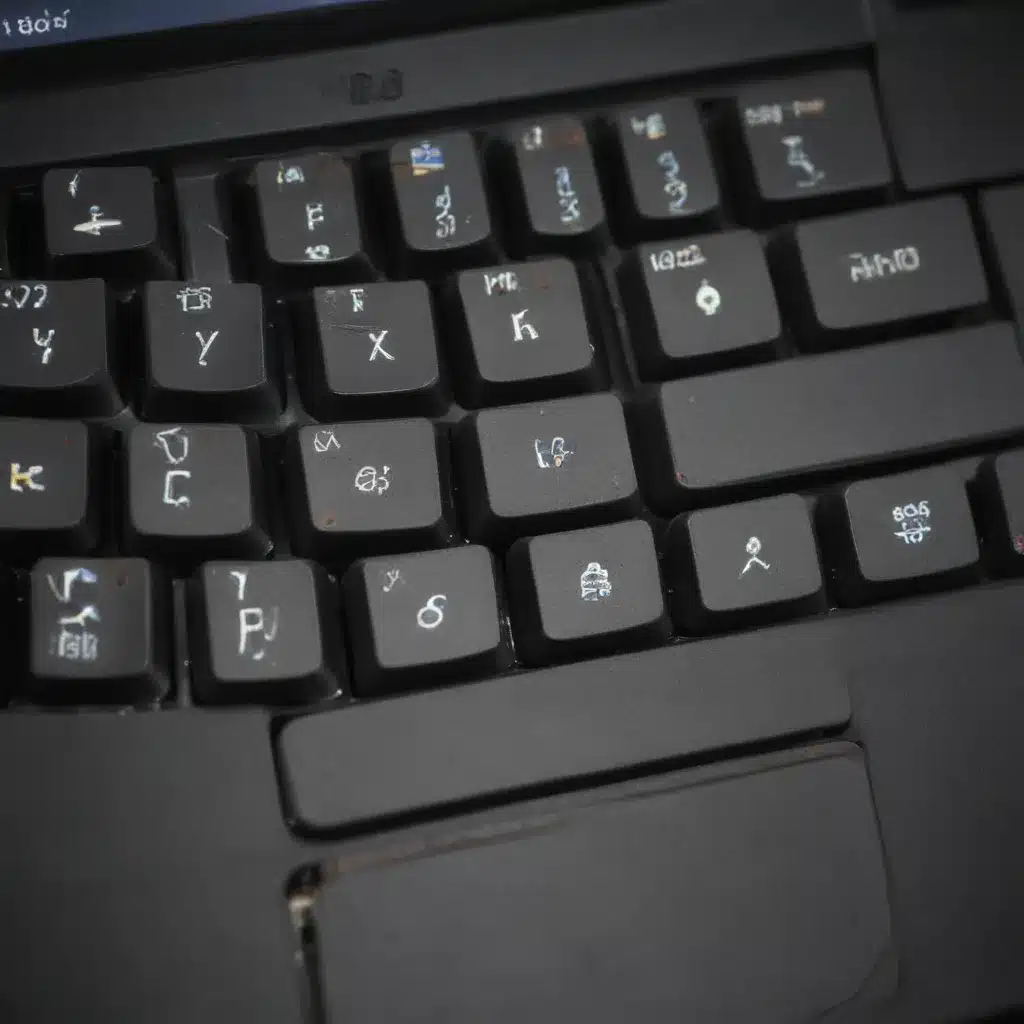
How to Fix Laptop Keys that Have Fallen Off
Ah, the dreaded laptop key conundrum. It’s like a secret club no one wants an invite to, but somehow we all end up there at some point. Well, fear not, my fellow keyboard enthusiasts, for I’m about to share my hard-won wisdom on how to tackle this pesky problem and get your laptop looking (and typing) like new.
The Anatomy of a Laptop Key
Let’s start by understanding the intricate dance of a laptop key. It’s not just a simple little button – it’s a delicate balance of plastic, springs, and sheer determination. Each key is typically held in place by a scissor-like mechanism called a “scissor switch” [1]. This little guy is responsible for ensuring your key stays firmly in place and responds with a satisfying click when you press it.
But alas, life happens, and sometimes these scissor switches can become loose or even completely detached. Maybe you spilled your morning coffee all over the keyboard, or perhaps your curious toddler decided to conduct an impromptu “key removal experiment.” Whatever the cause, the result is the same: a missing key and a very frustrated you.
Troubleshooting: What Went Wrong?
Before we dive into the repair process, it’s important to understand what might have caused your key to become unhinged in the first place. After all, prevention is the best medicine, and we don’t want this problem to become a recurring theme.
One common culprit is simple wear and tear. Laptop keyboards take a beating, and over time, the delicate mechanisms can become worn down [2]. Excessive force or improper typing technique can also contribute to this issue. Imagine your keyboard as a fragile flower – you don’t want to be pounding away like a virtuoso on a grand piano, now do you?
Another potential culprit is liquid damage. As I mentioned earlier, spilling any kind of fluid on your keyboard is a surefire way to invite trouble. The moisture can seep into the intricate workings of the keys, causing the plastic and metal components to become warped or corroded [3]. It’s like inviting a bunch of rowdy toddlers to a fancy dinner party – chaos is bound to ensue.
The Step-by-Step Repair Process
Alright, now that we’ve got the background information out of the way, let’s dive into the juicy bits: how to actually fix that pesky fallen key. Buckle up, folks, because this is where the magic happens.
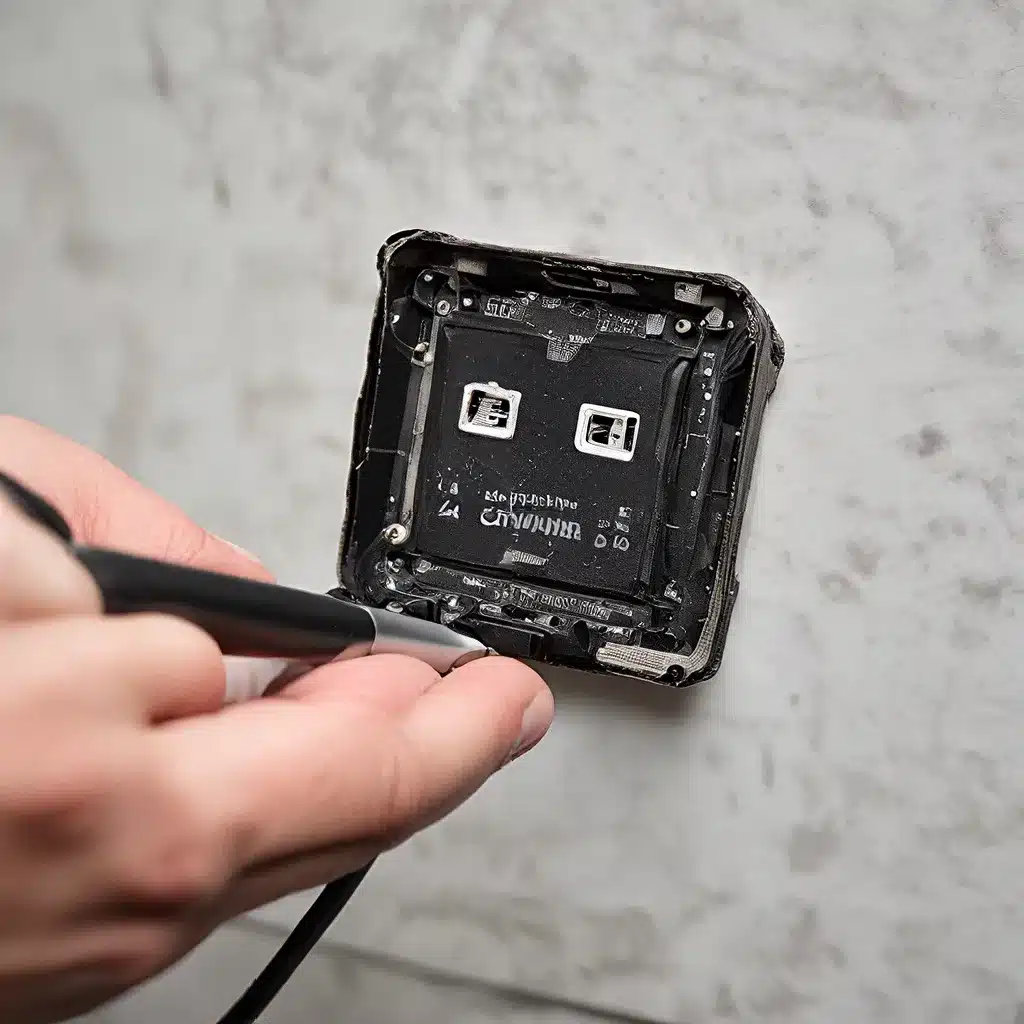
First and foremost, it’s important to note that the repair process can vary slightly depending on the make and model of your laptop. But fear not, for the basic principles remain the same. Let’s start by gently removing the fallen key from the keyboard. This can be done by carefully prying it up with a small, flat-head screwdriver or a plastic tool [4]. Be gentle, my friends, as these keys are delicate little things.
Next, you’ll need to identify the scissor switch mechanism underneath. This is the little plastic or metal frame that holds the key in place. Gently clean any debris or dust that may have accumulated around the switch, and make sure the mechanism is still intact and functioning properly [5]. If the switch appears damaged or worn, you may need to replace the entire keyboard assembly, which is a more complex (and costly) repair.
Assuming the scissor switch is in good shape, it’s time to reattach the key. Carefully align the key with the switch, making sure the stems on the underside of the key fit snugly into the corresponding slots on the switch [6]. Once you’ve got it lined up, press down firmly until you hear a satisfying “click.” Voila! Your key should now be securely back in place.
But wait, there’s more! To ensure the key stays put, you may want to consider using a small drop of superglue or a tiny dab of epoxy on the underside of the key [7]. This added reinforcement can help prevent the key from becoming loose again in the future. Just be sure to use a tiny amount and avoid getting any of the adhesive on the surrounding keys or the keyboard itself.
Putting It All Together
Now, I know what you’re thinking: “This all sounds way too complicated for a simple laptop key repair!” But trust me, with a little patience and the right approach, you can have your keyboard looking and functioning as good as new.
Remember, the key (pun intended) is to be gentle, take your time, and don’t be afraid to seek out additional resources if you get stuck. After all, the internet is a treasure trove of helpful tutorials and forums, like the ones I’ve referenced throughout this article [8].
So, the next time one of your laptop keys decides to take a little vacation, don’t panic. Grab your trusty tools, channel your inner repair wizard, and get to work. Before you know it, you’ll be typing away with the confidence of a seasoned keyboard virtuoso. Happy repairing, my friends!
[1] https://www.youtube.com/watch?v=M-aYew3NSv8
[2] https://www.reddit.com/r/MSILaptops/comments/cyt3yq/laptop_key_keeps_popping_out_nothing_seems_to_be/
[3] https://www.youtube.com/watch?v=lxCi9wxBQkc
[4] https://www.quora.com/One-of-my-keys-on-my-laptop-popped-off-how-can-I-fix-it
[5] https://www.dell.com/support/kbdoc/en-us/000133100/reseat-the-keycap-when-a-key-falls-off-the-keyboard-on-a-laptop
[6] https://h30434.www3.hp.com/t5/Notebook-Hardware-and-Upgrade-Questions/How-to-replace-keyboard-keys-that-pop-off/td-p/6696438
[7] https://discussions.apple.com/thread/251450183
[8] https://www.ifixit.com/Answers/View/116351/How+to+put+keys+back+on+keyboard.+they+fell+off.

