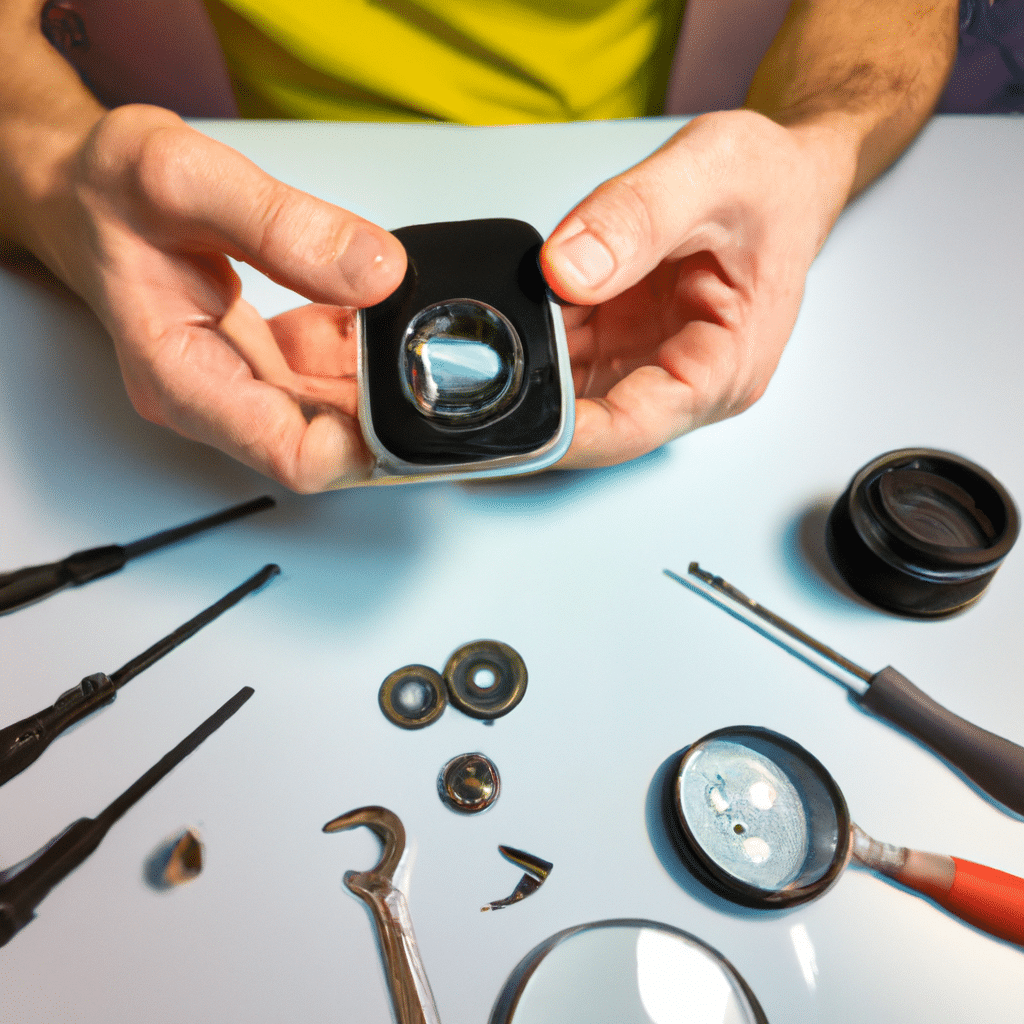
How to Fix a Smartphone with a Cracked Camera Lens
When it comes to our smartphones, we use them constantly to capture memories and moments that we don’t want to forget. However, accidents happen, and sometimes we end up with a cracked camera lens on our phones. This can be frustrating and can potentially ruin our ability to take clear and high-quality photos. In this article, we will explore how to fix a smartphone with a cracked camera lens.

Step 1: Assess the Damage
The first step in fixing a smartphone with a cracked camera lens is to assess the damage. Take a close look at the lens and determine the severity of the crack. If it’s a small crack, it may not affect the quality of your photos significantly. However, if it’s a large crack or if there are multiple cracks, it may be necessary to replace the lens altogether.
Step 2: Clean the Lens
Before attempting to fix the lens, make sure to clean the lens thoroughly. Use a microfiber cloth or lens cleaning solution to remove any dirt or debris that may be on the lens. This will ensure that you get the best possible results when attempting to fix the lens.
Step 3: Apply a Temporary Fix
If the crack is small and not affecting the quality of your photos, you may be able to apply a temporary fix. One option is to apply clear nail polish to the crack. This will fill in the crack and prevent it from spreading. However, this is not a permanent fix, and you may need to reapply the nail polish periodically.
Another option is to use a clear tape, such as Scotch tape, to cover the crack. This will prevent any dirt or debris from getting into the crack and causing further damage. However, like the nail polish, this is not a permanent fix, and you may need to reapply the tape periodically.
Step 4: Replace the Lens
If the crack is severe or if there are multiple cracks, it may be necessary to replace the lens altogether. This can be done by taking your phone to a professional repair shop or by ordering a replacement lens online and replacing it yourself.
If you decide to replace the lens yourself, make sure to follow the instructions carefully and take your time. This is a delicate process, and any mistakes could potentially cause further damage to your phone.
Step 5: Prevent Future Damage
Once you have fixed the lens or replaced it altogether, it’s essential to take steps to prevent future damage. One way to do this is to use a phone case that has a raised edge around the camera lens. This will protect the lens from any accidental drops or bumps.
Another way to prevent future damage is to be mindful of how you handle your phone. Avoid placing it in your pocket with keys or other sharp objects that could scratch the lens. Additionally, try to avoid dropping your phone or placing it in areas where it could be easily damaged.
Conclusion
In conclusion, fixing a smartphone with a cracked camera lens can be a frustrating experience. However, by following the steps outlined in this article, you can assess the damage, clean the lens, apply a temporary fix, replace the lens, and prevent future damage. By taking these steps, you can ensure that you continue to capture high-quality photos and memories with your smartphone.


