Troubleshoot the Webcam Software
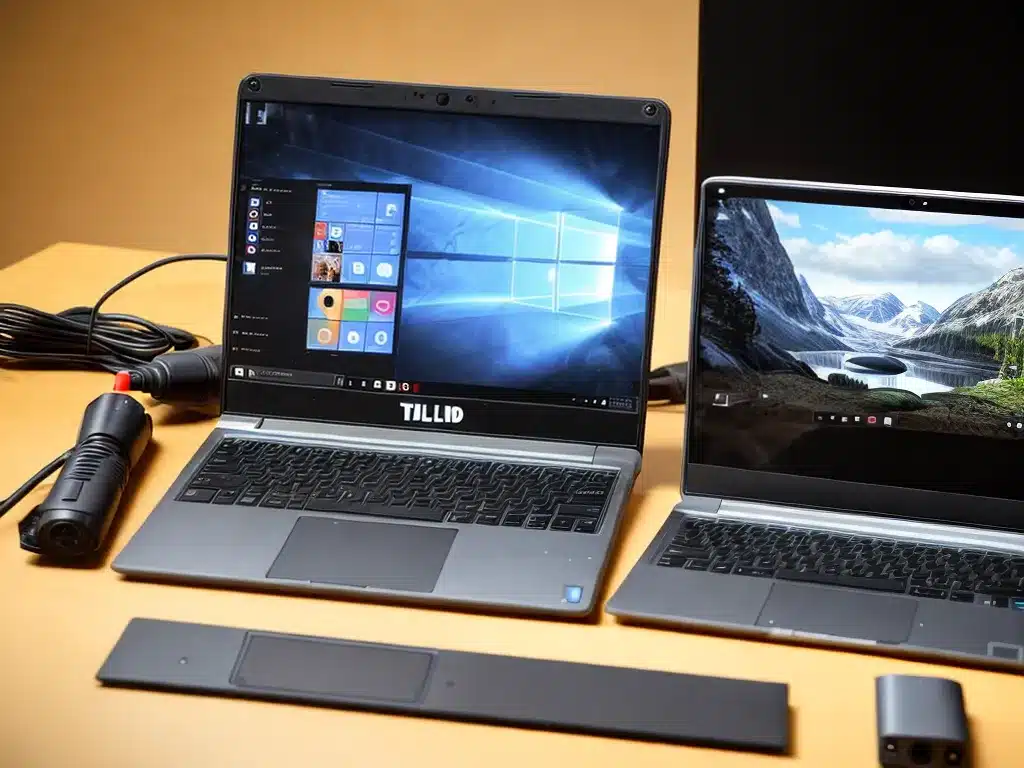
The most common cause of a malfunctioning laptop webcam is a software issue. Before trying any hardware solutions, it’s worth taking some time to troubleshoot the webcam software. Here are some things I can try:
-
Update webcam drivers – Outdated webcam drivers can cause compatibility issues that lead to malfunctions. I should open Device Manager, find the webcam under “Imaging devices”, right-click it, and select “Update driver”. This will install the latest driver from the manufacturer.
-
Reinstall webcam software – If updating the drivers doesn’t help, I can try uninstalling and reinstalling the webcam software/app that came with my laptop. This refreshes the program files which could fix software conflicts.
-
Check webcam app settings – The webcam software may have gotten configured incorrectly. I should open the app, go to its settings, and reset any options to their defaults. This can undo any problematic custom changes.
-
Run antivirus scan – Sometimes malware or viruses can interfere with the webcam. Running a full virus scan ensures my laptop isn’t infected. Any detected threats can then be removed.
-
Check privacy settings – Modern laptops often have toggles to disable the webcam for privacy. I need to check I haven’t accidentally turned the webcam off under the privacy settings.
Inspect Hardware and Connections
If the software troubleshooting doesn’t resolve the issue, I’ll need to examine the laptop’s hardware components related to the webcam. Here’s how I can do that:
-
Check webcam lens – Make sure there is no physical obstruction or debris covering the webcam lens. Carefully clean the lens with a microfiber cloth if needed.
-
Reseat webcam cable – Open the laptop casing and locate the cable that connects the webcam module to the motherboard. Unplug it and firmly reconnect it. This can fix loose connections.
-
Test webcam separately – If possible, detach the webcam module and connect it externally via USB to test it independently. This verifies whether the issue is with the module itself or something else.
-
Examine ribbon cable – Ribbon cables can easily get damaged and cause signal issues. Check the webcam’s ribbon cable for any tears, crimps, or broken traces. Replace the cable if necessary.
-
Update BIOS – An outdated laptop BIOS can have compatibility bugs that affect peripherals like the webcam. I should update my BIOS to the latest available version from the manufacturer.
Seek Repair Services
If I have exhausted all self-troubleshooting steps and the laptop webcam still doesn’t work, it’s likely a hardware fault that requires professional repair:
-
Webcam module replacement – The webcam module itself may be damaged and need replacing. A repair technician can swap it out for a new compatible module. This is an affordable fix.
-
Motherboard repair – If the issue is traced to the motherboard’s interfaces, the main laptop board may need service or replacement. This is a costlier but sometimes necessary repair.
-
Full webcam assembly replacement – On some laptops, the entire plastic webcam assembly can be replaced rather than just the module. This is advisable if the assembly is damaged.
I should backup important data before taking my laptop in for repair. Repair costs will vary based on specific make and model. With professional help, even serious webcam issues can usually be resolved and my laptop will be working like normal again.

