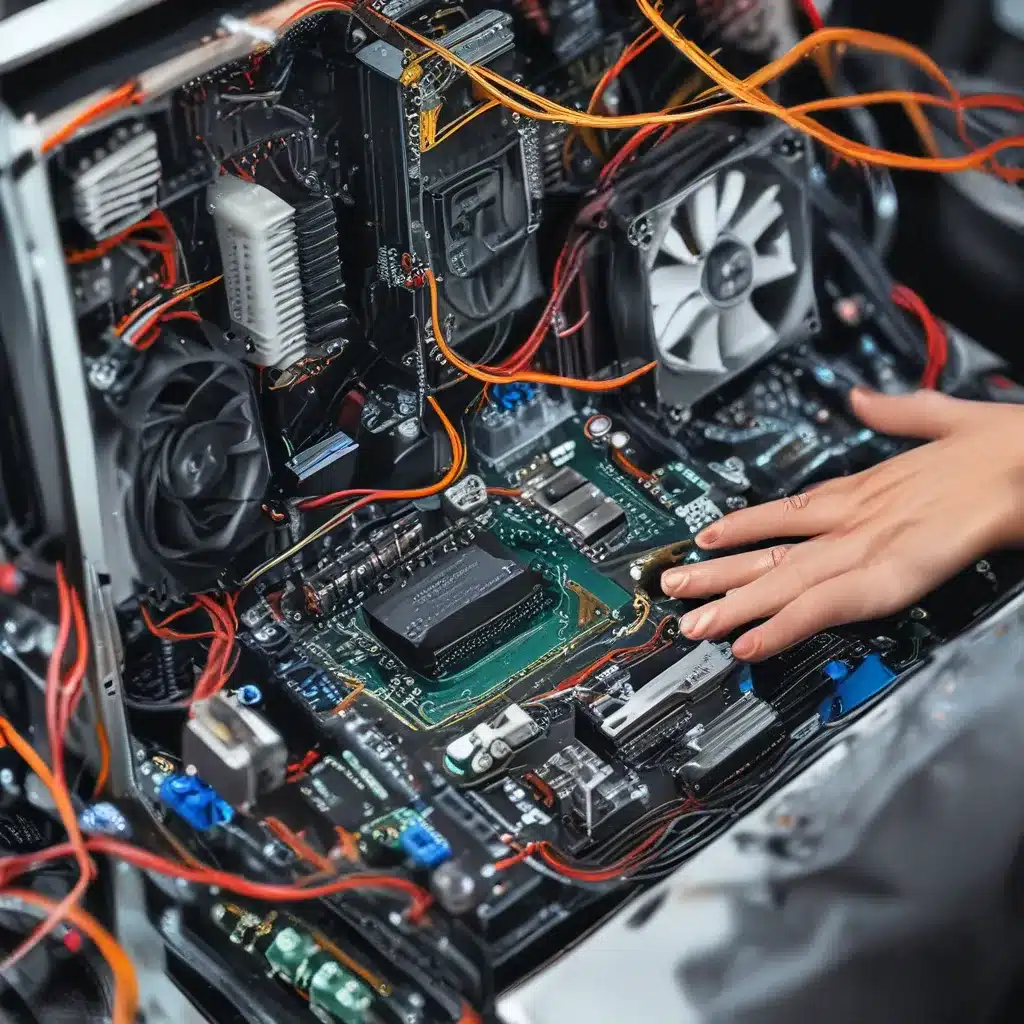
Introduction: Reviving Your Trusty Tech Companion
Ah, the trusty computer – our ever-loyal sidekick in this digital age. But just like any relationship, it needs a little TLC to keep it running at its best. Imagine your computer as a beloved pet – if it’s sluggish, panting, and seemingly about to keel over, it’s time for a tune-up, my friend.
As a proud DIY-er, I’m here to walk you through the steps to get your computer back in tip-top shape, without having to shell out a fortune at the repair shop. Trust me, I’ve been there, with my poor laptop wheezing and groaning under the weight of too many open tabs and outdated drivers. But after some good old-fashioned elbow grease, I was able to bring it back to life, and you can too!
Step 1: Declutter and Optimize
Let’s start by taking a deep dive into your computer’s innards, figuratively speaking. Open up that trusty Task Manager (Ctrl + Shift + Esc) and take a good, hard look at what’s running in the background.
According to the experts at Gophermods, you might be surprised to find that some of those programs are hogging way too many of your system’s resources. Take for example, good ol’ McAfee – that sucker can be a real RAM-guzzling vampire, using up to 10% of your precious memory just by sitting there, doing who knows what.
Time to take out the virtual trash, my friends. Go through that list and ruthlessly end any processes you don’t absolutely need running. And while you’re at it, take a hard look at your startup programs too. Do you really need that cute little weather widget to boot up every time your computer does? Probably not, so give it the boot.
Step 2: Update and Upgrade
Alright, now that we’ve decluttered the digital junk drawer, let’s turn our attention to those all-important software updates. According to the folks at Gophermods, keeping your Windows operating system and drivers up-to-date can work wonders for your computer’s performance.
Think of it like maintaining your car – sure, you could keep chugging along with bald tires and a busted muffler, but eventually, that’s going to catch up with you. Same goes for your computer. Those pesky little updates aren’t just for show, they’re crucial for keeping your machine running smoothly.
So, head on over to that Windows Update settings menu (you can find it by searching “Windows Update” in the Start menu) and let that baby scan for the latest and greatest. Just be sure to actually install the updates, don’t just let them sit there gathering digital dust.
Step 3: Breathe New Life with ReadyBoost
Now, I know what you’re thinking – “But my computer is so old, how can I possibly upgrade the RAM?” Well, my friend, have I got a trick up my sleeve for you. It’s called ReadyBoost, and it’s a nifty little feature built right into Windows that can give your computer a much-needed performance boost.
According to the Gophermods team, all you need is a USB flash drive or memory card with a decent transfer rate, and you can essentially add some extra virtual RAM to your system. It’s like a digital shot of espresso for your computer, without having to crack open the case and mess with those finicky little memory chips.
Just plug in your flash drive, head to the properties, and turn on that ReadyBoost magic. Your computer will thank you, I promise. It’s like giving your trusty steed a set of nitro-fueled wheels – suddenly, everything feels a whole lot snappier.
Step 4: Manage That Pesky Paging File
Ah, the paging file – that mysterious virtual memory space that Windows uses to keep things running smoothly. But did you know that you can actually optimize this to improve your computer’s performance? According to the Gophermods experts, all you have to do is head to the Advanced System Settings, find the Virtual Memory section, and turn on the “Automatically manage paging file size for all drives” option.
Think of it like decluttering your junk drawer – by letting Windows handle the paging file for you, you’re freeing up valuable system resources that can be better utilized for the tasks you actually care about. No more struggling with that sluggish spinning wheel of doom, my friend. Just a smooth, seamless computing experience.
Step 5: Banish Bloat and Malware
Alright, time to get down to the nitty-gritty. We all know that pesky viruses and malware can be the bane of our digital existence, dragging down our computer’s performance like an anchor. But fear not, brave tech warrior, for Windows Security has your back.
According to the folks at Gophermods, all you need to do is head to the Windows Security settings, run a quick scan, and let that trusty antivirus software work its magic. Say goodbye to those sneaky little buggers that have been siphoning off your system’s resources, and hello to a smoother, speedier computing experience.
And while you’re at it, take a good, hard look at any unnecessary programs or bloatware that might have come pre-installed on your machine. Do you really need that free trial of McAfee that’s been bugging you for the past six months? I think not. Uninstall that sucker and watch your computer breathe a sigh of relief.
Conclusion: Unleash Your Computer’s Hidden Potential
There you have it, folks – your step-by-step guide to giving your trusty computer a much-needed tune-up. From decluttering the digital junk drawer to optimizing that all-important paging file, you’re now armed with the knowledge to breathe new life into your beloved machine.
So, what are you waiting for? Head on over to itfix.org.uk and put those DIY skills to the test. Your computer will thank you, I promise. And who knows, you might just discover a hidden well of computing power you never knew existed. Happy tuning, my tech-savvy friends!


