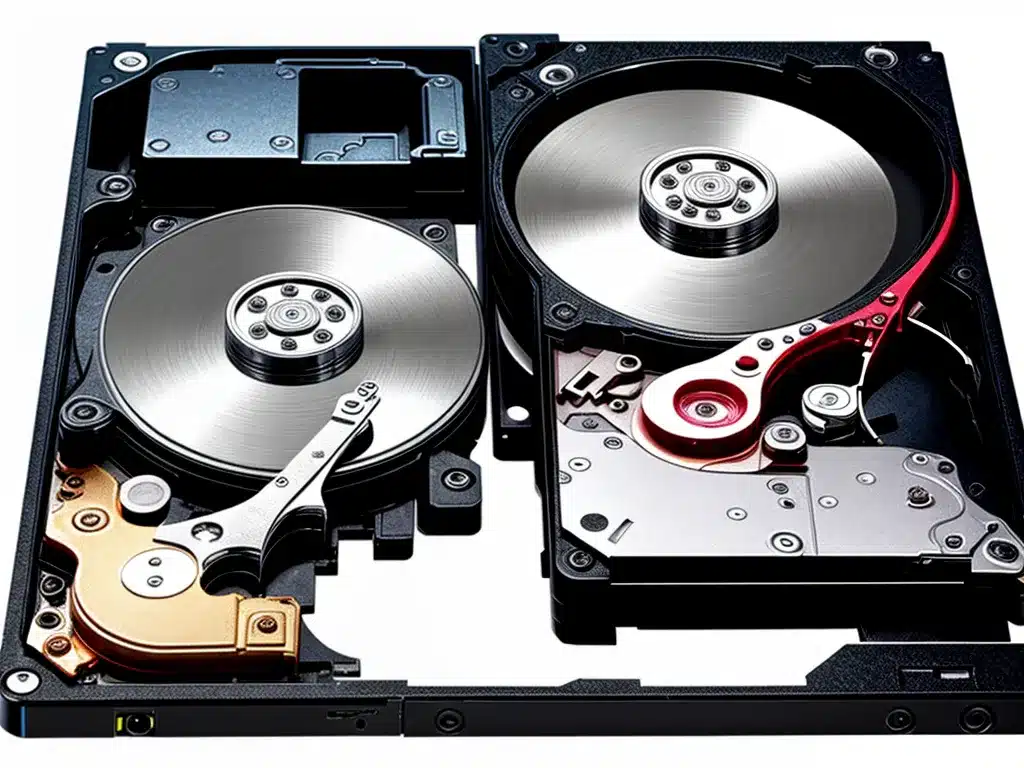
What is an SSD Drive?
An SSD (solid-state drive) is a type of computer storage device that uses flash memory instead of a spinning hard disk to store data. SSDs have no moving parts and are much faster than traditional HDDs (hard disk drives). Some key advantages of SSDs include:
-
Faster boot and load times: SSDs can boot computers and load apps much faster than HDDs. This is because SSDs can access data instantly, while HDDs need to spin up and move heads to read/write data.
-
Better durability: With no moving parts, SSDs are more durable and resistant to damage from drops or vibrations compared to HDDs with fragile spinning disks.
-
Lower power consumption: SSDs consume less power and generate less heat than HDDs, making them better suited for laptops and other portable devices.
-
Quieter operation: SSDs make no noise when accessing data, unlike the spinning HDDs.
How to Diagnose an SSD Issue
If you suspect your SSD may be faulty or failing, there are some steps you can take to diagnose the issue:
1. Check Disk Health
Use your operating system’s disk utility to examine the SSD’s health. On Windows, open the Disk Management utility and look for any disk errors. On Mac, use Disk Utility. Watch for S.M.A.R.T. errors that indicate problems.
2. Run Diagnostic Software
Use drive manufacturer diagnostic software or third party apps like CrystalDiskInfo to check for issues like bad sectors, low disk life remaining, etc.
3. Check Connections
Open up your computer and check that the SSD’s SATA and power cables are properly connected. Loose connections can cause failures.
4. Test with Another Machine
If possible, connect the SSD externally to another computer via USB adapter. See if the same problems occur, which indicates a true hardware failure.
5. Examine Performance
Use benchmarks like AS SSD to test the SSD’s read/write speeds. Compare to the rated specs – significant underperformance points to problems.
Slow boot or app load times alone don’t definitively indicate SSD failure. But combined with other symptoms like S.M.A.R.T errors, they warrant further diagnosis.
How to Replace a Faulty SSD
Once you confirm the SSD is faulty and requires replacement, follow these steps:
1. Backup Important Data
Always backup your data before beginning any repair. Copy important files and folders off the SSD to another drive or the cloud.
2. Order Replacement SSD
Choose a compatible replacement SSD from the same brand with at least equivalent storage capacity. Or opt for a higher capacity or faster model for an upgrade.
3. Open Computer and Remove Old SSD
Refer to a tutorial if unsure. Disconnect power and data cables. Unscrew retaining screw(s) to remove the SSD from drive bay.
4. Install New SSD
Insert the new SSD into drive bay and secure. Reconnect SATA and power cables snugly. Some SSDs include cloning software to transfer data from old drive.
5. Initialize and Format SSD
Boot into the operating system installer for your platform. Initialize the new SSD, create partitions if needed, and format the volume(s).
6. Transfer Data and Programs
Use migration software or manually move data/programs back to the new SSD from your backups. Reinstall apps and OS if needed.
7. Verify Functionality
Boot up the computer from the new SSD. Open programs and files to verify normal functioning. Run diagnostics to confirm drive health.
With the proper precautions, diagnostics, and procedure, you can successfully revive your computer with a new SSD. Be sure to backup your data regularly to avoid larger headaches down the road.


